As an Amazon Associate I earn from qualifying purchases.
You can read my full disclosure statement here.

Enjoy this easy recipe for Christmas Tree Rice Krispie Treats at your next holiday gathering! The kids will have so much fun helping you make these fun and festive goodies!
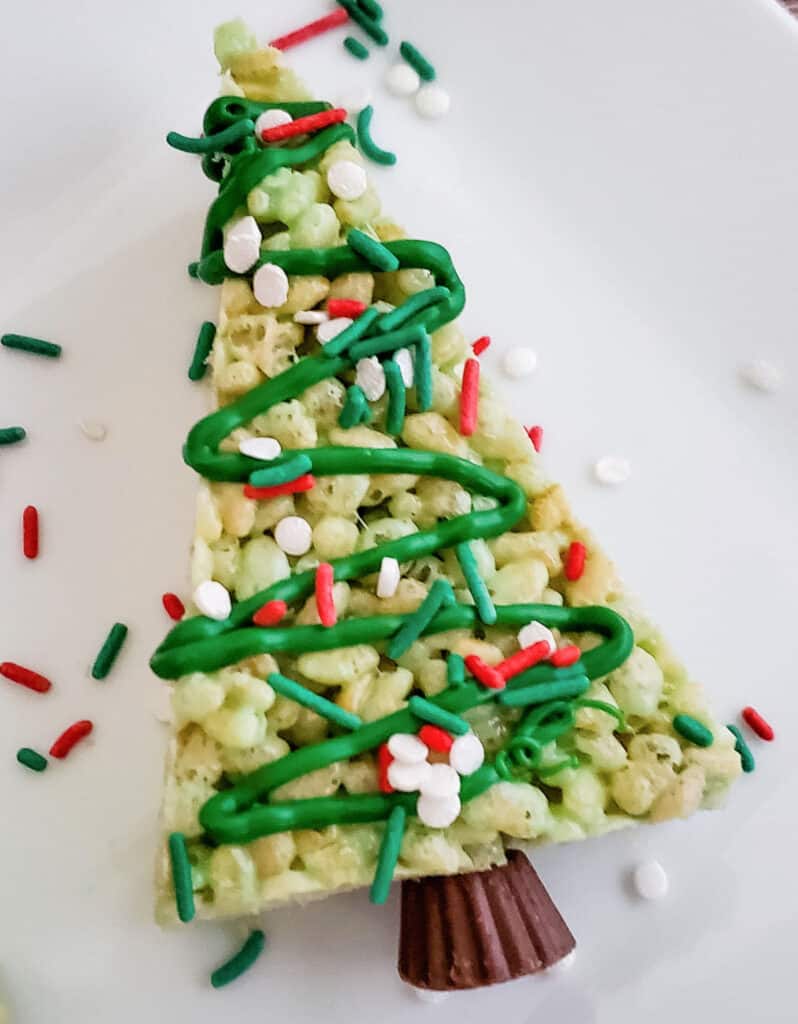
Have fun making this festive holiday take on a classic favorite, rice krispie Christmas treats! Beloved rice krispie treats recipe cut into fun Christmas tree shapes, with a mini Reece's butter cup for the trunk, drizzled with green chocolate, and sprinkles.
These crispy treats are one to add to your Christmas desserts go to list! These rice krispie Christmas trees are the perfect treat for serving at your next get together this holiday season!
Give a small plate of these to your neighbors with this Hot Cocoa in a Jar Gift!
Have a Christmas Tree themed holiday party and serve this Christmas Tree Pull Apart Bread recipe as an appetizer or side!
Kids of all ages will enjoy this cute Christmas dessert, a fun treat based on the classic rice krispie treat recipe. These are the cutest holiday treat for bringing to school events, Christmas parties, pot lucks or any type of gathering during the holiday season!
Or leave some of these out for Santa with a yummy Peppermint White Chocolate Mocha! He will be so happy! 🙂

Other related articles you may be interested in:
Hot Cocoa Cake Mix Cookies with Candy Cane & Marshmallows
Easy DIY Gnome Christmas Ornaments
Easy DIY Snowman Wood Bead Ornaments
Seed Starting 101: Winter Sowing
Homesteading Tasks for Winter
Our favorite homesteading and gardening tools in our Amazon Shop
Our Garden Harvest Tally Spreadsheet is now available!
HOW TO MAKE CHRISTMAS TREE RICE KRISPIE TREATS:
Servings: 12
Prep time: 10 minutes
Cook time: 10 minutes
Chill Time: 1 hour
Total time: 1 hr and 20 minutes
Storage: refrigerate in airtight container
INGREDIENTS NEEDED FOR THE CHRISTMAS TREE RICE KRISPIE TREATS:
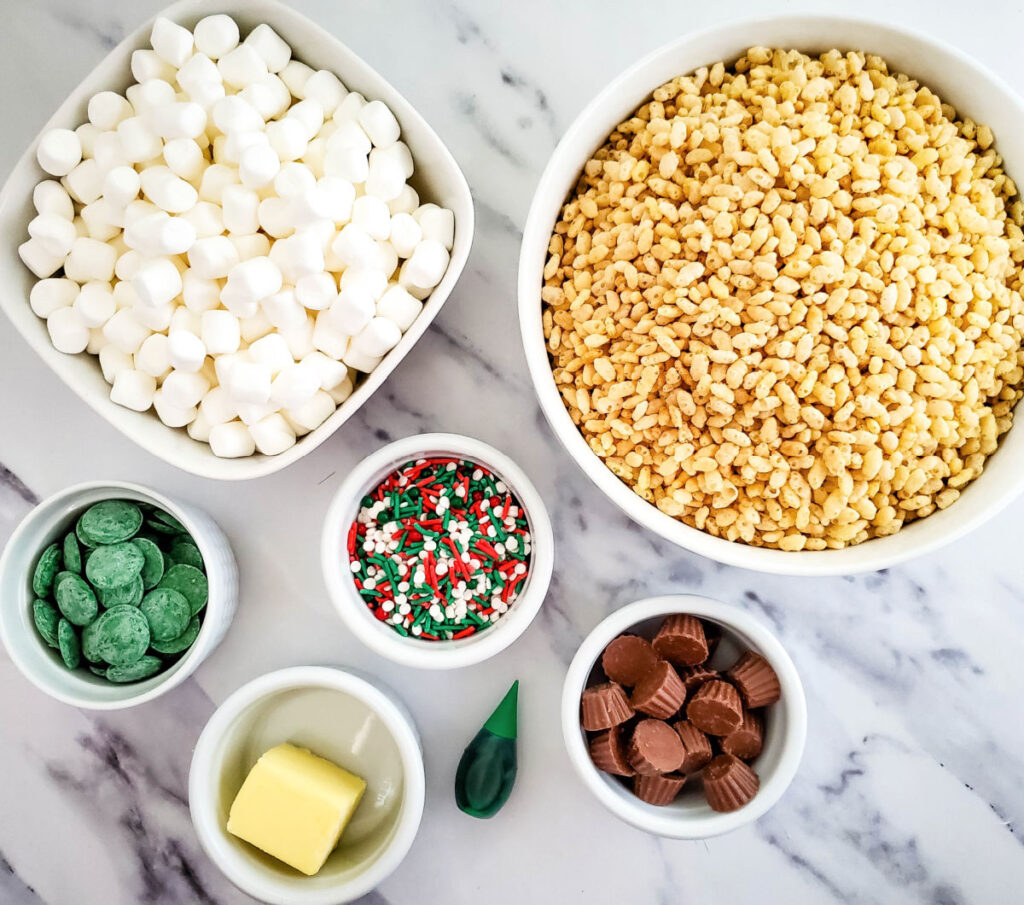
Ingredients:
● 3 tablespoon butter (see how to make homemade butter)
● 10 oz bag mini marshmallows
● 7 drops green food coloring
● 6 cups Rice Krispie's cereal
● ½ cup dark green candy melts
● Mini Reece’s Peanut Butter Cups
Note: Scroll down for a printable recipe card!
Directions:
Step 1:
- Line a 9x13 inch baking pan with parchment paper or wax paper.
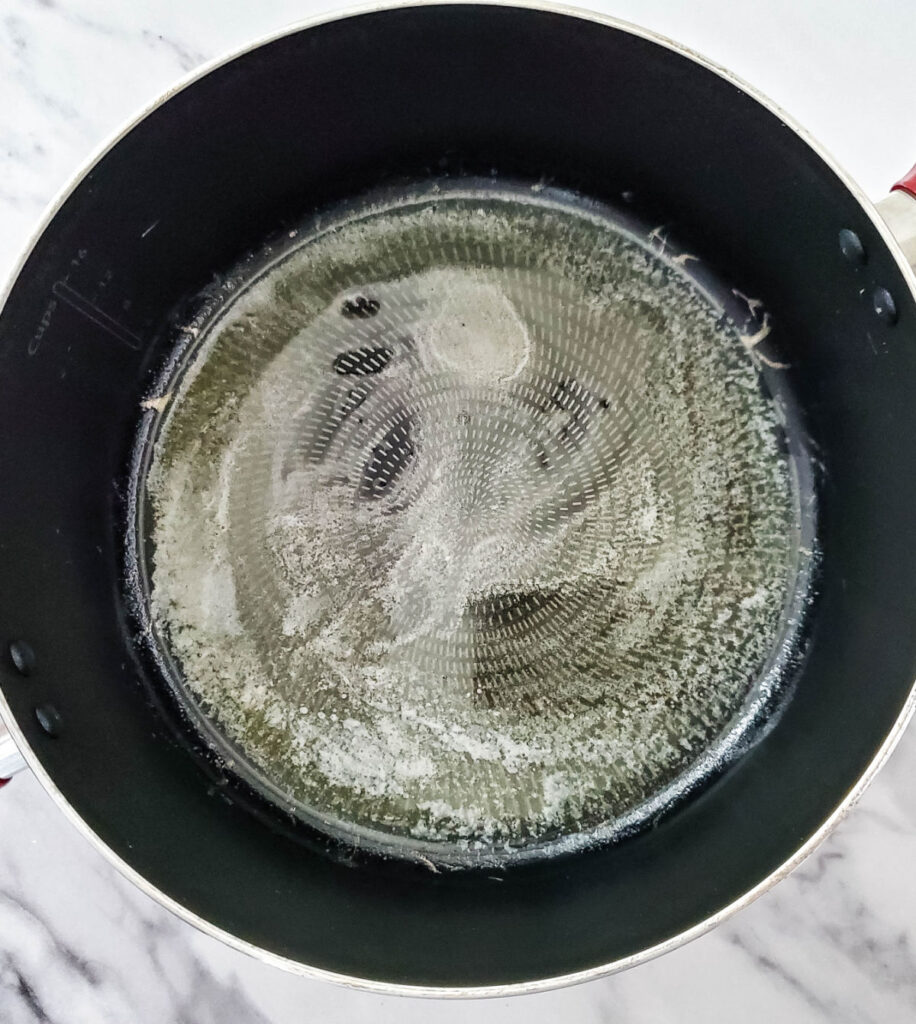
Step 2:
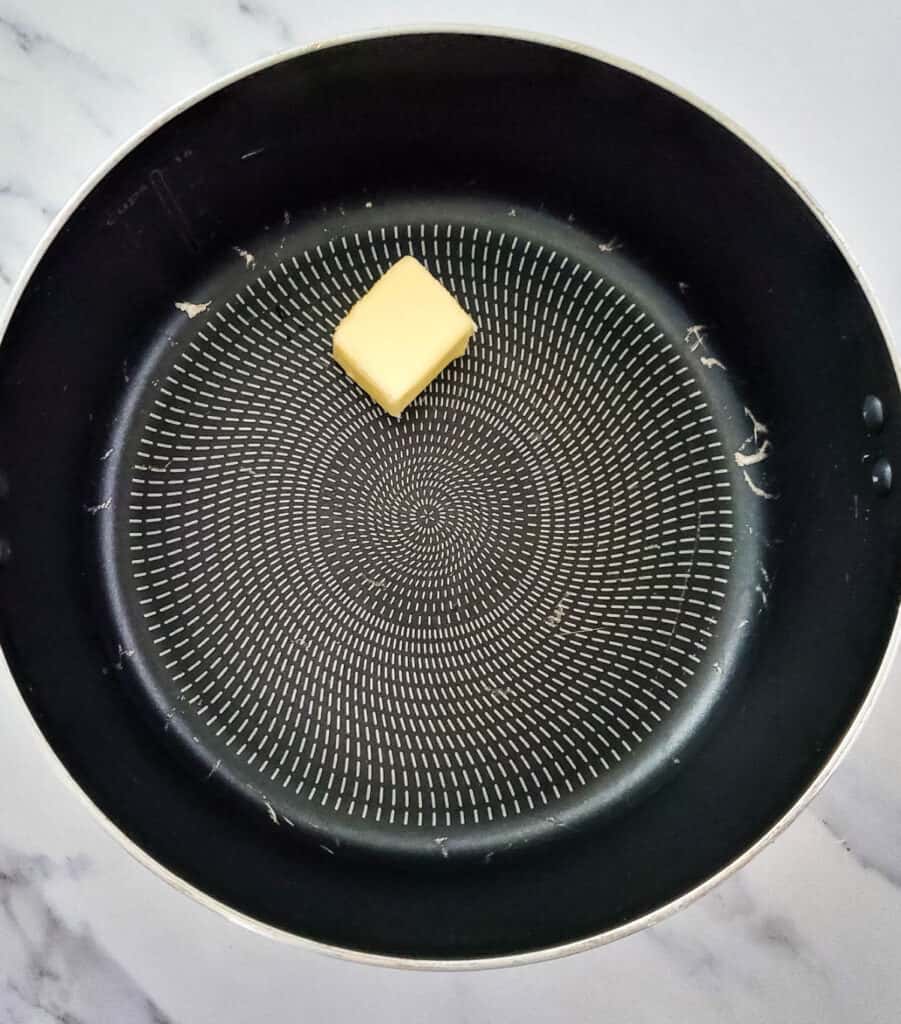
- Melt butter in a large saucepan, over low heat. Once melted, cover the bottom of the pan with the melted butter.
Step 3:
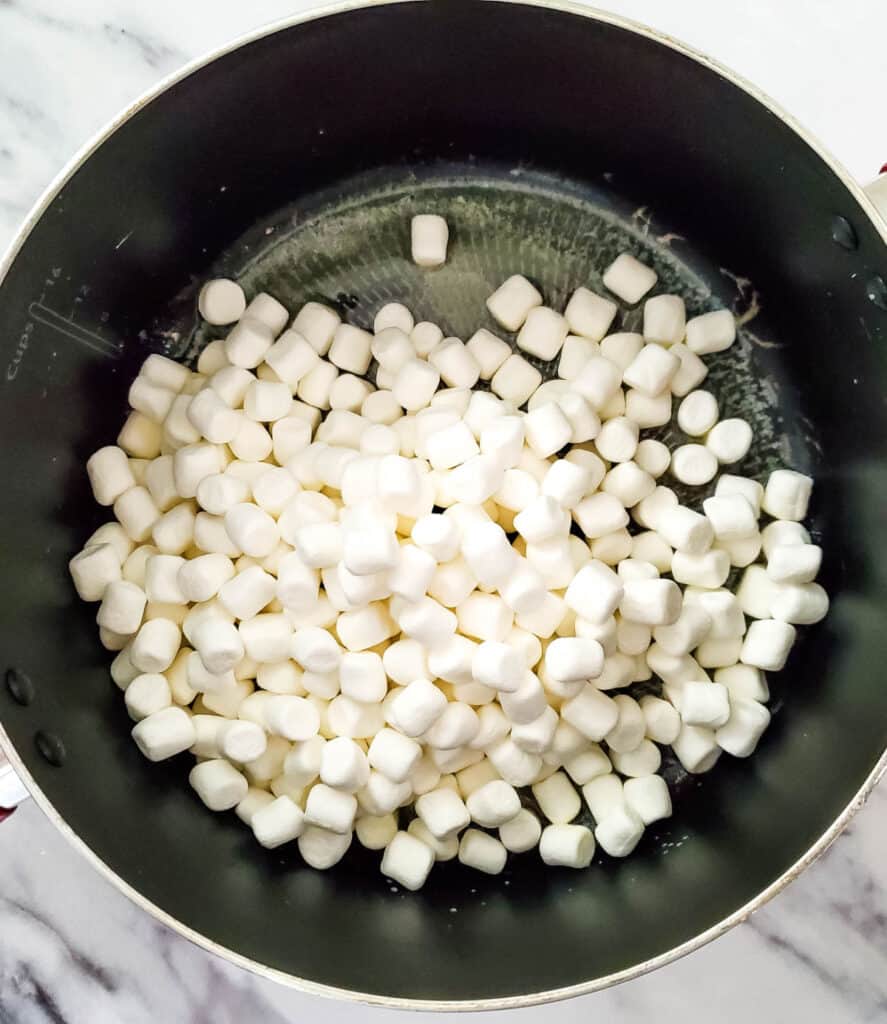
- Add the marshmallows, and heat, stirring often with a large spoon, until melted.
Step 4:
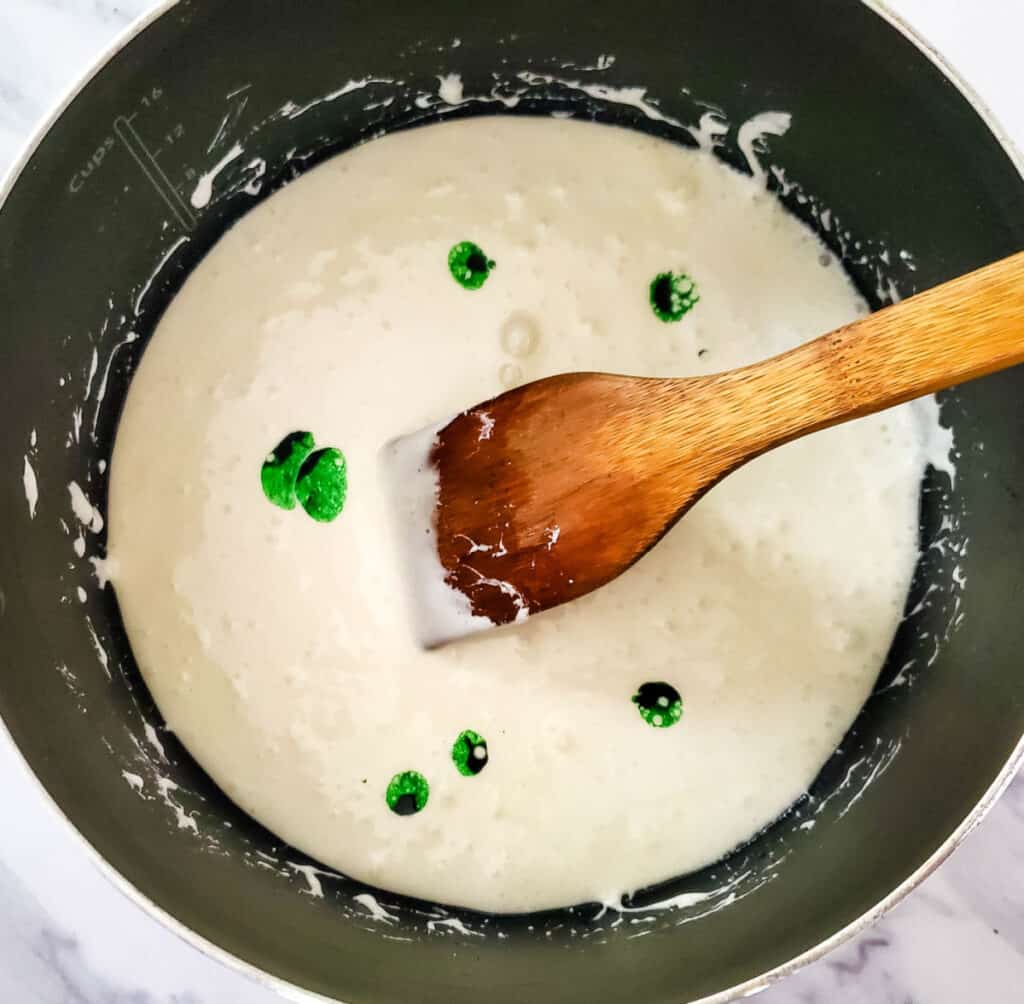
- Add the the drops of green food coloring, and stir until the color is solid.
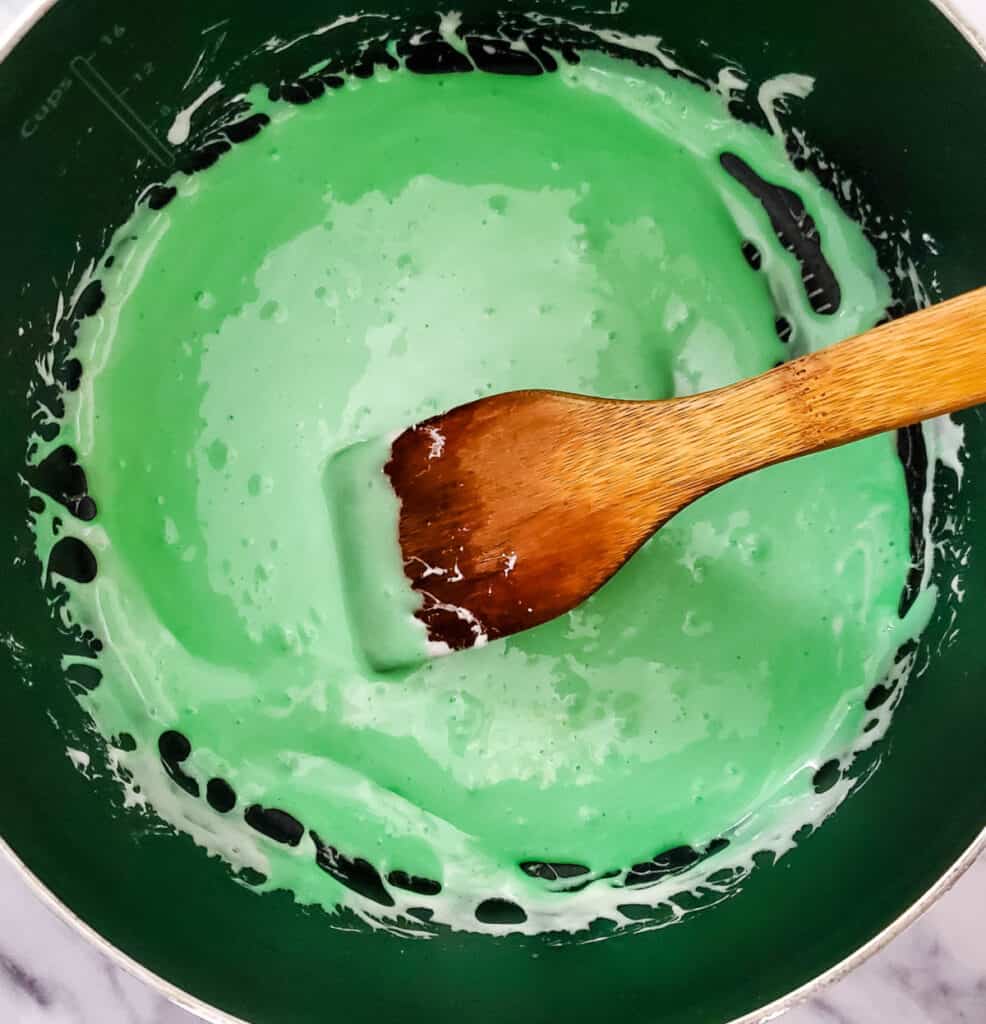
Step 5:
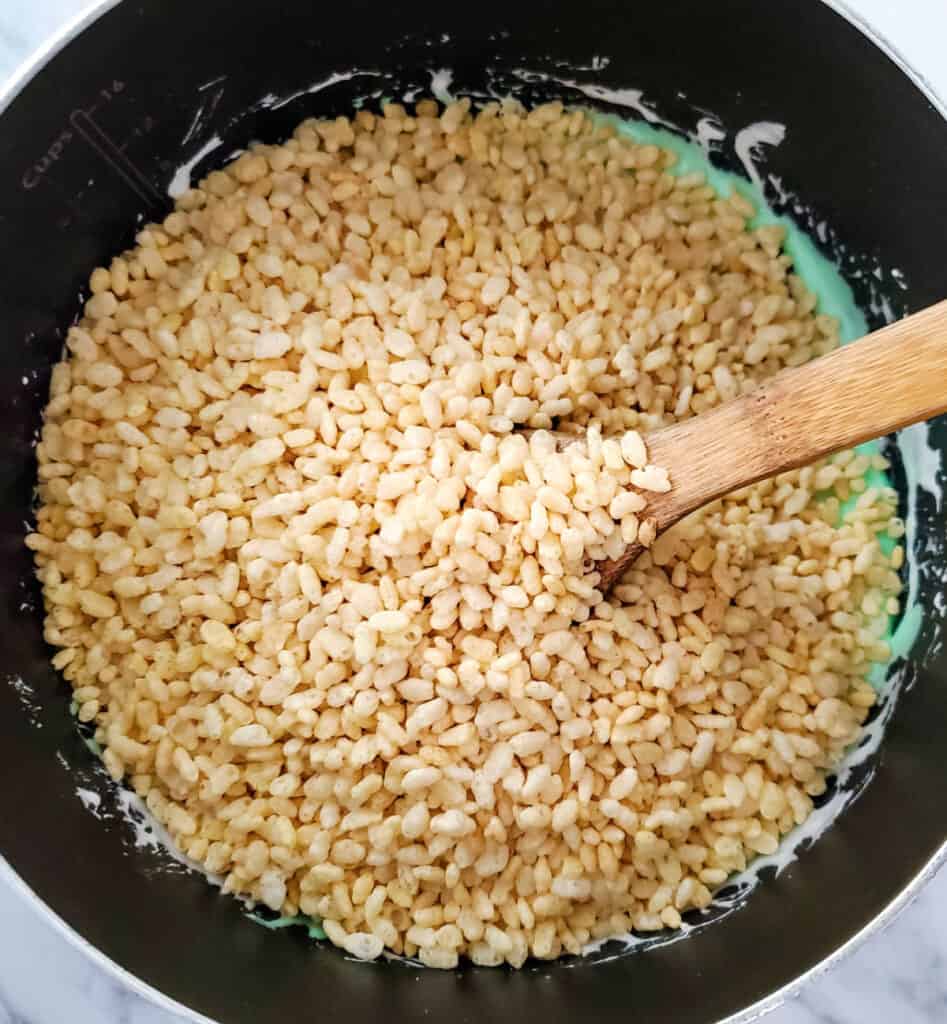
- Stir the cereal into the marshmallow mixture.
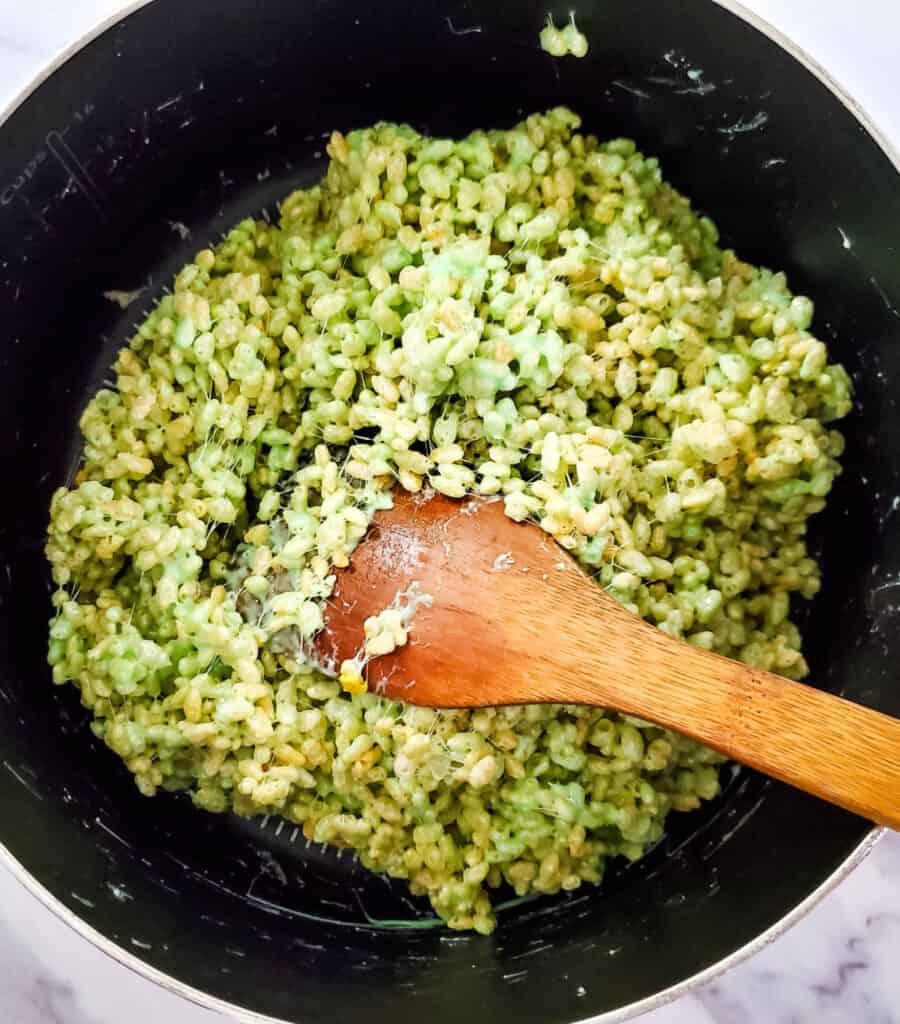
Step 6:
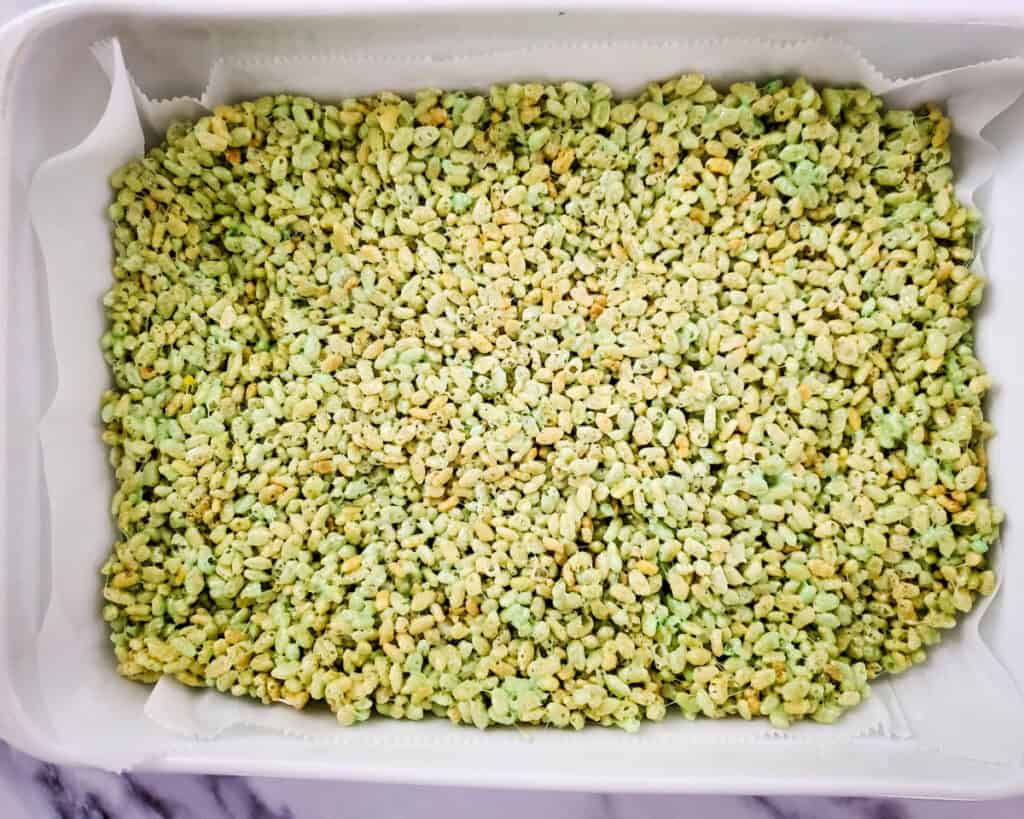
- Pour the rice krispie mixture into the prepared baking dish, and press the cereal mixture down and to the sides.
Step 7:
- Refrigerate for 1 hour.
Step 8:
- Remove from the refrigerator, and lift the entire parchment sheet out of the baking dish, and onto a large clean cutting board.
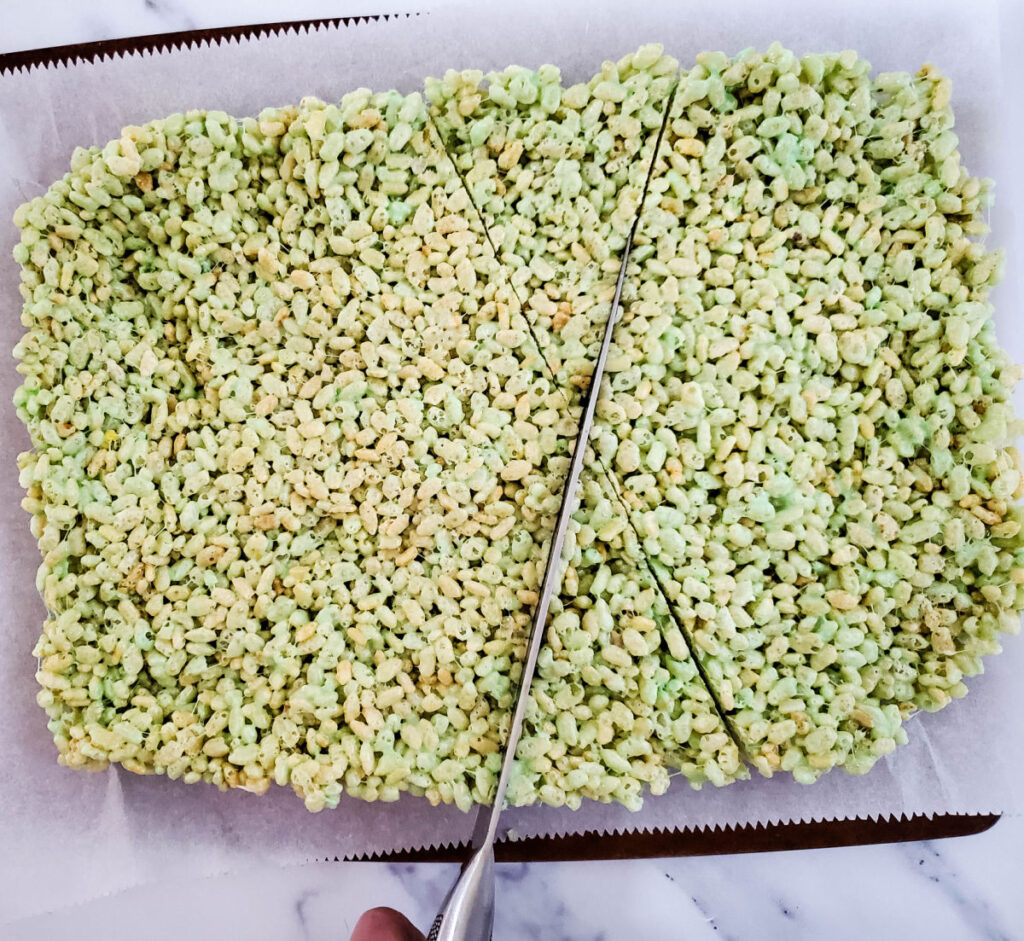
Step 9:
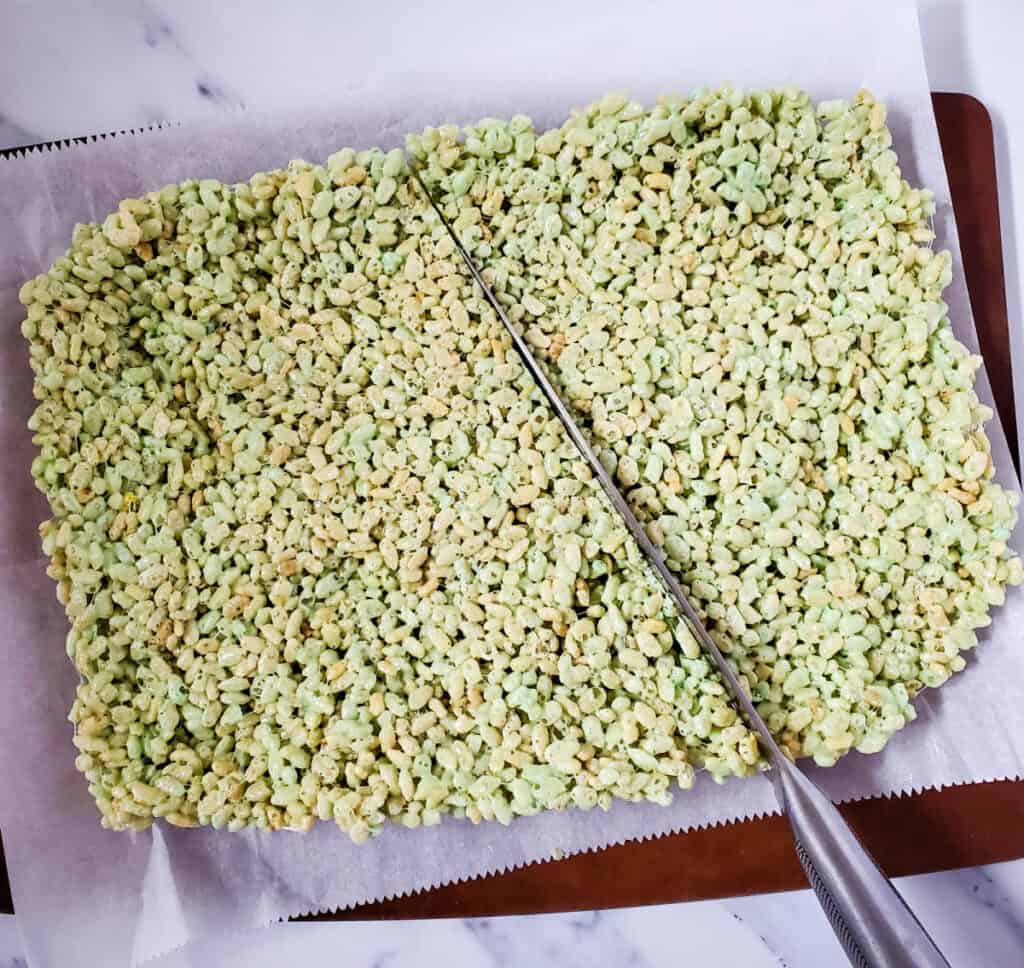
- Using a large knife, make a diagonal cut, then another the opposite way, making two trees. Continue cutting out little trees (triangle shapes), until you cannot cut anymore. You could also use a Christmas Tree cookie cutter for this step.
Step 10:
- Set the trimmed pieces of tree cutouts onto a parchment lined baking sheet.
Step 11:
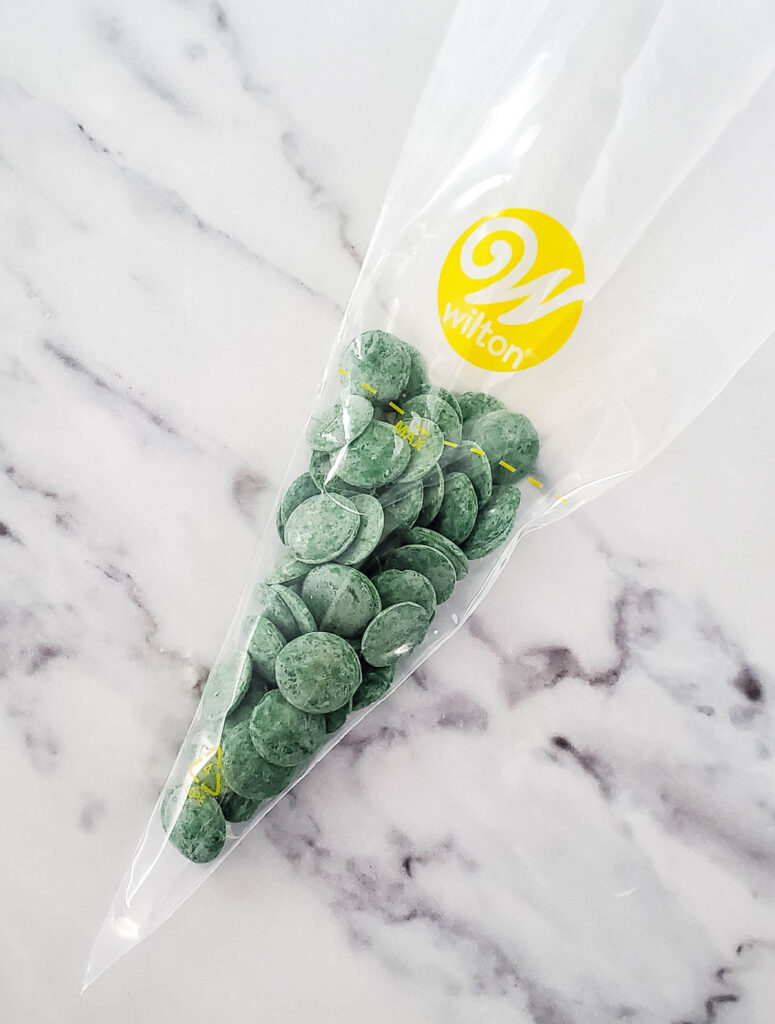
- Pour the candy melts into a piping bag (or ziplock sandwich bag), and heat in the microwave for 30 second intervals, until melted. Massage bag with your hand between each heating session.
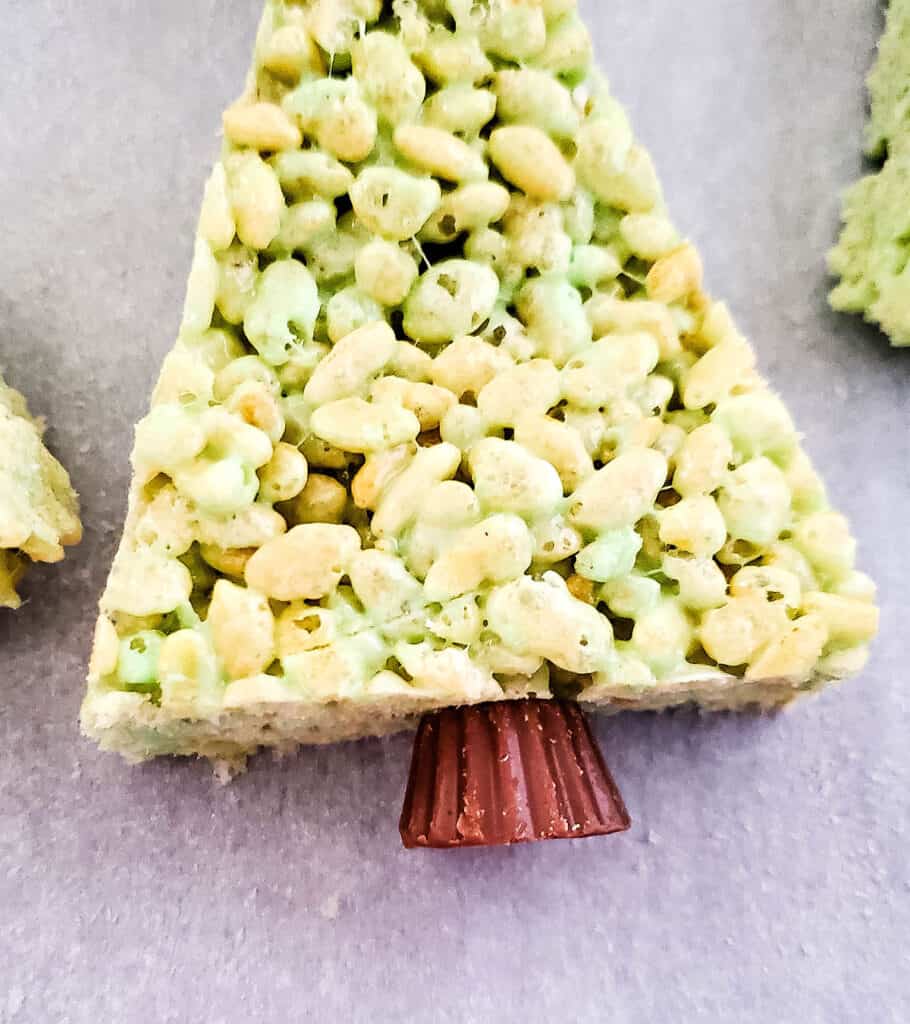
Step 12:
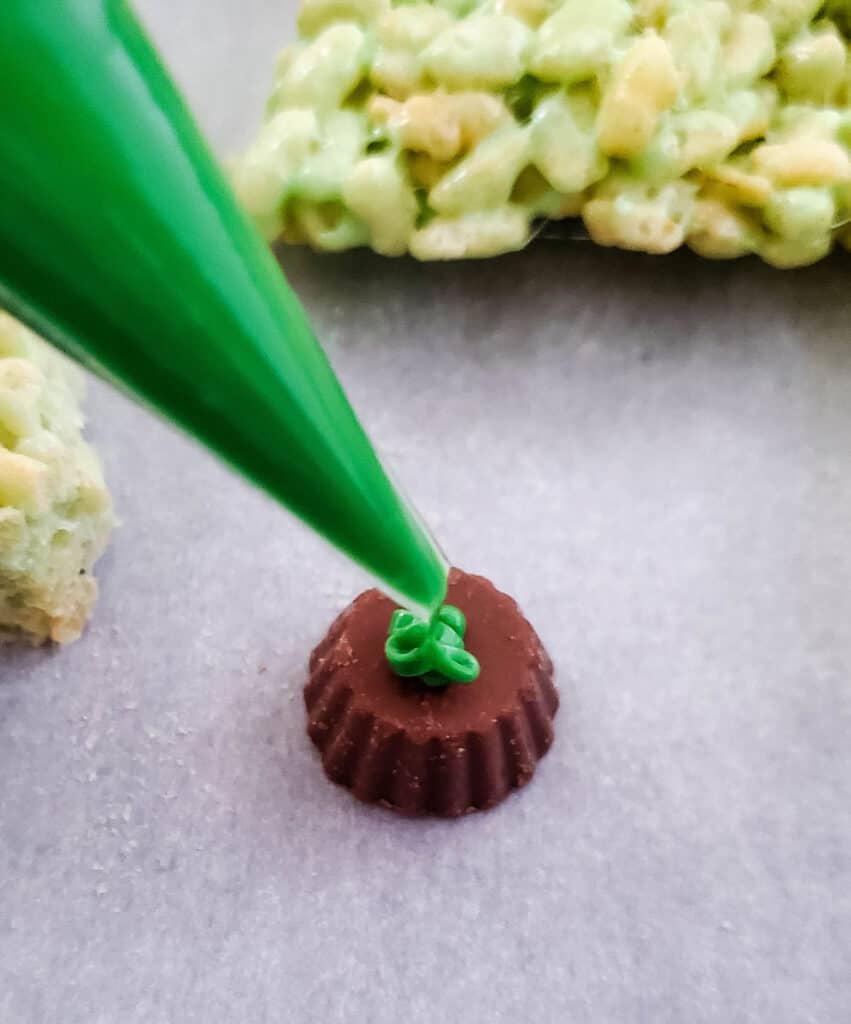
- Snip the tip of the bag, and add a small amount to the bottom of each Mini Reece’s Peanut Butter Cups, then stick one to the bottom of the tree. Do this for each tree.
Step 13:
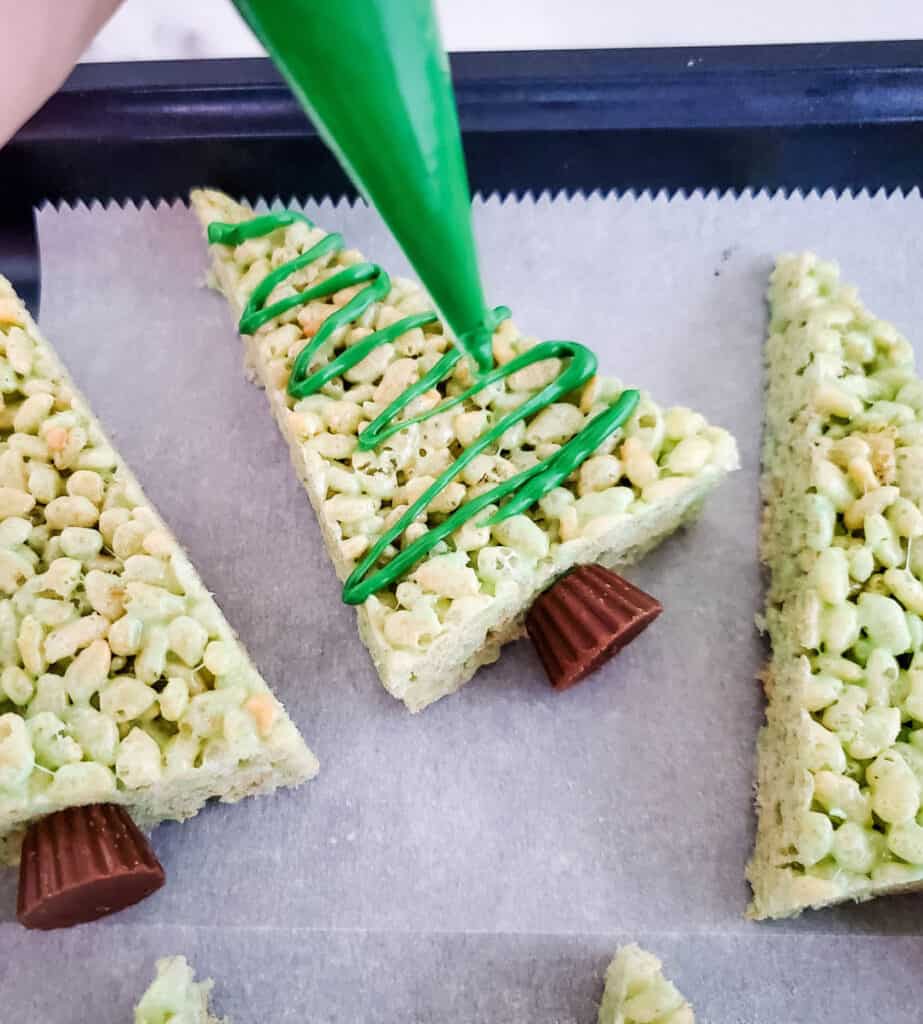
- Then do a thin drizzle of chocolate from the green melted candy in a back and forth motion over the top of each tree.
Step 14:
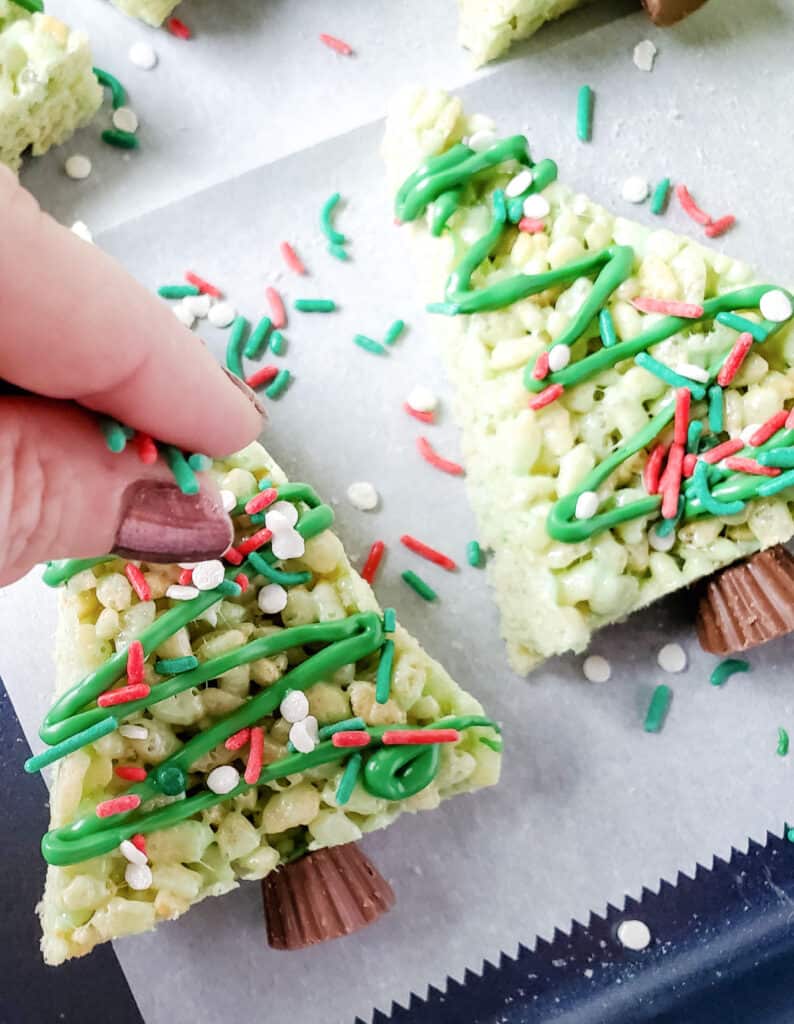
- Add sprinkles on top of the melted candy.
The finished Christmas Tree Rice Krispie's Treat!
Christmas Tree Rice Krispie Treat VARIATIONS:
Some variations to these Christmas Tree Rice Krispie treats that you can make:
- For more fun for the kids, turn these into mummy Christmas Tree pops by placing these Christmas rice krispie treats onto some lollipop sticks!
- Instead of using Mini Reece’s Peanut Butter Cups as the tree trunk, use pretzel sticks or candy cane sticks or mini-tootsie rolls instead! Press the end of the pretzel stick or candy cane into the flat bottom section of each triangle.
- Instead of drizzling the green melted chocolate back and forth, use white melted chocolate instead, and draw it on to make the appearance of garland on the tree!
- Instead of pressing the rice krispie mixture flat and cutting out triangles, instead, form the rice krispie mixture into cone shape three dimensional trees and have them stand up on the serving tray!
- Instead of sprinkles, use red candy balls to decorate your tree with!
- Dust the trees with powdered sugar for the look of snow covered trees!
Note: If you have leftover candy melts after making these, check out my other recipes that use them, and be sure to look for a similar "variations" section near the bottom of each recipe for more fun ideas!
You might enjoy these other fun holiday recipes!
- Valentines Rice Krispie Treats
- Valentine's Day Raspberry Cream Cheese Danish Pastries
- Easy Halloween Mummy Oreo Cookie Balls
- Halloween Chocolate Eyeball Monster Pretzels

Christmas Tree Rice Krispie Treats
Equipment
- 1 piping bag with small tip or a ziplock bag
Ingredients
- 3 tablespoons butter
- 1 bag (10 oz size) mini marshmallows
- 7 drops green food coloring
- 6 cups Rice Krispie's cereal
- ½ cup green candy melts
- 12 pieces mini Reese's Peanut Butter Cups
- 1 container Christmas sprinkles
Instructions
- Line a 9x13 inch baking pan with parchment paper.
- Add butter to a large pot, and melt over low heat.
- Add the marshmallows, and heat, stirring often, until melted.
- Add the food coloring, and stir until the color is solid.
- Stir the Rice Krispie cereal into the melted marshmallows.
- Pour mixture into the prepared baking dish, and press to the sides.
- Refrigerate for 1 hour.
- Remove from the refrigerator and lift the entire parchment sheet out of the baking dish, and onto a large cutting board.
- Using a large knife, make a diagonal cut, then another the opposite way, making two trees. Continue cutting out tree (triangle shapes), until you cannot cut anymore. You could also use a Christmas Tree cookie cutter for this step.
- Set the Christmas tree cutouts onto a parchment lined baking sheet.
- Pour the candy melts into a piping bag (or ziplock bag), and heat in the microwave for 30 second intervals, until melted. Massage bag with your hand between each heating session.
- Snip the end off the piping bag (or ziplock baggie), and add a small amount to the bottom of each Mini Reece’s Peanut Butter Cups, then stick one to the bottom of each tree.
- Drizzle melted green candy in a back and forth motion over the top of each tree.
- Add sprinkles on top of the melted candy.
- Store in an airtight container in a cool location.

I hope you enjoy making these Christmas tree rice krispies treats! These delicious treats will certainly help bring out the holiday cheer!
Want to Remember This?
Pin it for later reference! Pin "Christmas Tree Rice Krispie Treats" on Pinterest to your favorite Christmas Recipes board so you can find it again easily! Or share on Facebook too!

Leave a Reply