As an Amazon Associate I earn from qualifying purchases.
You can read my full disclosure statement here.

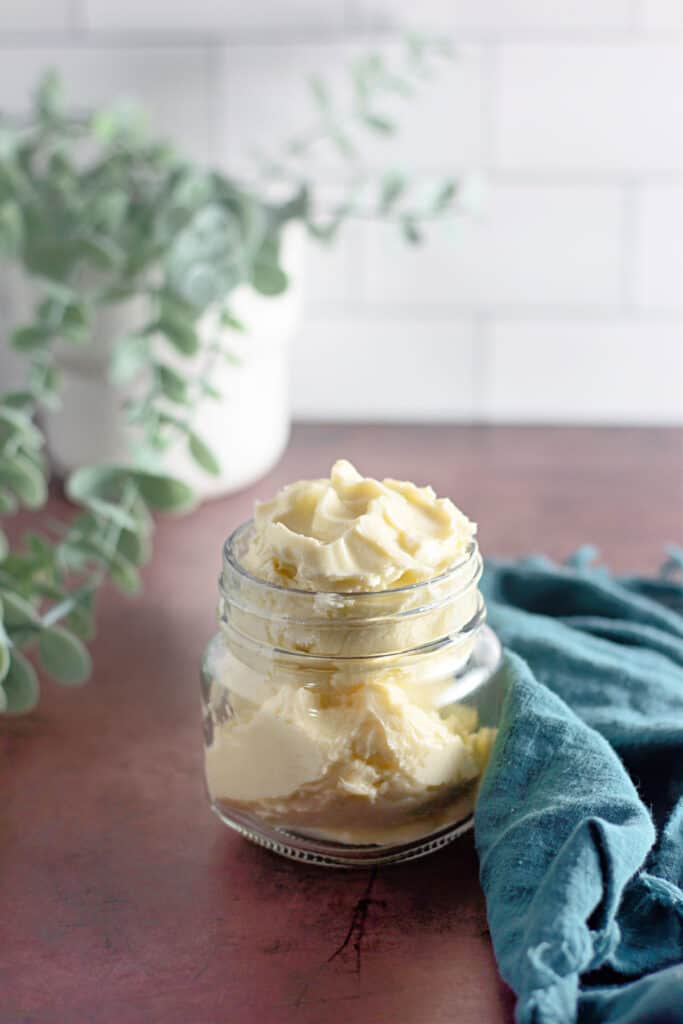
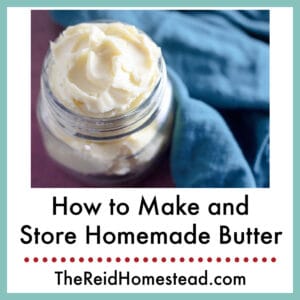
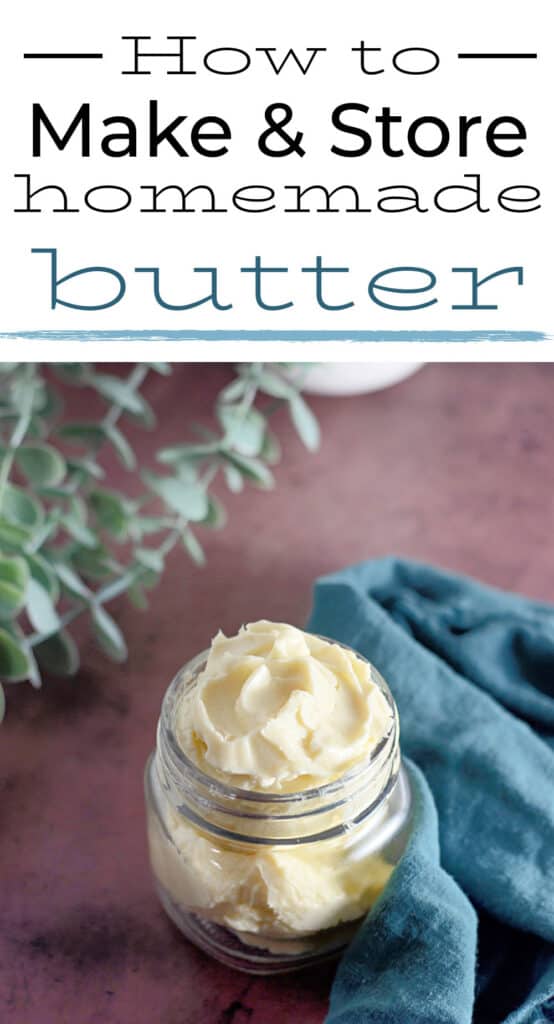
In this article I will teach you how to make and store homemade butter. Making your own butter is much more simple than one might think and only requires two ingredients and is a very easy recipe!
If you are wanting to live a more self sufficient lifestyle, making butter is a simple and easy thing to make. Think about all those sticks of butter you have bought at the store over time!
Making your own butter and avoiding store-bought butter, is one less dairy product you will need to depend on the grocery store for. Especially if you own dairy cows, or have easy access to raw milk or heavy whipping cream.
Actually, it is two dairy products that you would no longer need to purchase at the store, because buttermilk is a by product of making butter, so you get two products while making butter!
Raw fresh milk straight from the cow, is full of the cream, and the cream is what you need to make the butter. The cream is full of fat solids, which makes the butter, so no skimping on fat here by using half and half, or reduced fat cream.
It is easy to make with a food processor or a stand mixer, and the appliance really does all the work for you!
Other related articles you may be interested in:
Christmas Tree Rice Krispie Treats Recipe
No Bake Pumpkin Cheesecake Desserts
Patriotic White Chocolate Dipped Strawberries with Sprinkles
Our favorite homesteading and gardening tools in our Amazon Shop
Our Garden Harvest Tally Spreadsheet is now available!
HOW TO MAKE HOMEMADE BUTTER:
Notes:
- This recipe should make about 1 cup of butter and 1 cup of buttermilk, but the exact amount varies depending on the fat content of the cream that you use.
- It is best to shake the container of cream well before measuring it out for this recipe, to ensure that the fat is evenly distributed within the cream.
Servings: 1 cup of butter equals approximately 36 pats of butter.
Prep time: 10 minutes
Equipment needed to make Homemade Butter:
1 stand mixer with whisk attachment
Ingredients needed to make Homemade Butter:

2 cups heavy whipping cream or fresh cream, but it must be a full fat cream.
¼ teaspoon salt (optional)
ice cold water in large bowl
Directions:
Step 1:
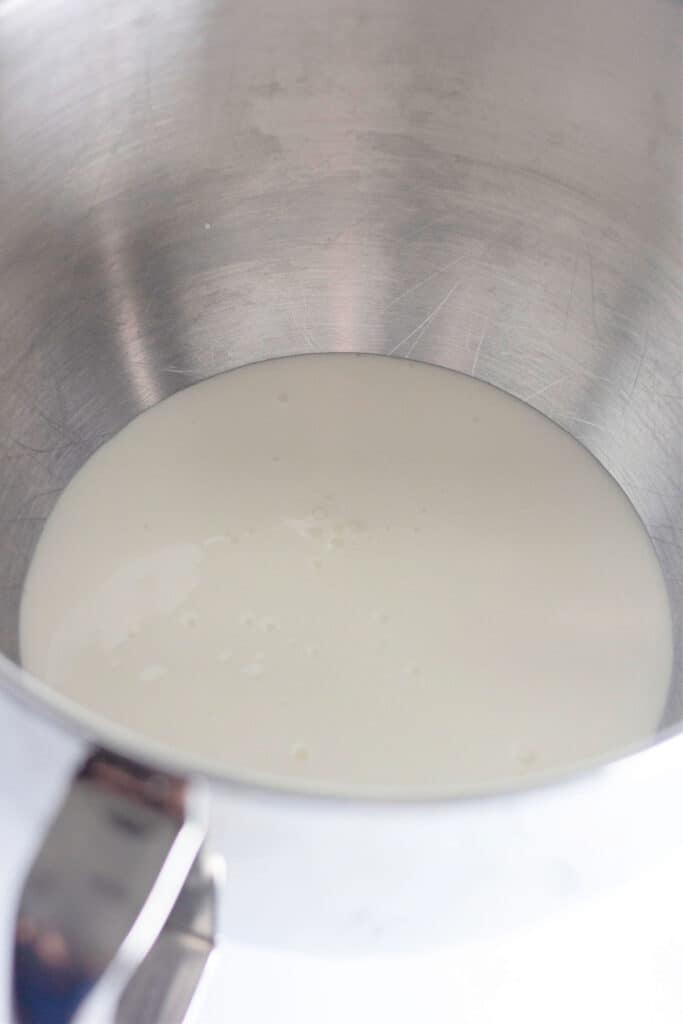
- Add the heavy cream to the mixing bowl of your stand mixer. Then using the whisk attachment, beat the whipping cream on medium-high speed until the butter separate from the buttermilk. It is a good idea to use a splash guard on your mixing bowl if you have one. Or, if you like hard work, you can use a manual churner or an old-fashioned butter churn! 😉
Step 2:

- Scoop the butter solids out of the mixing bowl, leaving them in small pieces and place them into a fine mesh strainer. Refrigerate the buttermilk to use as desired, or discard.
Step 3:
- Fill the large bowl with ice cold water. Rinse the butter well in the strainer with ice water by dunking the strainer in the bowl, to remove any extra buttermilk. Water should be ice cold so that it does not melt any of the butter fat away, and you are attempting to remove any and all excess buttermilk in this step. Butter will be rinsed well enough when the water in the bowl is clear, not white. You may need to dump and replace the ice water a couple of times.
Step 3:
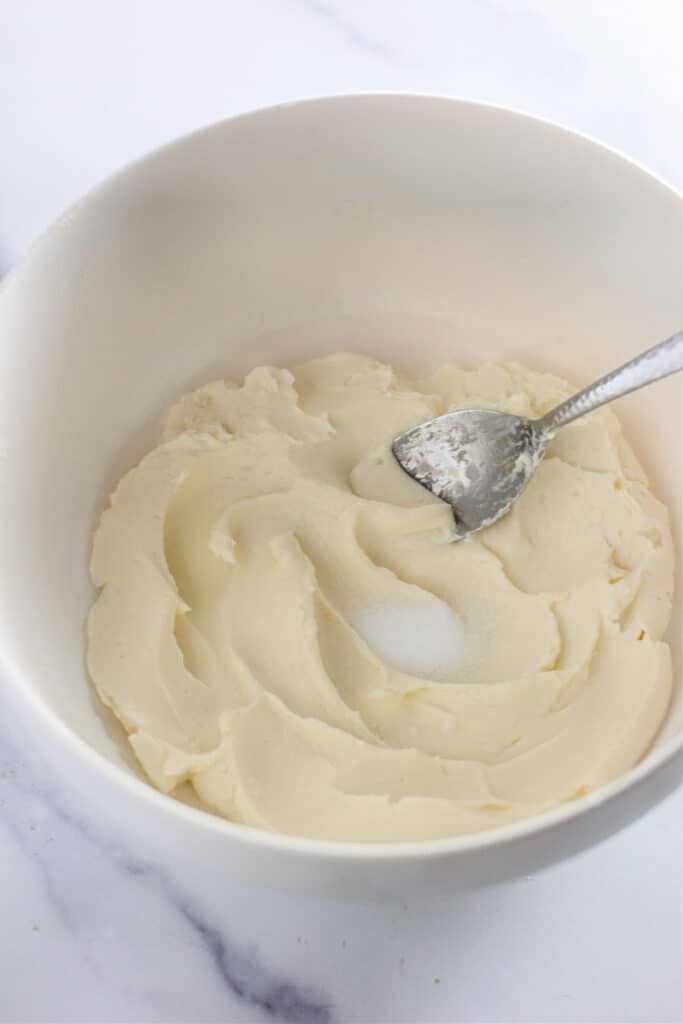
- After rinsing well, add the butter fat and the salt (if using) to the medium bowl and stir well, while also pressing out any additional liquid from the butter. If not using salt, still do this step, trying to remove as much liquid from the butter by mashing it against the sides of the bowls.
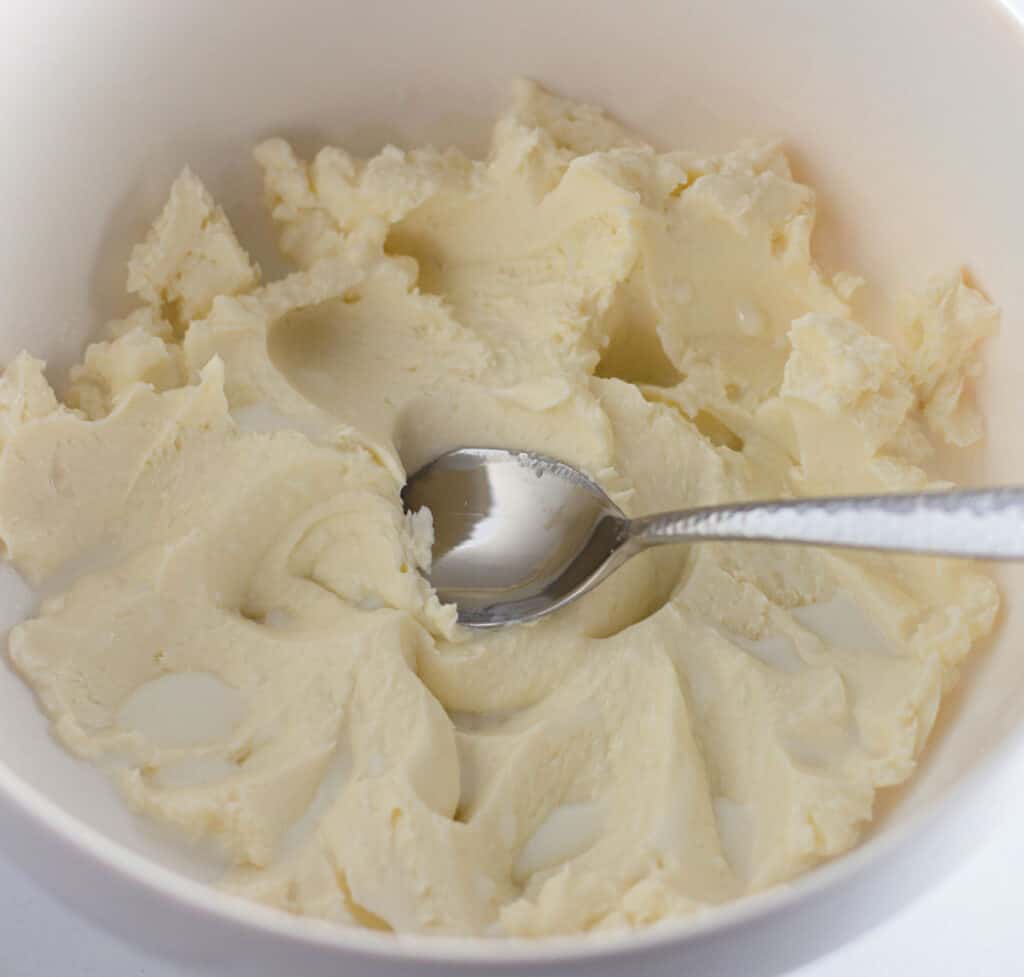
If you look closely at this photo, you can see pools of buttermilk that have been worked out by mashing the butter with the spoon.
Step 4:
- Pour off any excess liquid. Place ball of solid butter on a clean tea towel and pat dry to remove any excess moisture. The more moisture and water molecules that you remove, the longer the butter will store well.
Step 5:
- Shape butter into a ball or other shape of your choice and serve immediately, or chill in the refrigerator until use.
HOW TO STORE HOMEMADE BUTTER:
How long your homemade butter will store well for, depends on how much moisture you have removed from it, so DO NOT skip this very important step.
Homemade butter has a long shelf life, and will keep in the refrigerator for up to three months if rinsed well and wrapped well. Butter freezes very well also and can be stored in the freezer for up to a year.
The USDA recommends not leaving butter out at room temperature for more than a couple of days, or you could end up with rancid butter. But leaving it at room temperature, does make for a more spreadable butter.
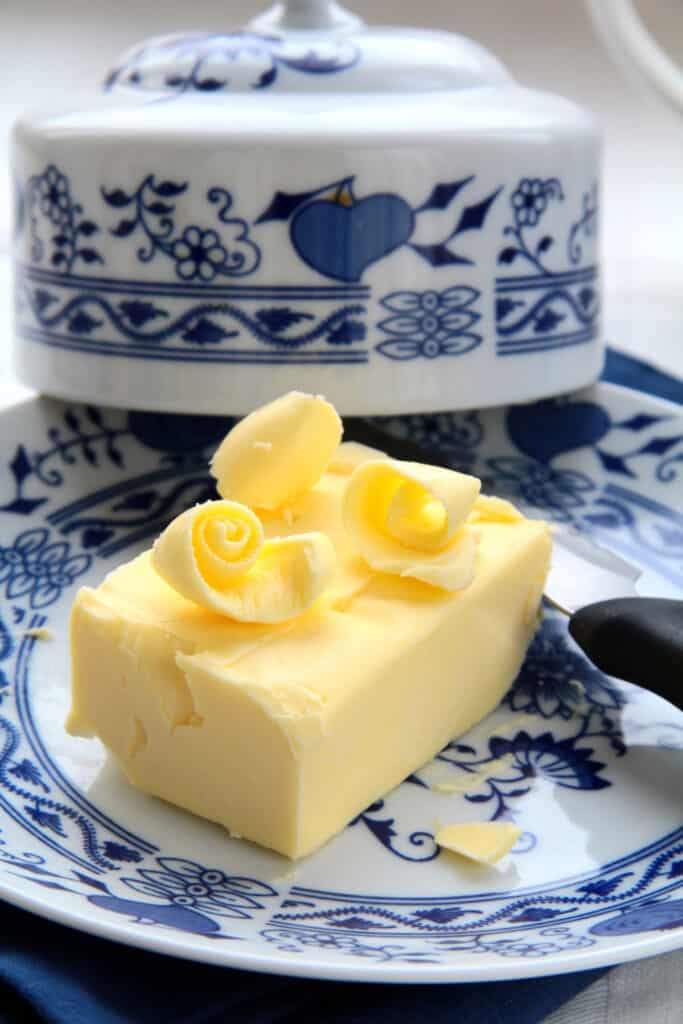
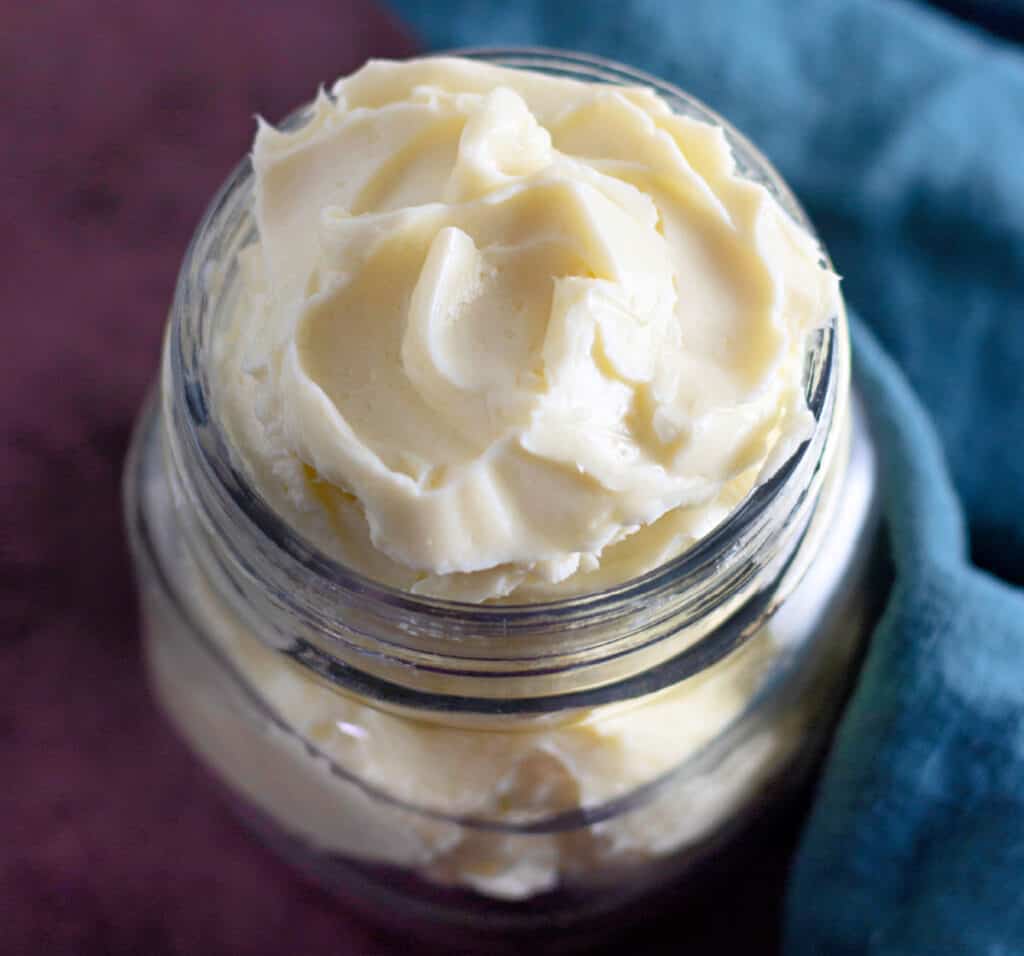
You can store butter in many ways, such as in a butter dish, in butter bells, butter crock, mason jar, plastic wrap, or any airtight container.
If your butter smells like sour milk, it has gone bad and do not eat it.
Other Ideas for Using Your Homemade Butter:
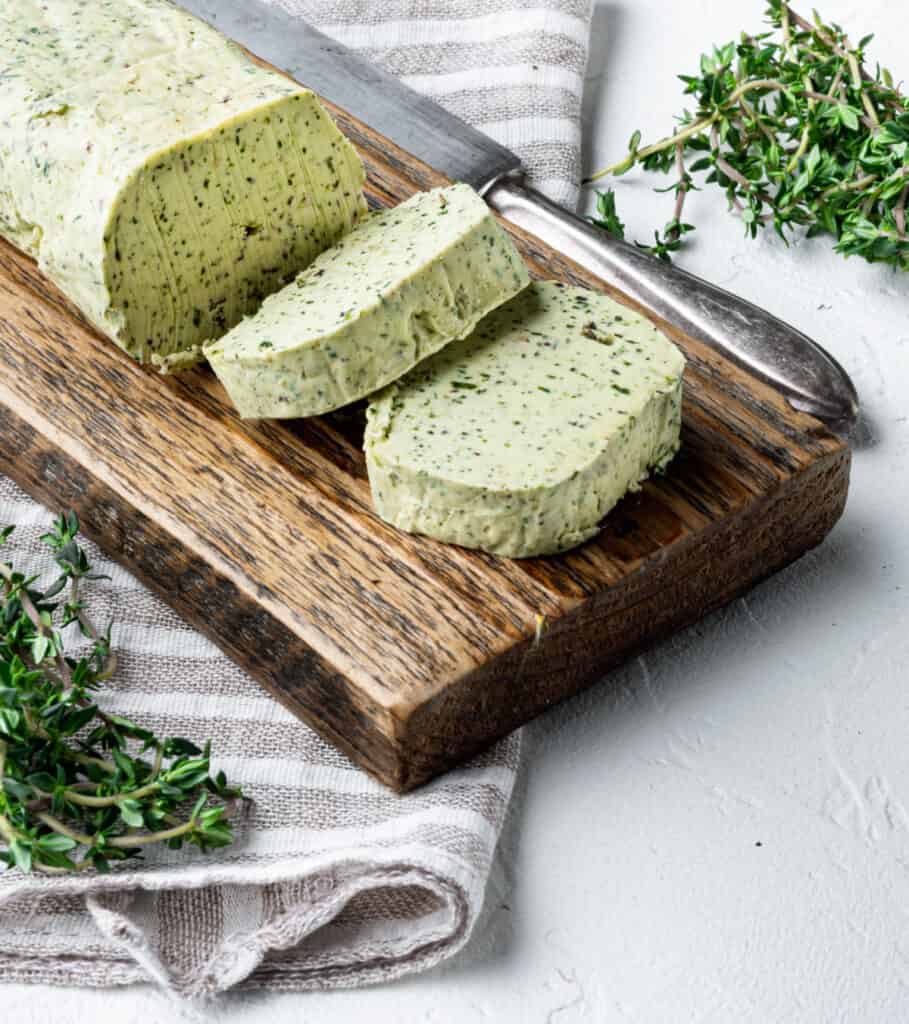
Compound Butters: Compound butters are simply flavored butters. Consider adding in some herbs or garlic to your homemade butter to make a compound butter. Some ideas for this are adding in basil, thyme, rosemary, chipotle-lime, cinnamon, sun dried tomato, honey & orange, tarragon, etc. There are endless possibilities!
Homemade Butter Recipe
Equipment
Ingredients
- 2 cups heavy whipping cream
- ¼ teaspoon salt (optional)
Instructions
- In the mixing bowl of a stand mixer, beat the whipping cream on medium-high speed until the butter is separated from the buttermilk.
- Scoop the butter fat out of the mixing bowl leaving them in small pieces and place into a fine mesh strainer. Refrigerate the buttermilk to use as desired, or discard.
- Fill the large bowl with ice cold water. Rinse the butter well in the strainer with ice water by dunking the strainer in the bowl, to remove any extra buttermilk. Water should be ice cold so that it does not melt any of the butter fat away, and you are attempting to remove any and all excess buttermilk in this step.
- After rinsing well, add the butter fat and the salt (if using) to the medium bowl and stir well, while also pressing out any additional liquid from the butter. If not using salt, still do this step, trying to remove as much liquid from the butter by mashing it against the sides of the bowls with the spoon.
- Pour off any excess liquid. Place ball of solid butter on a clean tea towel and pat dry to remove any excess moisture. The more moisture and water molecules that you remove, the longer the butter will store well.
- Shape butter into a ball or other shape of your choice and serve immediately, or chill in the refrigerator until use.
Want to Remember This?
Pin it for later reference! Pin "How to Make and Store Homemade Butter" on Pinterest to your favorite Recipe board so you can find it again easily! Or share on Facebook too!
Leave a Reply