As an Amazon Associate I earn from qualifying purchases.
You can read my full disclosure statement here.
(updated December 2022) Today I will sharing how to grow peppers from seeds, and I will also share some tips on how to successfully grow peppers in a short cool growing season, how to make pepper plants grow faster and other tips on growing peppers!
This article is another one in my Seed Starting 101 series that I hope you will find useful for how to grow peppers from seeds.
Starting peppers from seed indoors is easier than you might think. It also opens up a whole new world of varieties that are available to you, as there are many more types of pepper seed available, than you will ever find of plant starts at your local nursery or local garden center.
If you are wondering how to grow hot peppers from seed, it is the same as growing bell peppers! Hot pepper plants do take a bit longer to mature, so you may want to start them earlier than your sweet peppers.
How long does it take to grow peppers from seed?
Well, typically you start pepper seeds 8-12 weeks before the last frost in your area. After they are transplanted, bell pepper plants mature in 60-90 days, and hot pepper plants mature in about 150 days.
Once the plant is mature, it begins producing peppers. So it can take anywhere from 120 days to upwards of 180 days from the time you plant the seed, until your plant begins bearing fruit.
This of course would be with ideal growing conditions and proper hardening off methods.
Seed Starting Schedule for Garden Zone 8b
Seed Starting 101: Essential Seed Starting Equipment
Seed Starting 101: Winter Sowing
Seed Starting 101: Planting Tomato Seed Indoors
Our favorite Homesteading and Gardening tools in our Amazon Shop!
Our Garden Harvest Tally Spreadsheet is now available!
Types of Pepper Plants to Grow from Seeds
Peppers are a part of the nightshade family of plants, along with tomatoes, potatoes, and eggplant. There are many different varieties of peppers to choose from.
Before starting your pepper seed, you need to decide on what types of peppers to grow. There are two main types of peppers, hot chili peppers and sweet peppers.
Types of Hot Pepper Plants
Hot peppers are rated on their heat intensity using the Scoville Scale. Where a sweet bell pepper is rated zero on this scale, the mildest hot pepper is the pepperoncini which measures 100-500 on the scale and the hottest pepper is the Carolina Reaper which measures 1,400,000 - 2,200,000 on the scale.
From mild to hottest, here is a list of hot peppers measured on the Scoville Scale:
- Pepperoncini peppers
- Anaheim peppers
- Poblano aka Ancho peppers
- Jalapeno peppers
- Hungarian peppers
- Serrano peppers
- Tabasco peppers
- Cayenne peppers
- Thai peppers
- Scotch Bonnet peppers
- Habenero peppers
- Fatali peppers
- Red Savina peppers
- Chocolate Habenero peppers
- Ghost aka Bhut Jolokia peppers
- Trinidad Scorpian peppers
- Carolina Reaper peppers
These are the most popular hot peppers, but there are many other varieties. If you are unsure of the hotness of a pepper, you can always search on Google for it's Scoville Scale to find that information.
Type of Sweet Pepper Plants
Sweet bell peppers are the most popular sweet peppers, but there are a lot of varieties of bell peppers to choose from. The sweetest of them all are red bell peppers.
Bell peppers come in a variety of colors such as yellow, orange, green, purple, chocolate and red peppers. Try a new to you variety this year!
There are also mini snack size sweet peppers often called lunch box peppers and these often come in different colors as well. There are also long sweet peppers, such as banana peppers.
As you can see, there are a lot of different pepper varieties to choose from. Once you have decided on which types of pepper seeds you want to grow and have acquired the seed for them, you can move on to the next step in growing them.
Some of My Favorite Pepper Varieties for Planting in the Pacific Northwest:
I grow peppers in the Pacific Northwest in gardening zone 8b. We have a cool, short growing season, so it is hard to find peppers that do well here. I am including a couple of varieties that have done well for me here.
I am not much of a hot pepper girl, but do usually grow a few standard jalapenos and anaheim chili peppers and they do fine for me here.
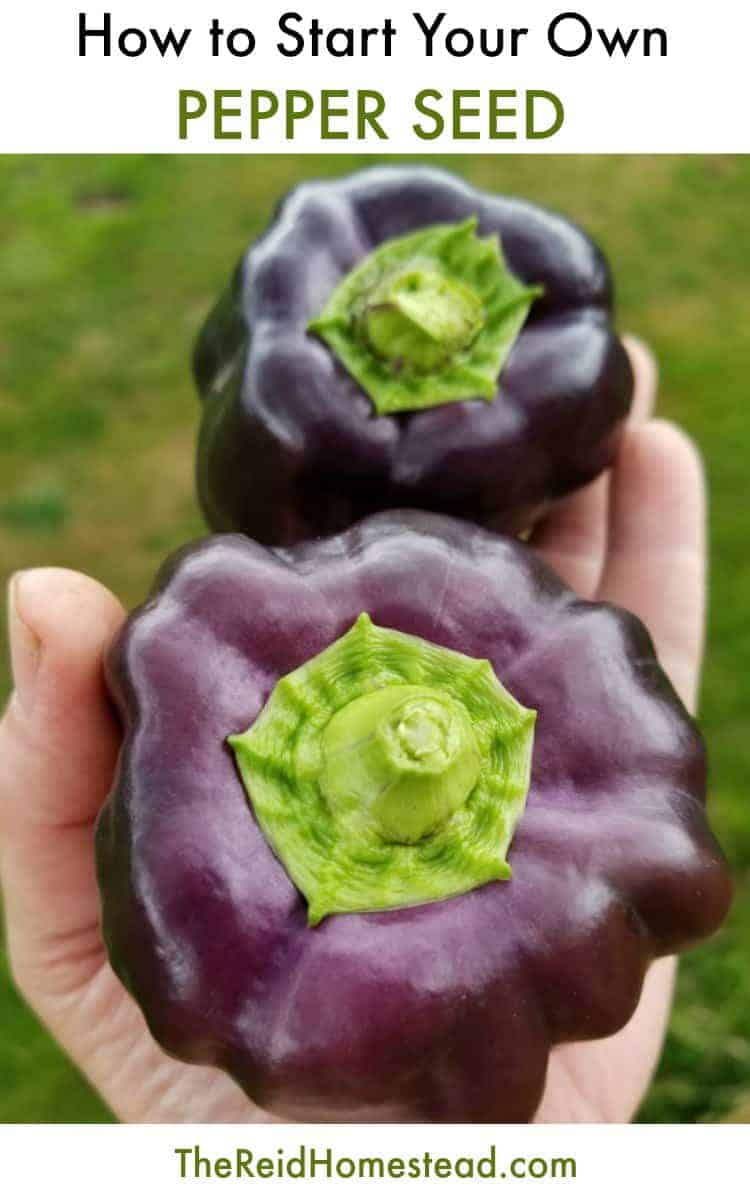
Oda Peppers: These are the most beautiful royal purple color. Worth growing for the sheer beauty of the color! Thin walled and yummy for snacking or salads.
These have grown really well for me and are worth growing just for their beauty. They have a thin white wall and their flavor is not my favorite. But if you are looking for a stunning variety to grow, this is my favorite for that!

Beautiful Oda peppers. Just love the color of these!
King of the North: This is a short season pepper and it has done really well for me, both for flavor and productivity. Turns red when fully ripe. Very productive large fruits. The photo below, I took the first week of June last year in my unheated greenhouse.

An early "King of the North" unripe pepper. These turn red when ripe. This was taken in early June last year.
Purple Beauty: Purple Beauty has become a fast favorite. It produces well and early for me, and keeps up well with King of the North. Tastes great too!
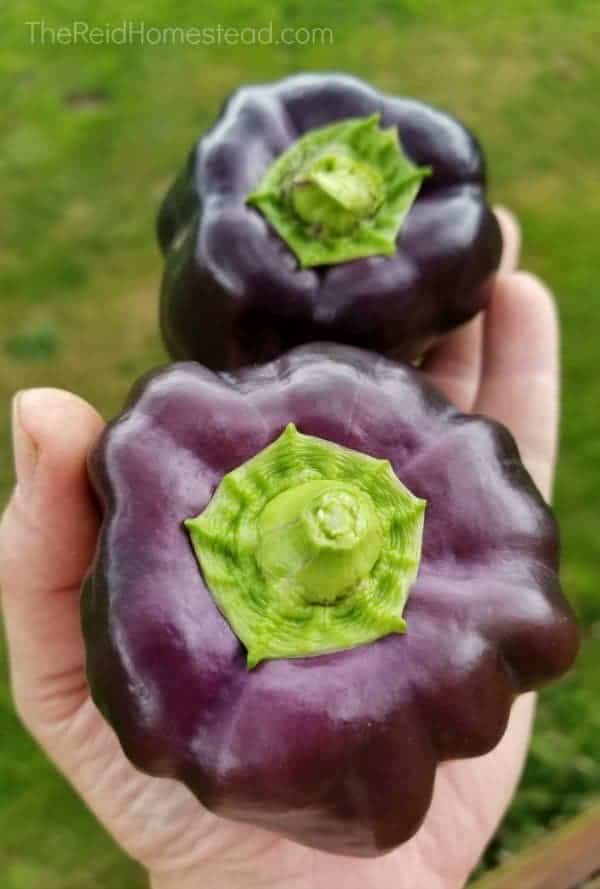
Two Purple Beauty peppers that I grew in my greenhouse last year that were ripe by early July.
Checking for Seed Viability
Before you learn how to grow peppers from seeds, you need to be sure that your seed is viable. To do this, you will need to do a test run to see if the seed germinates.
If you have acquired new seed from a trusted source, or if you have saved your own seeds, you can probably skip this step.
If you are using seed that is old, or was gifted to you, or you obtained it from a seed swap or discount rack, it is a good idea to test the seed for germination to be sure that you have viable seeds.
How to Germinate Pepper Seeds
The best way to test the viability of the seed, is to test how it germinates. Do this is by taking a small bit of the seed, and placing it on a dampened paper towel and placing this in an airtight plastic bag or container.
Ideally you will want to set it in a warm place, such as on top of your fridge, or on a seedling heat mat.
Leave the seed alone for a week or two, except for checking to make sure there is still dampness inside the bag. If it is drying out, spray a little water onto the paper towel and the seeds and seal it shut again.
Pepper seeds take 7-10 days to germinate in ideal conditions, so by two weeks in, you should have some seed that has germinated. If not, the seed is not likely viable.
Be sure to do this test a couple weeks prior to when you want to start the majority of your pepper seed so you can plan accordingly.

These are not pepper seeds, but this gives you an idea of what you are looking for in a good germination test.
When Should I Start My Pepper Seed Indoors?
Now that you have your pepper seeds chosen and have tested any seed you were not sure about, you are ready to begin sowing your main crop of pepper seeds. Be sure to read the seed packet your pepper seed comes in for best practices, and be sure to know when your last frost date is, so you can time things properly.
Most peppers will say to begin the seed 8-12 weeks before your last frost date.
Growing hot peppers from seeds is no different then growing bell peppers, except that they might take a little bit longer to mature. So many people start their hot peppers a month earlier than their bell peppers.
I live near Seattle in the PNW in garden zone 8b. I like to start my pepper seed in late February and our last frost date is always near the end of April.
Get my Seed Starting Schedule for Garden Zone 8b
I could start my seed earlier, if I was interested in babying along my plants and up-potting them a couple times before moving them outside for the summer. But because of the sheer number of seedlings I start for my annual seedling sale, I won't start them before mid-February because it makes too much work for myself.
Learn How to Sell Vegetable Starts and Other Plants from Home
Hot peppers take longer to mature, so you could start them much earlier. I have friends who start them as early as December!
Peppers do have a very long growing season, so unless you live in a very warm and tropical climate, it is likely that you will need to start the seed indoors instead of sowing it directly outside. If they are started too late in the season, your peppers may not reach maturity and full production before the cold nights hit in the fall if you sow them directly outside.
Setting up an Area to Start Your Pepper Seeds
First you will need to plan out where you want to set up your growing area. I always suggest doing it in a room with a door, to keep toddlers and curious pets away from your project, so that your seedlings will remain safe and undisturbed.
Peppers are a heat loving crop, and will need to stay warm from the time the seeds are planted, right through until harvest. So unless your greenhouse is heated and will remain well above 50 degrees at all times, I don't recommend starting peppers or tomatoes or other heat loving crops, in a greenhouse unless you can be sure that it will be warm and toasty in there at all times.
I personally start all my seedlings on wire racks, and I find by using these, I can start a LOT of seed in my house, in a very small foot print. You will also need seedling heat mats, as pepper seeds germinate at a temperature of between 75-85 degrees.
For your best success, please also use plant lights of some sort, these are the lights I have bought myself most recently. Placing seedlings on a windowsill is not providing them adequate light, and the seedlings will stretch out and get leggy, reaching for what little sunlight they may be able to get.
Leggy seedlings are not healthy seedlings, they are weaker plants and will take weeks to recover and therefore be less productive plants.
Equipment I Use for Starting Pepper Seeds
If you haven't checked out my Seed Starting 101 Series: Essential Seed Starting Equipment post, it outlines in detail with links to products, what type of potting mix I use and all the other equipment I use when starting seeds indoors.
How to Grow Peppers from Seed
Below is a step by step tutorial on how to grow peppers from seed:
- Once you have chosen your seed-starting mix, be sure to moisten it before packing your small pots or 6-packs with it. It should be damp enough to hold together if you squeeze a handful together in your hand, but not dripping.
- When I am planting pepper seed, I use the fat end of a chop stick to indent the soil about a quarter inch. If I feel confident that my seed is good viable seed, I will put two seeds in each indentation.
- If the seed is older and you have not done a test to be sure of it's viability, you might do better to put 3 or 4 seeds in each hole as you may have less germination.
- Lightly bury the seed and press it down so the seed is in contact with the soil all around. Then I give each one a good soaking spray with a spray bottle; you want the top of the soil above and below the seed to be damp, for the seed to germinate.
- Be sure to label each pot or cell if you are planting lots of different varieties.
- Place your pots or 6-packs into seed trays with no holes after you have planted the seed, so that you can water the seedlings from the bottom, once they have their first set of true leaves. Ideally you should cover these plant trays with a plastic dome to keep the humidity level high, until the seeds have germinated.
- Place the seed tray on a heat mat and cover with a plastic dome to keep the humidity high and place underneath a grow light.
- Check on them frequently, to be sure that the soil surface has not dried out. If it appears dry, spray it down with water again and then put the clear dome cover back on.
- The germination period for peppers is usually 7-10 days in ideal conditions. If you don't have a heating mat, it could take longer.
- Once the majority of the pepper seed has germinated, remove the humidity dome, and turn on the grow lights. Be sure to read up on the spacing requirements of the lights you are using and the distance they should be from the seedlings.
- Fluorescent lights can and should be kept only an inch or so away from the seedlings. I like to hang them from chains so it is easy to move the lights up as the seedlings grow.
- LED lights have different requirements, and can burn the seedlings if they are too close.
- Once you have removed the humidity dome, you will then water your seedlings from the bottom, by placing the water in the plant tray, and the seedlings will absorb it from the bottom. Be careful not over water them, the seedlings should not be sitting in water for any length of time as this can cause damping off and other fungal diseases.
- Let the soil surface dry out before watering, and the amount of water you put in the tray should be absorbed in ½ an hour to an hour.
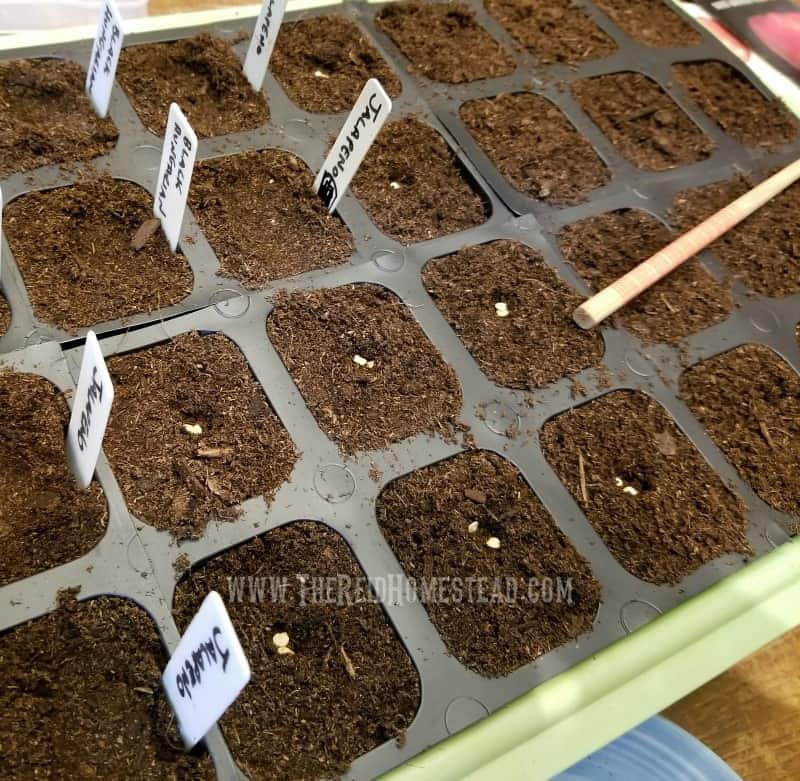
This shows how I plant my pepper seeds.
Care of your Pepper Seedlings
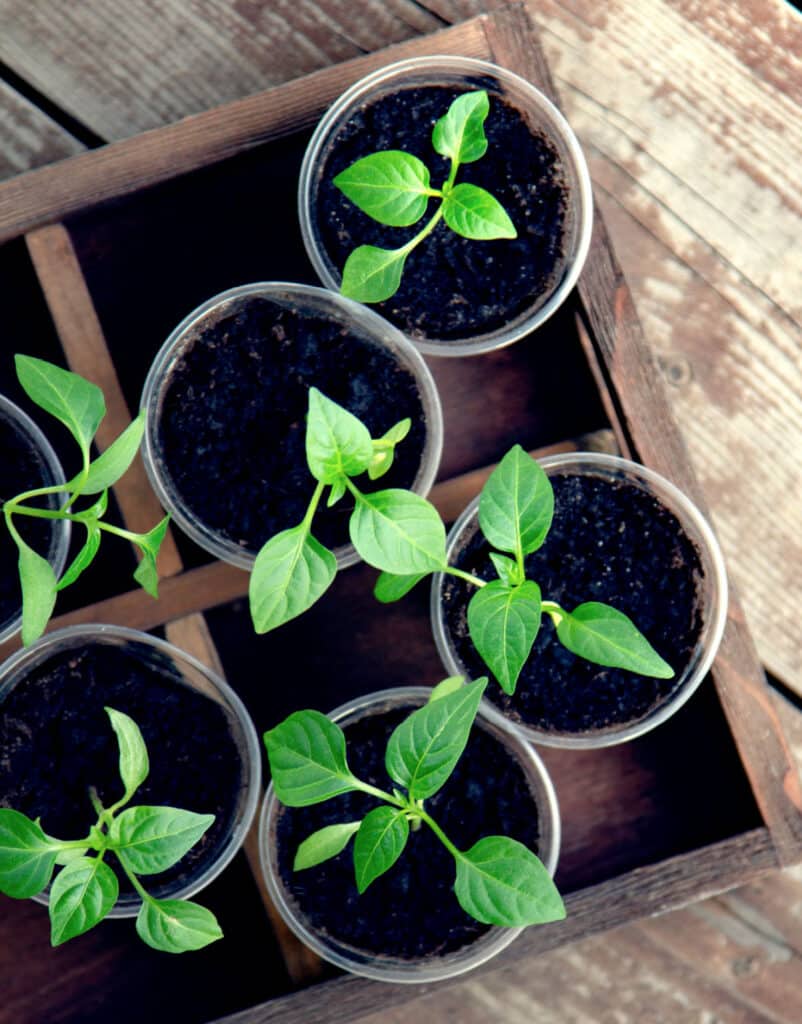
Now that you know how to grow peppers from seeds, you should soon have some nice pepper seedlings to care for. After the majority of seeds germinate in your plant tray, you will need to remove the humidity dome.
Once you remove the humidity dome, it is a good idea to put a small fan on your seedlings. If you don't have an oscillating fan, try to move the fan so it is aiming from different directions, a couple of times a day.
The fan helps with air circulation, to prevent fungus and disease from developing in the warm moist environment. It also makes for much stronger plants as they will develop stronger stems.
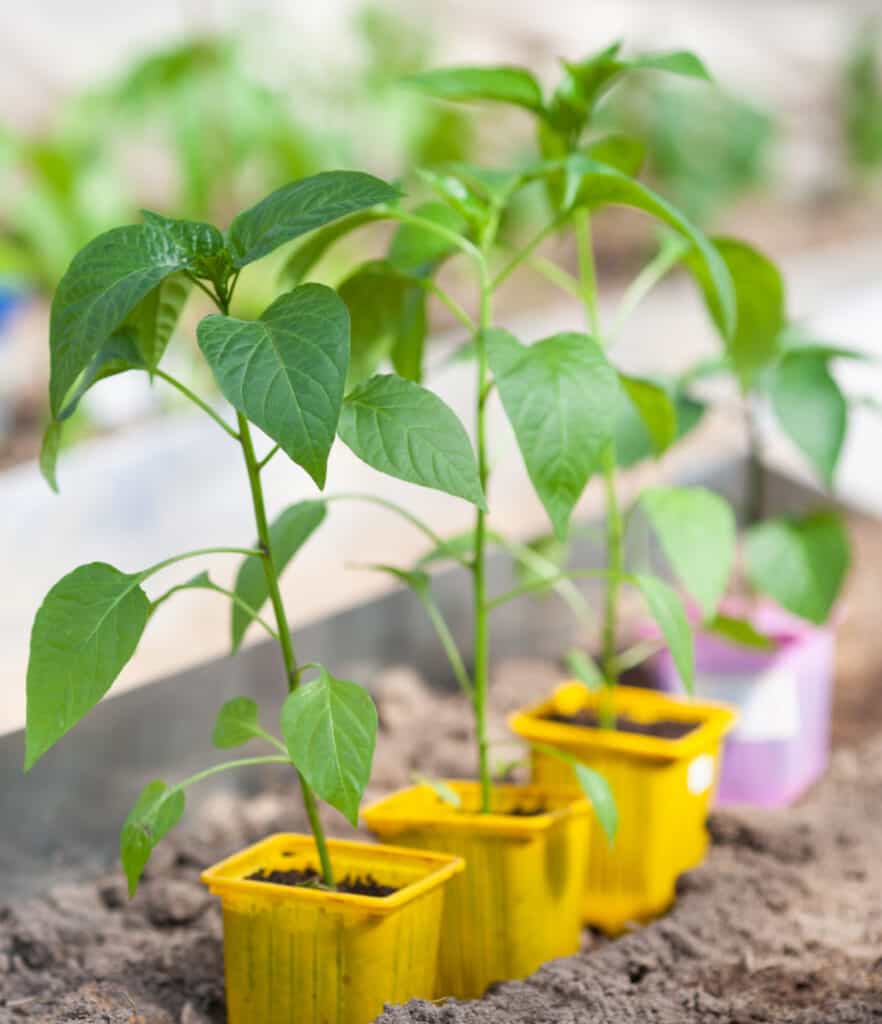
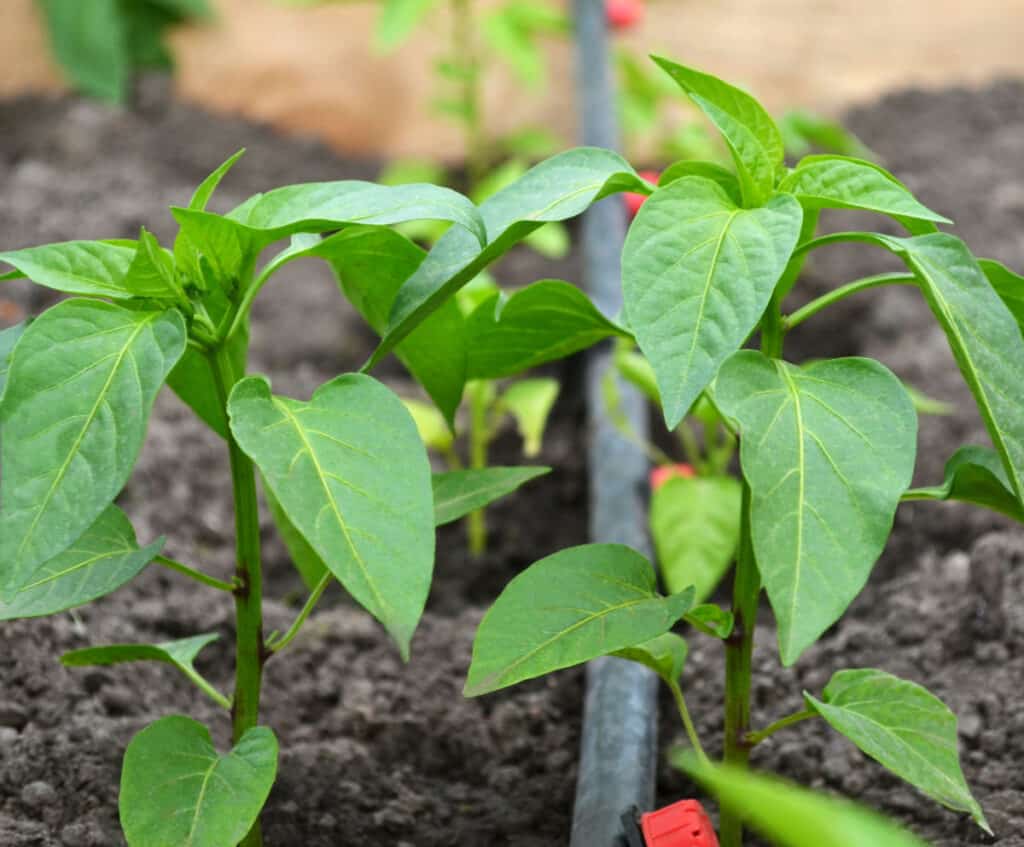
When the second set of true leaves develop, thin the plants down to just one plant for each cell or pot. Keep the lights within an inch of the top of the plant. As the plants grow, move the light upward with the plant.
Transplanting your Pepper Seedlings
When the plants get large enough to either not fit under your lights, or just get too crowded in the tray, it is time to transplant them to a larger pot.
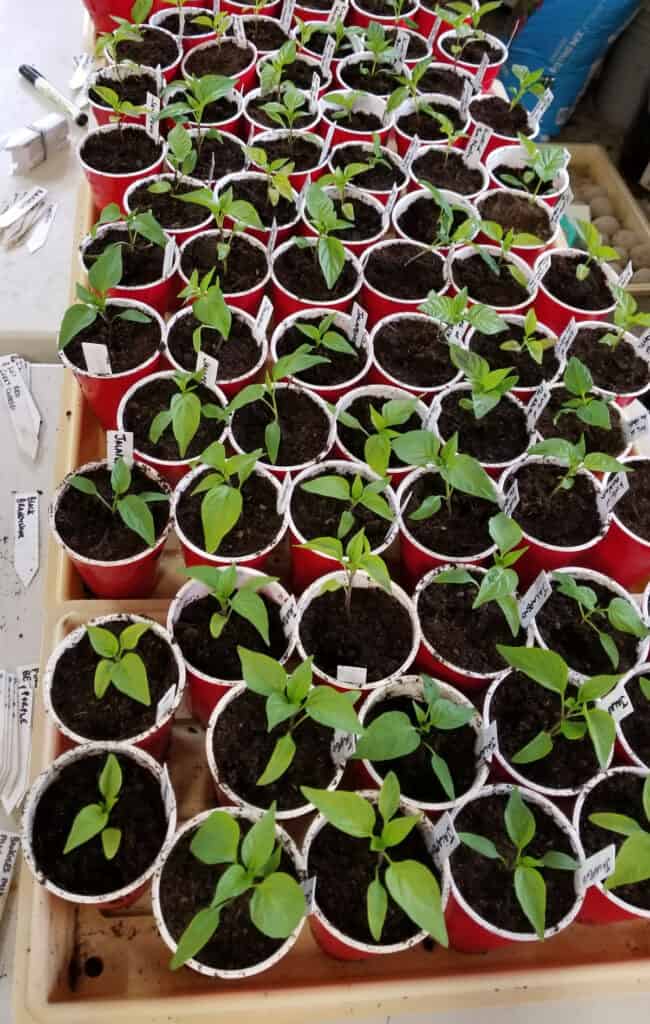
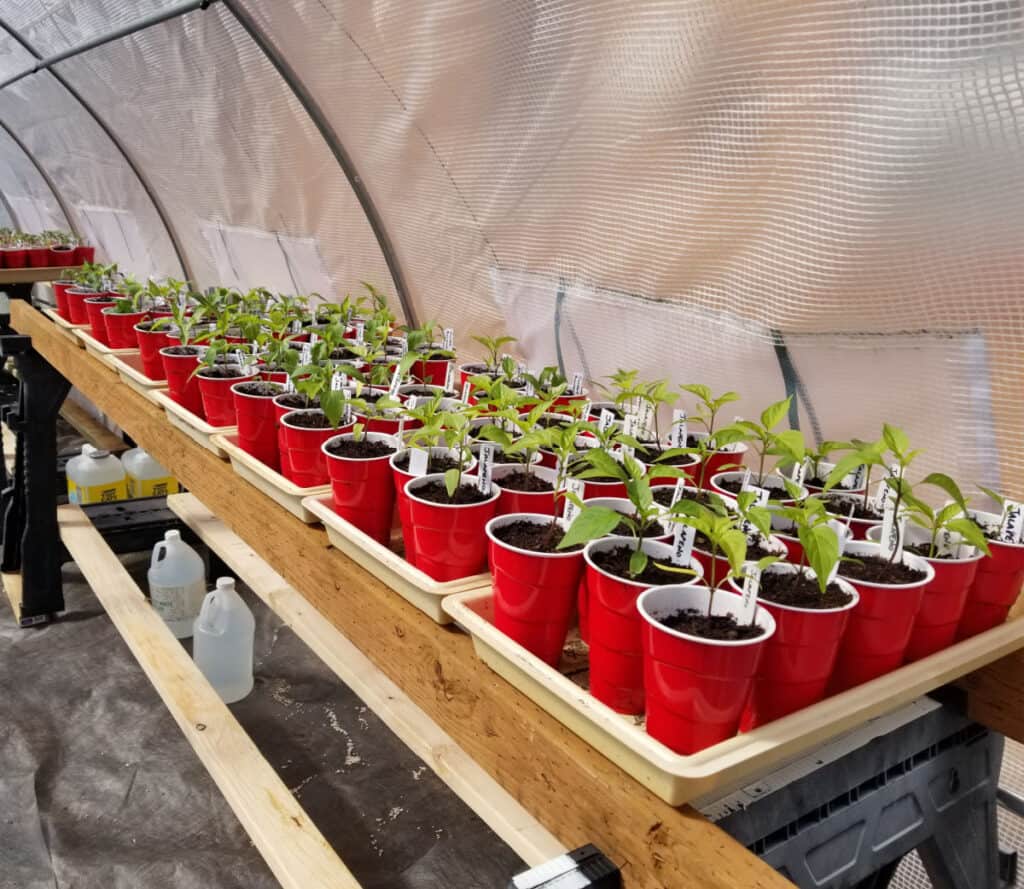
I like to move them into Solo Cups at this time as they are a little deeper than most of the standard small 4" pots available. Make sure you snip some drainage holes into the bottom of the cups though.
If you plan to grow them in larger pots for the season, you could transplant them directly into those pots at this time. I usually do not have space to do that yet, since I usually keep around 3 dozen pepper plants going for the summer for myself.
Plus I start a lot of seedlings that I sell. So transplanting them to the Solo cups is kind of an intermediate phase for them that takes up as little space as possible.
Usually by the end of March or early April, I then transplant again into the larger permanent 3 gallon pots that they will live in for the rest of the summer, and they get moved into my unheated greenhouse.
Please remember, that peppers are a heat loving crop and will not survive when temperatures get lower than 50 degrees. So be mindful of this before moving them outside or into a greenhouse.
Hardening Off Your Pepper Seedlings
Before you move your pepper plants from indoors to outside, it is critical that you harden them off properly. Without hardening off your seedlings, they will go into shock and may not recover.
See my article for a guide on How to Harden Off Your Seedlings and more details on why this is such an important step that is so often overlooked.
Peppers do not do well if the temperature gets below 50 degrees. So until the temperatures get warmer than that, especially at night, you must keep them in a sheltered location or bring them in at night.
Even if you are moving them to a greenhouse, it is a good idea to keep a thermometer in the greenhouse with an alarm that will let you know if the temperature drops below this so you can take proper precautions.
Final Planting Tips for Your Pepper Plants
The best soil for pepper plants is one that is full of organic matter and has good drainage. Add a thick layer of mulch to help with weed control as well as keeping any water from evaporating.
When you are doing the final planting of your pepper plants, whether it is in pots or in the ground, my secret tip is to add a little bit of sulfur to the bottom of the hole. Peppers like it a bit acidic, and I learned this trick from Dick Raymond in his Joy of Gardening book .
You can buy sulfur powder for plants, and just put a pinch in, or even throw a few match stick heads in there. I also add a bit of crushed egg shell and a bit of Epsom salt for a bit of a calcium and magnesium boost. Stir this all together at the bottom of the hole with some soil, and then plant your pepper plant, and water well.
How Often to Water Pepper Plants?
This depends on a couple of things, like how hot it is where you are and if your peppers are planted in the ground or in containers. Wait until the top few inches or soil are dry, and then water deeply.
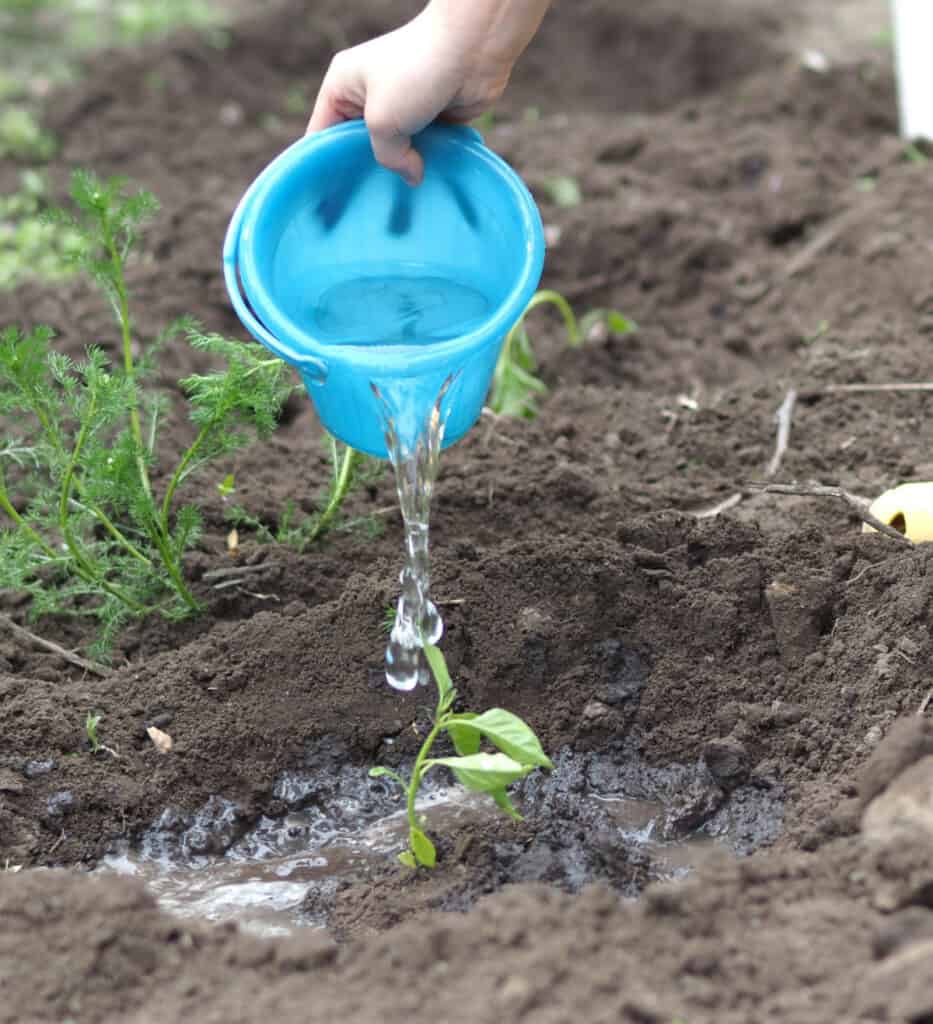
Most people do not water their plants deeply enough. Think about it in this way, you want to water the bottom of the roots, in the bottom of the planting hole, not the dirt at the surface.
If you water by hand, and the water begins to run off quickly, create a circular mound or berm around the base of the plant. Fill this with water, multiple times! You really want the water going down 6" or more.
Deep watering sends the roots deeper, which makes for a stronger plant. Shallow watering prevents the plant from sending it's roots deep, they will stay near the surface where the water is!
If you live in a hot climate, this is especially important, because the heat of the sun can quickly evaporate any water at the surface. Water DEEP, and then water again and again, and mulch to keep that water from evaporating quickly!
Drip irrigation is really the best way to water as it takes the least amount of time, the least amount of water, and it goes deeply. Used hand in hand with a deep layer of mulch, this is the best method hands down.
Tips for Growing Peppers in cool climates like the Pacific Northwest
Provide Extra Heat:
Peppers (and tomatoes) love heat, and it is often something we lack in our short cool growing climate.
Growing Peppers in Pots:
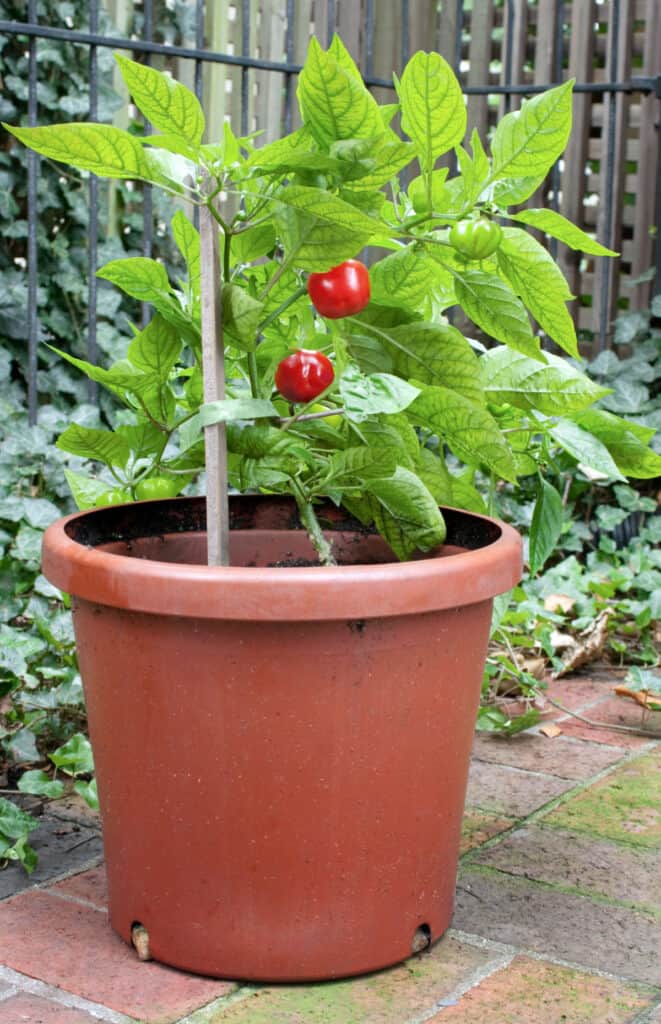
One thing I do to make my pepper plants happy, is I grow them all in pots. The roots stay warmer up out of the ground, and this makes the plants happier and more productive. This goes for hot peppers as well as sweet bell peppers.
You might wonder how to grow peppers in pots, but it is no different than growing them in the ground. There are two things you might need to figure out. The first is what size pot to use, and I recommend at least a 3 gallon pot.
The second thing to stay on top of is watering, especially if you live in a hot climate. Pots dry out very quickly, so you may have to water more if growing peppers in pots or containers.
Provide a Warm Environment for Peppers to Grow:
I also grow peppers in an unheated greenhouse, which helps tremendously. Just providing them cover at night when the temps get cool, really helps them out.
If this is not an option for you, consider placing your pots up against the south side of your house, or place them on a patio which retains the heat of the sun during our cool nights. This extra heat really makes the plants happier and healthier!
Typically I move my pepper and tomato seedlings into my unheated greenhouse around April 1. The picture above was taken at the end of April a few years ago, and I already had many blossoming.
The greenhouse provides them with just enough extra warmth during the day, and cover from the cool nights.
Watch Out for Cool Night Temperatures:
I do keep watch on the weather after they move to the greenhouse. If the weather should get below 40, I would provide additional cover inside the greenhouse, by laying a sheet or frost cover over the plants.
We have such a cool short growing season here in the PNW, planting them in pots and keeping them in the greenhouse for the summer, has allowed me to have more productive harvests.
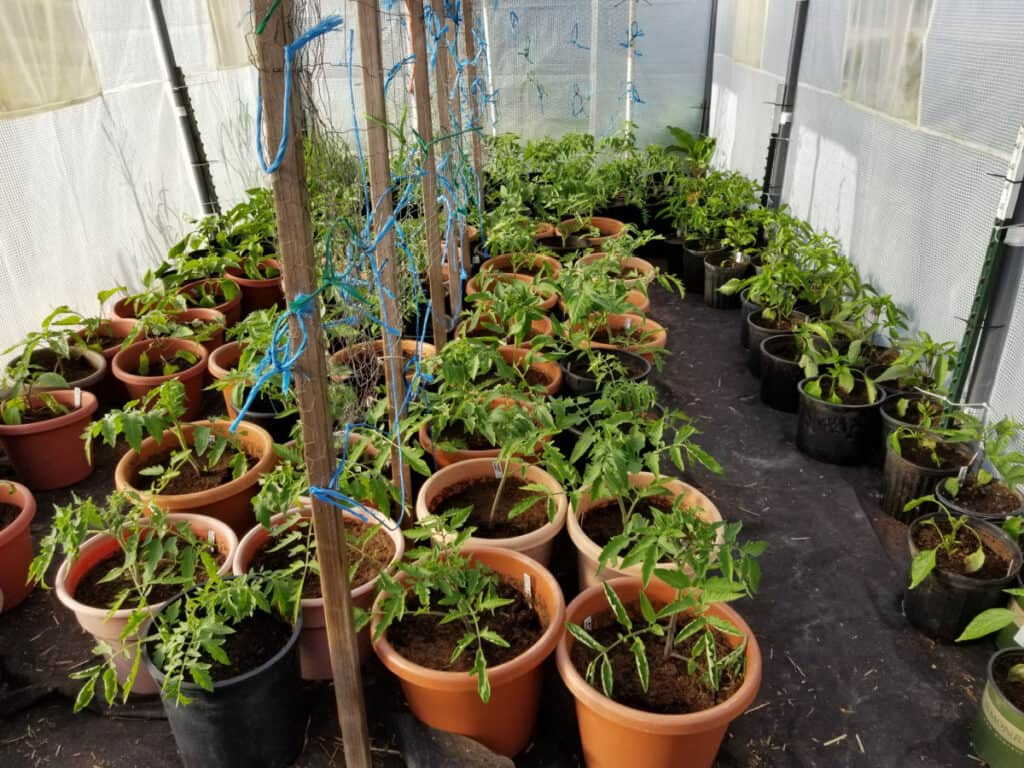
These are my tomato and pepper plants up-potted to their final growing containers in the greenhouse.
How to Make Peppers Grow Faster
If you are wondering why are my pepper plants so small, or how to make bell peppers grow bigger, take note of the following tips below. And have patience!
- Provide them lots of extra heat, especially if you live in a cooler climate. You can do this by growing them in pots instead of the ground.
- Use larger containers, at least 3 gallon nursery pots or larger. Smaller pots will stunt their growth, and make them less productive.
- If they are subjected to cold temperatures, it will stunt their growth. So be sure that you put them outside at the right time, and not too early and double check the night time temperatures too!
- Place the pots in a greenhouse, or on the south side of your house, on a driveway or patio. This way the heat can reflect onto them from the thermal mass of the house or driveway or patio.
- Be sure they have enough light, peppers do not do well in the shade and want lots of direct sunlight in full sun. And remember that they do have a longer growing season then many vegetables, so perhaps you may need to start them earlier next year for a more productive crop.
- I like to spray my peppers and tomatoes once a month with a water solution containing 1 TBSN of Fish Emulsion fertilizer, and 1 TBSN of Epsom Salts, thru the growing season until most of the fruit has set.
- Peppers do not like a lot of fertilizer, so be careful not to over fertilize them. Water them regularly and you should be all set for a bumper crop of peppers this summer!
Final Thoughts
I hope this has helped teach you all you need to know about how to grow peppers from seeds, plus some other helpful tips on growing peppers! I would so love if you could share this article with your gardening friends or on social media! Thanks so much and happy growing!






Dixie
Hi, I just discovered your site and love it. How deep do you plant your pepper plants when transplanting them?
Tamara
Hi Dixie, Hmmm....I will have to do an article showing how I do this, but I do plant them a little bit deeper, but not as deep as my tomato seedlings. I would say I plant them an 1" or 2" deeper than the start was planted. I don't use as many supplements in the pot when planting, just a pinch of sulphur as they like the acidity. Other than those two things, I plant them the same as my tomato seedlings. If you haven't checked out my article on planting tomato seedlings you can see it here: https://thereidhomestead.com/how-to-transplant-tomato-seedlings/ Hope that helps!
Dixie
That's exactly what I needed. Thanks
Tamara
You are welcome!
Carla
I started my seeds in an egg carton with holes in the bottom for drainage. My seeds all came up quickly. I have 2 leaves. Hiw soon should I transplant? Egg cartons seemed perfect, but now I'm wondering if it's too small.
Tamara
Hi Carla, the first leaves that show on the seedling are not the true leaves, they are the cotyledon leaves. When the second set of leaves show, they are called the first "true" leaves of the plant. This is usually when it is safe to transplant the seedlings. However, egg cartons are pretty small, so there is not much room for the roots to develop, so I would wait for the "true" leaves to show up, and then quickly transplant them into a 4" pot or a Solo cup that you have put drainage hole in. Hope that helps!