As an Amazon Associate I earn from qualifying purchases.
You can read my full disclosure statement here.
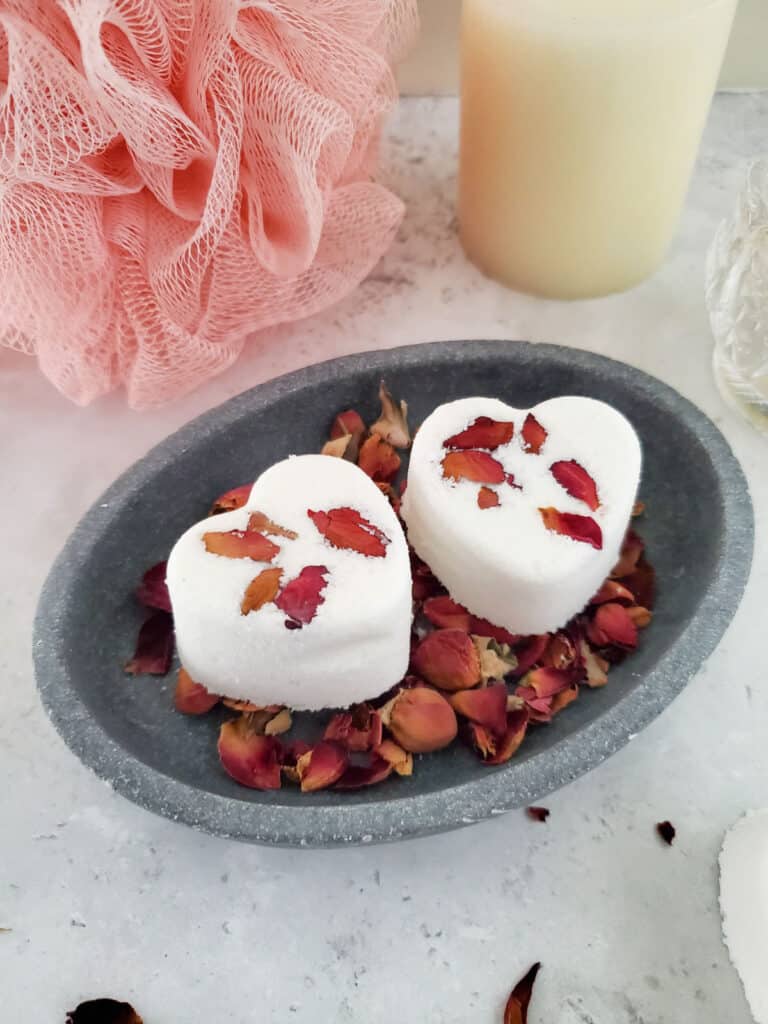
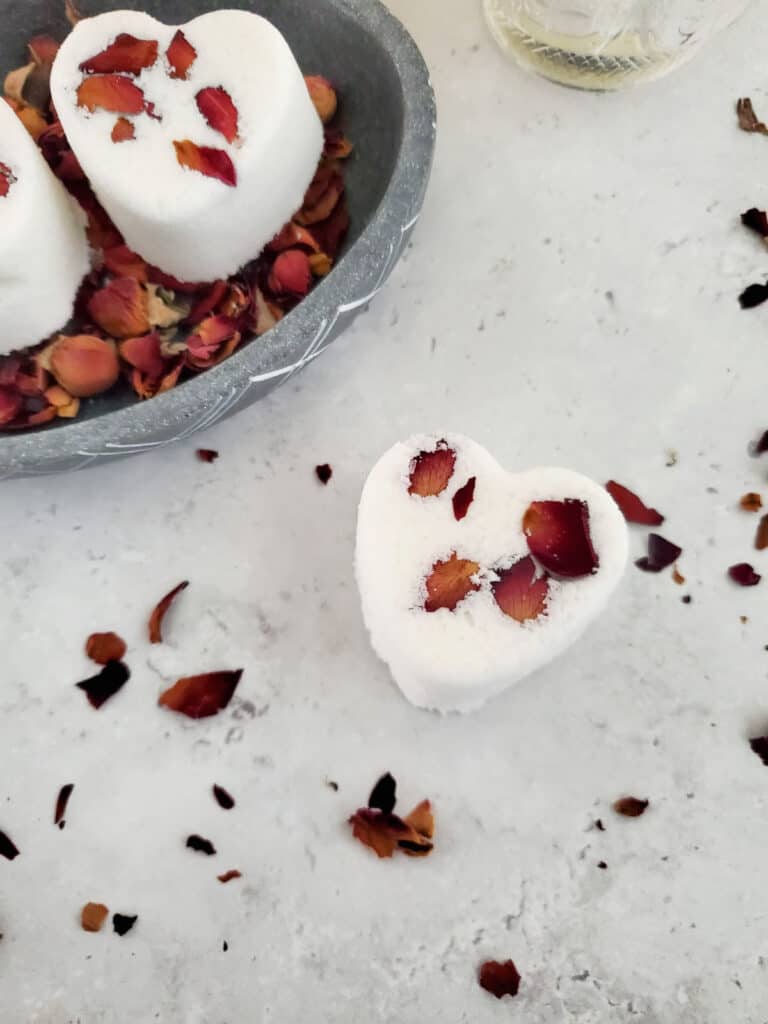
These homemade bath bombs with rose flower petals, are super simple to make and so nice to add to a hot bath! Made with all natural ingredients, they make a perfect gift too!
These heart-shaped rose petal bath bombs would be perfect as Valentine’s day gifts or they would make cute wedding favors or bridal shower gifts. They are also perfect for Mother's Day!
If you are planning to gift the bath bombs, you might consider pairing them with this homemade DIY Vanilla Rose Sugar Scrub Recipe! Or these yummy heart shaped Valentine's Day Raspberry Cream Cheese Danish Pastries!
Rose is a lovely fragrance any time of year, but especially for a romantic bath on Valentine's Day or an anniversary celebration. Learning how to make your own diy bath bombs is a great way to save some money gift giving or for pampering yourself.
Add them to a nice relaxing bath at the end of a long day with a cup of tea or glass of wine, there is no better way to de-stress. Add a fizzy bath bomb to your warm bath water and enjoy the fragrance of roses.
Making your own bath bombs can also be a creative outlet for you! See below for different variations on this recipe, or see all of my DIY Bath & Beauty Tutorials for other ideas!
If you want more handmade gift ideas, see my article featuring over 50+ Handmade Gift Ideas!
Other Bath & Beauty Product Tutorials you may be interested in:
DIY Honey Almond Sugar Scrub Bars
DIY Lavender Epsom Salts Bath Soak
DIY Lavender Bath Melts
DIY Pumpkin Spice Sugar Scrub
DIY Whipped Peppermint Sugar Scrub
Our favorite homesteading and gardening tools in our Amazon Store!
Our Garden Harvest Tally Spreadsheet is now available!
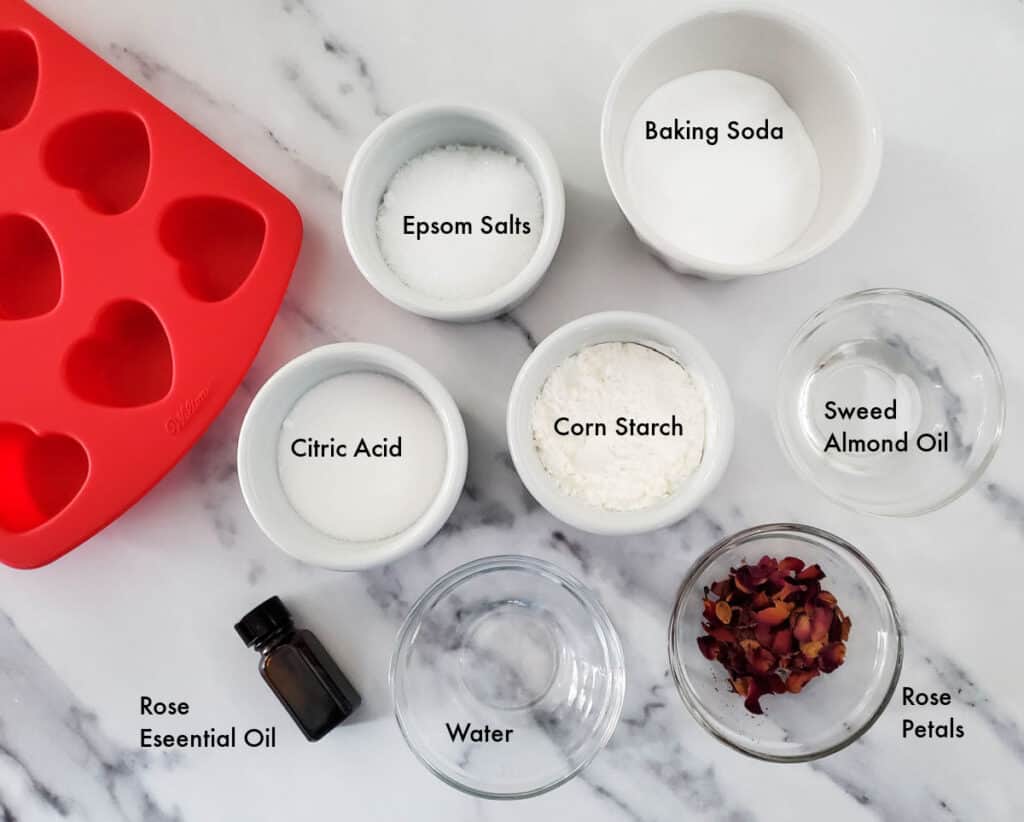
SUPPLIES NEEDED FOR THE DIY ROSE PETAL HEART BATH BOMBS:
This tutorial makes 9 heart shaped bath bombs if you are using the same mold we will link to down in the supplies list. You might want to double or triple the recipe as it makes for a lovely gift idea! It's the perfect gift for a teacher, friend or loved one!
Supplies List:
- 4 oz baking soda
- 2 oz epsom salt
- 2 oz corn starch
- 2 oz citric acid
- 1 tablespoon sweet almond oil
- ½ teaspoon water
- 25 drops rose absolute essential oil
- 1 tablespoon mini rose petals
- Silicon heart shaped mold
HOW TO MAKE DIY ROSE PETAL HEART BATH BOMBS:
Directions:
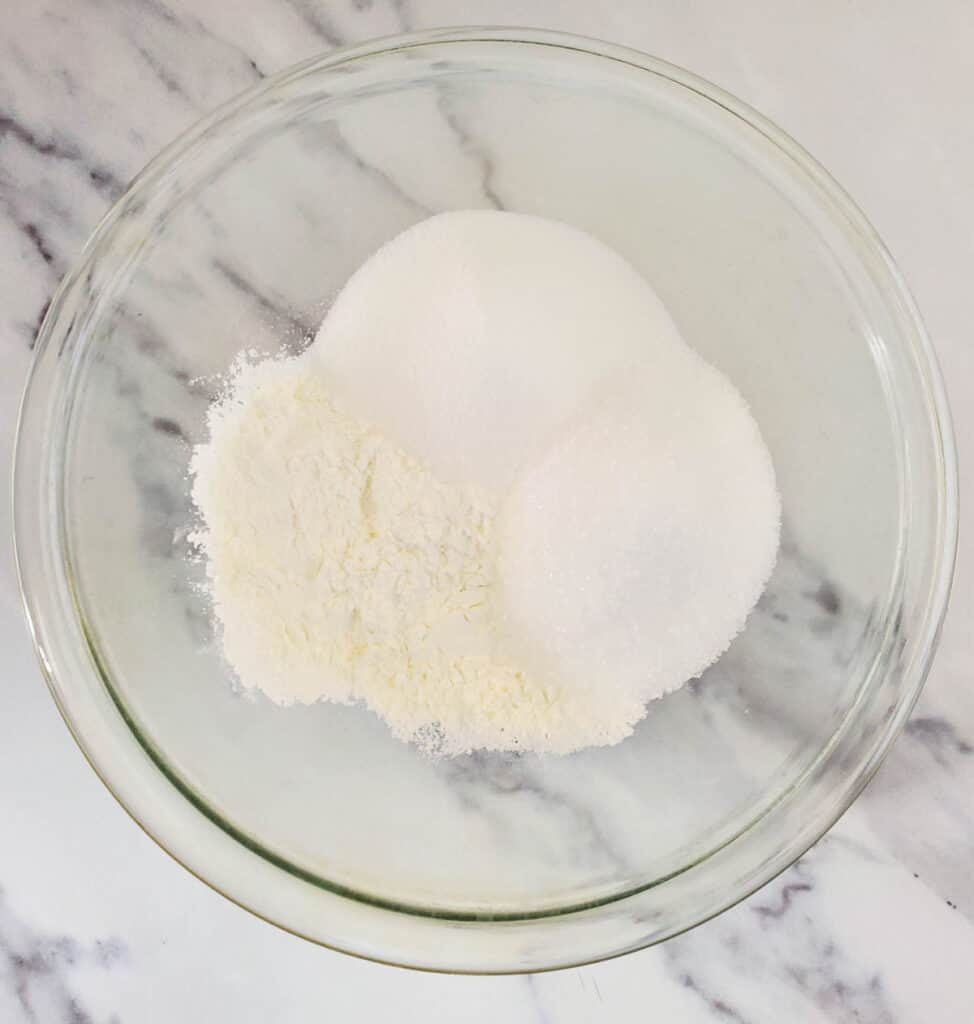
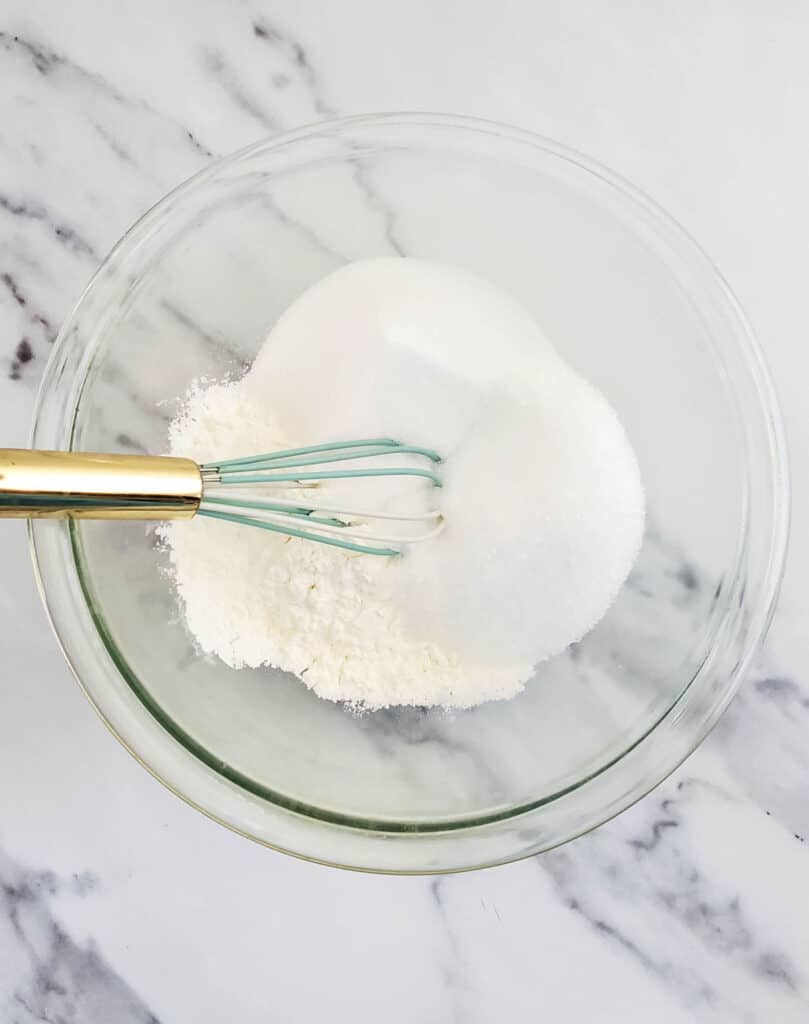
Step 1:
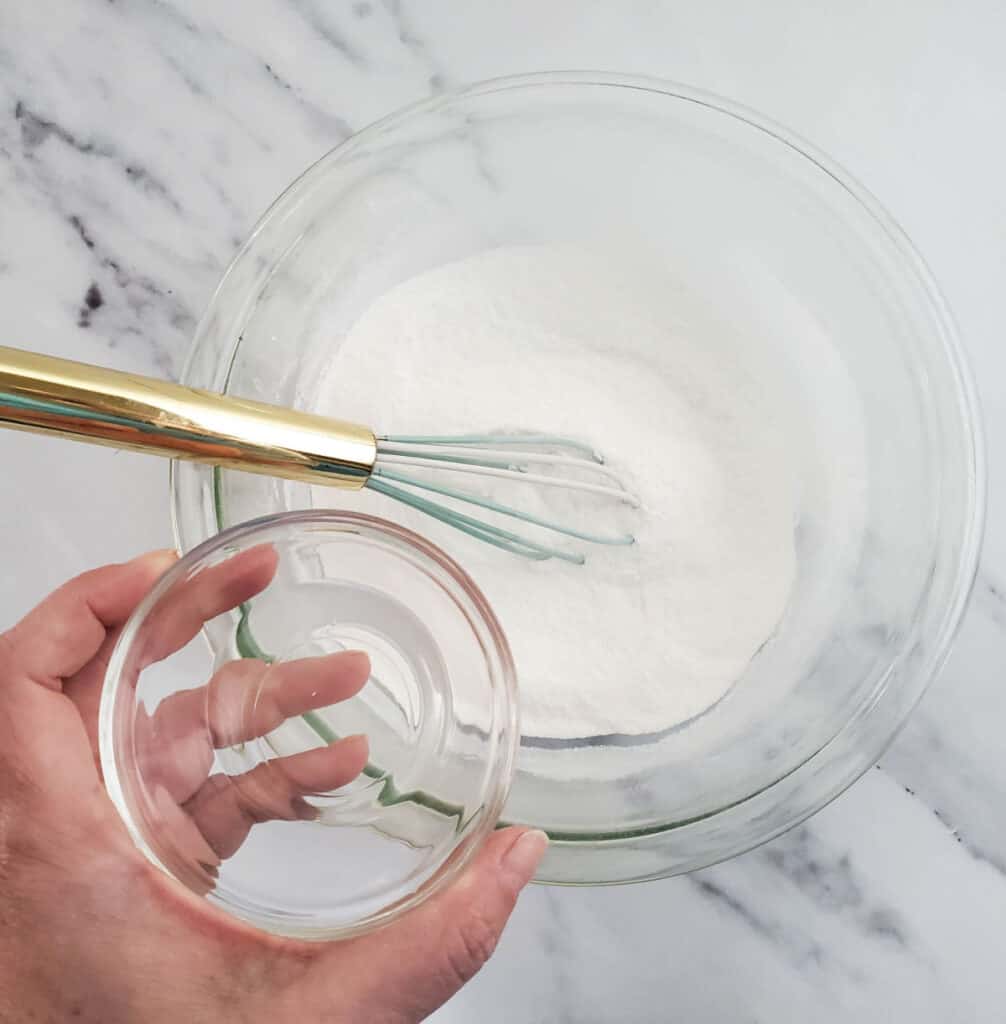
- add all of the dry ingredients; baking soda, epsom salts, corn starch and citric acid, to a large bowl and whisk for 2-3 minutes, until completely combined.
Step 2:
- slowly add the sweet almond oil, drip by drip, to the dry mixture while stirring with the whisk. Be careful not to pour too quickly and don't stop stirring, as the liquid can activate the fizz.
Step 3:
- repeat the step above with the water.
Step 4:
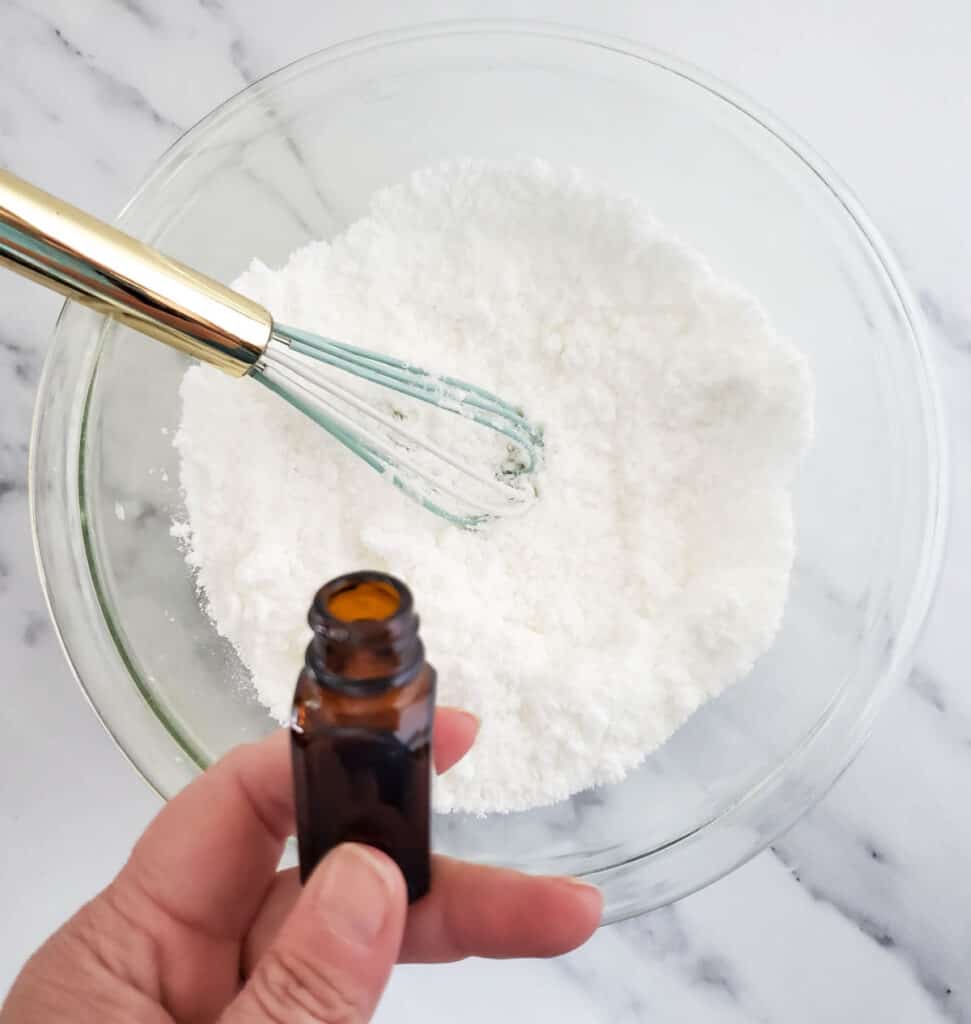
- slowly add the rose essential oil, while stirring.
Step 5:
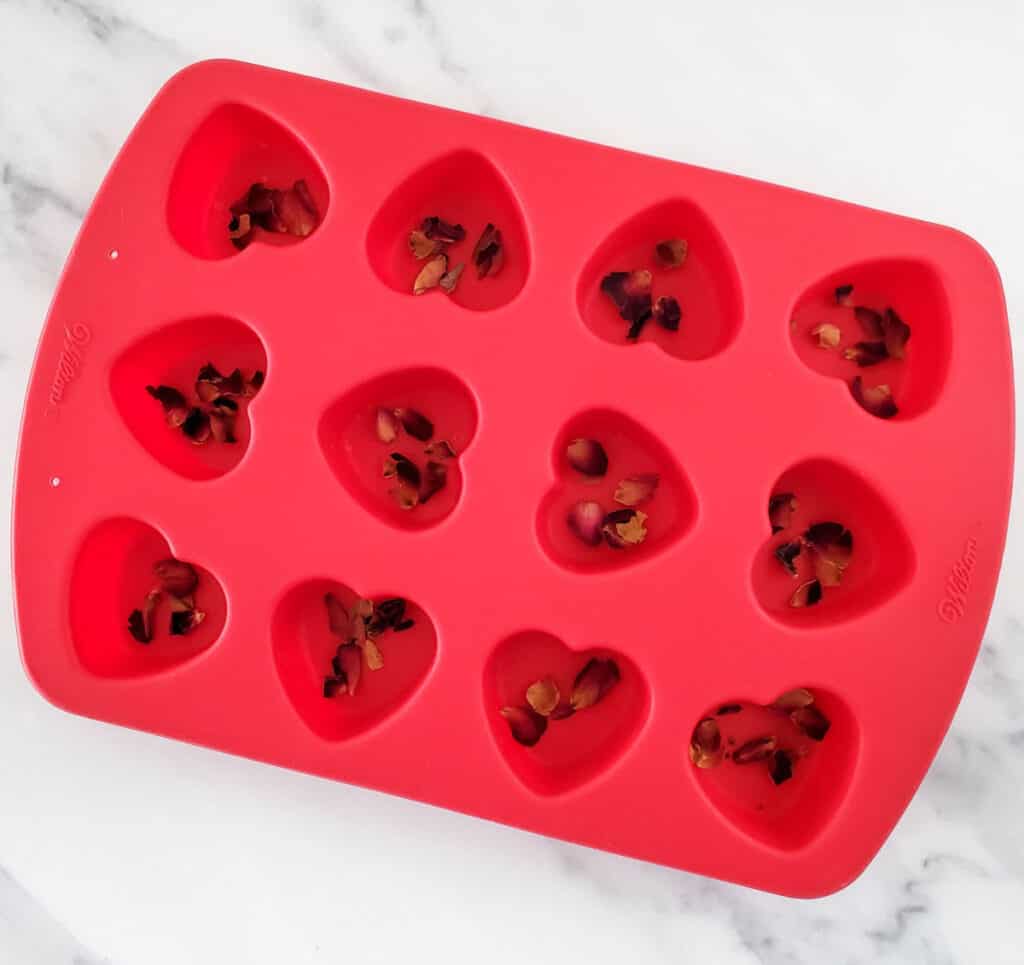
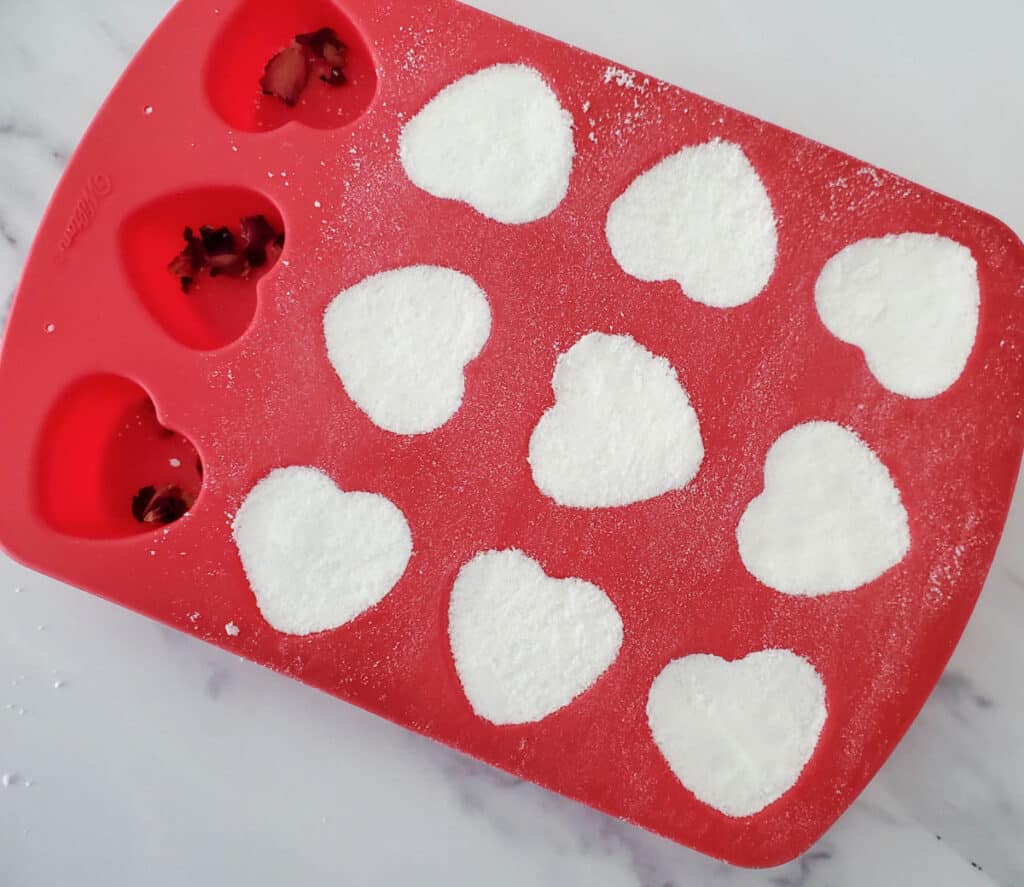
- peel petals off of the rose buds, and add a few to 9 of the heart mold cavities.
Step 6:
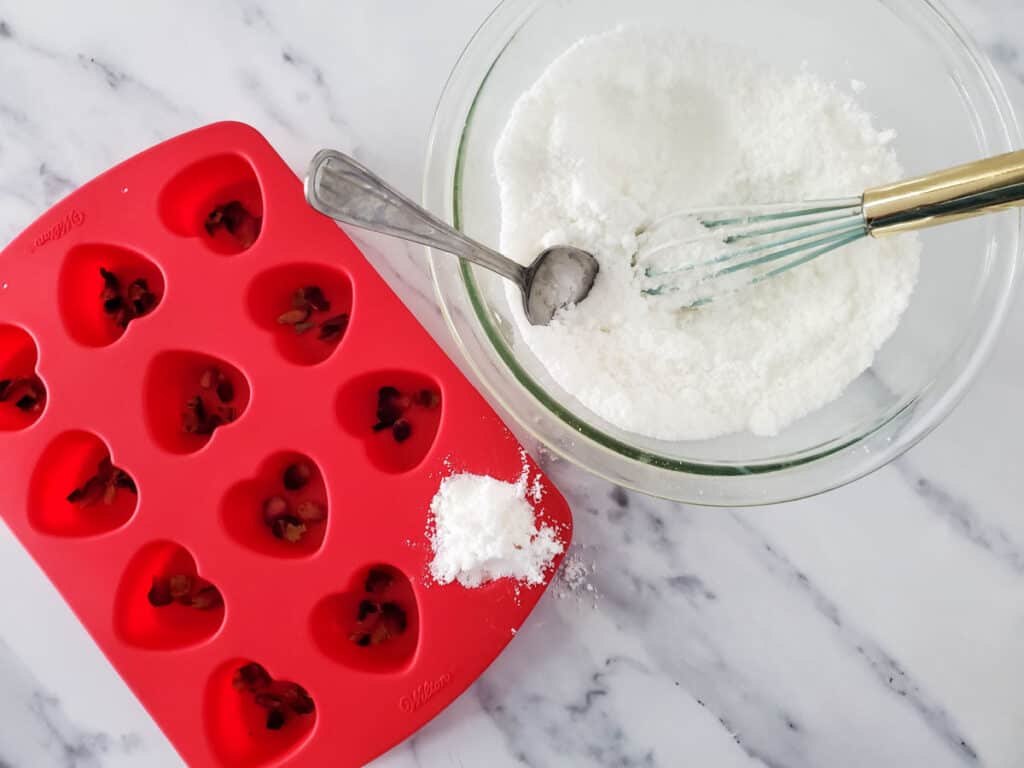
- spoon mixture into the nine mold cavities, then press down with your fingers to pack them. The mixture should be the same consistency of damp sand.
Step 7:
- allow bath bombs to set in mold for 4-6 hours, than gently remove from the mold.
Step 8:
- wrap finished heart-shaped bath bombs in plastic wrap and store in a dry place or in an airtight container.
CUSTOMIZE YOUR BATH BOMB RECIPE WITH DIFFERENT VARIATIONS!
Once you make these, you may want to try and mix up the recipe a bit. Have fun with it and make your own bath bomb recipes!
- add some red drops of food coloring when adding in your wet ingredients to make pink bath bombs!
- rose essential oil blends well with vanilla, so try adding some vanilla essential oil with the rose essential oil for another similar yet different scent!
- Add 1-2 teaspoons of red jojoba beads in with your dry ingredients for a fun look of red speckles added to your bath bomb!
- add different essential oils in place of the rose oil for completely different scents ie: sweet orange oil or lemon oil for an orange or lemon scented bath bomb or lavender oil for a lavender bath bomb!
- use a different shape silicone mold to make larger bath bombs or small bath bombs! Or use different shaped bath bomb molds or even use a cookie cutter and pack in the bath bomb mix!
DIY Rose Heart Bath Bombs
Materials
- 4 ounces baking soda
- 2 ounces epsom salts
- 2 ounces corn starch
- 2 ounces citric acid
- 1 tablespoon sweet almond oil
- ½ teaspoon water
- 25 drops rose essential oil
- 1 tablespoon mini dried rose petals
- 1 mold silicone heart shaped mold
Instructions
- Add the baking soda, epsom salts, corn starch, and citric acid to a medium bowl and stir with a whisk for 2-3 minutes, until completely combined.
- Slowly add the sweet almond oil, drip by drip, while stirring with the whisk. Be careful not to pour too quickly and don’t stop stirring, as the liquid can activate the fizz.
- Repeat the step above with the water.
- Add the essential oils, while stirring.
- Peel petals off the rode buds, and add a few to 9 of the heart mold cavities.
- Spoon bath bomb mixture into the mold cavities, then press down with your fingers to pack them.
- Allow bath bombs to set for about 4-6 hours, then unmold.
- Wrap finished heart-shaped bath bombs in plastic wrap and store in a dry place or in an airtight container.
Final Thoughts:
I hope you enjoyed making your own DIY rose bath bombs! Consider sharing one of these cute love puns with your Valentine this year!
Check back regularly as I hope to have more DIY bath & body products posted soon.
If you enjoyed this and want to make something similar but different, check out all of my DIY Soaps, Scrubs & Bath Bombs products! Make several and put a little spa basket together as a great gift idea!
OTHER DIY CRAFT/TUTORIALS YOU MAY BE INTERESTED IN:
Easy DIY Painted Bumble Bee Rocks Craft Tutorial
Easy DIY Painted Strawberry Rocks Craft Tutorial
How to Make and Use Dandelion Salve
DIY Snowman Wood Bead Ornament
Want to Remember This?
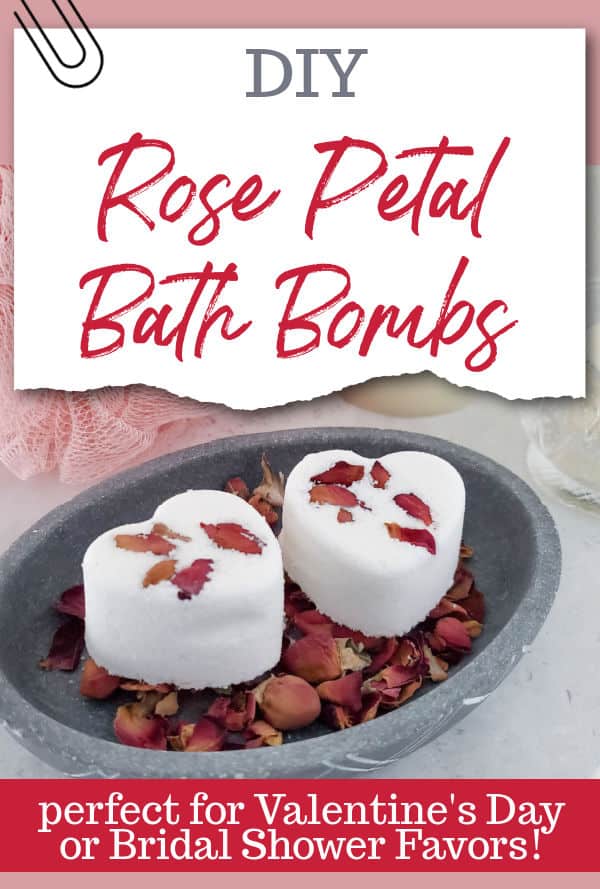
Of course you do! This DIY Rose Petals Heart Bath Bombs recipe is the PERFECT handmade gift idea!
Pease share "DIY Rose Heart Bath Bombs Recipe" on Pinterest to your favorite DIY board!


Leave a Reply