As an Amazon Associate I earn from qualifying purchases.
You can read my full disclosure statement here.
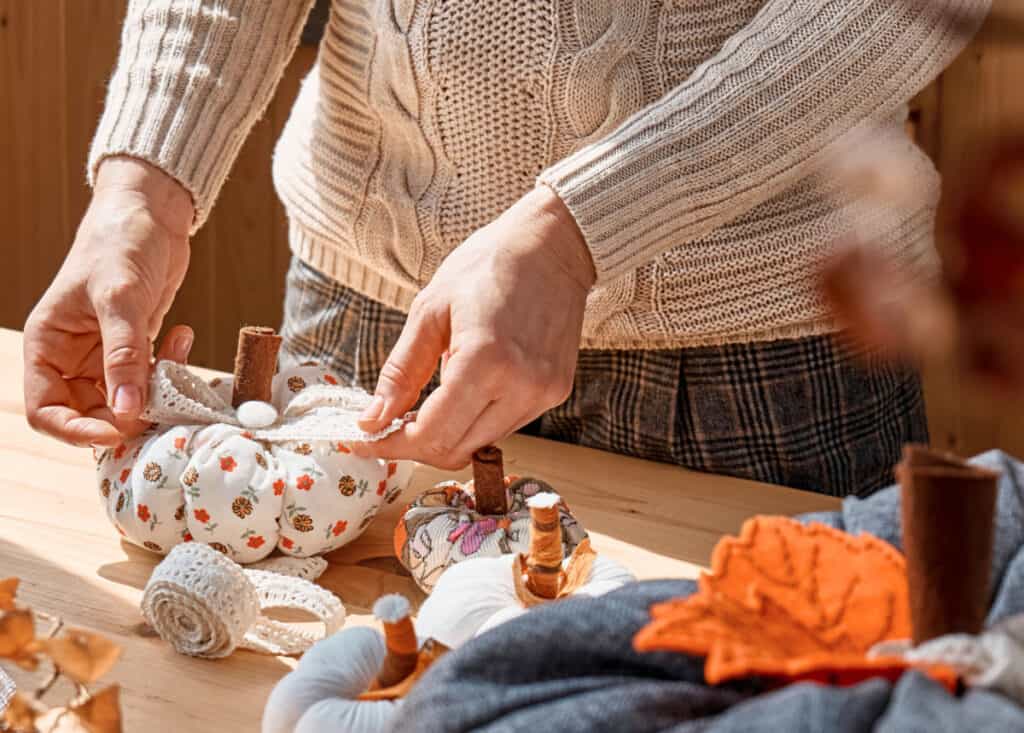
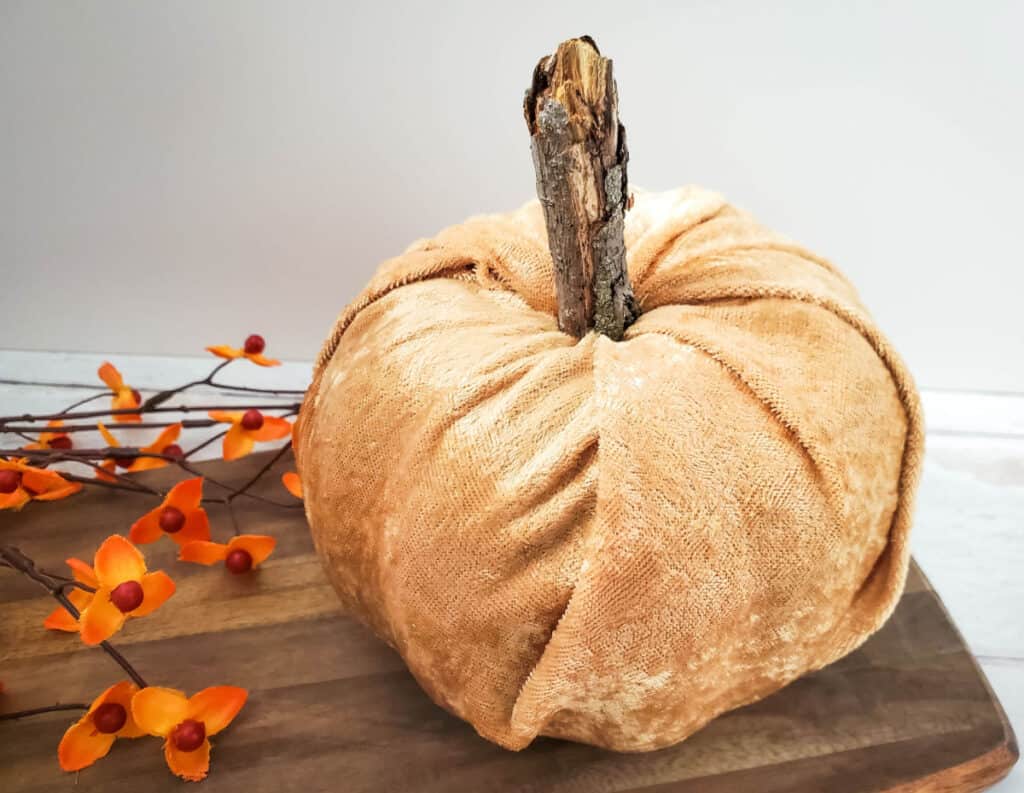
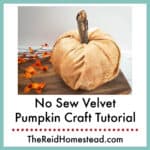
Transform a foam pumpkin into a gorgeous fall decor statement piece with just a few supplies! This easy DIY No Sew Velvet Pumpkin Craft is fun to make and doesn't require a sewing machine!
These are perfect fall decorations during the Halloween season, and it is a fun craft project to do with the whole family this fall season.
Get your girlfriends together and have a fun evening making these adorable fabric pumpkins! These are so much fun to make and it would be fun to see how everyone's own fabric pumpkins turn out with this super easy project.
These easy fabric pumpkins take no time at all to make. You could probably make several of them in an hours time, easy peasy!
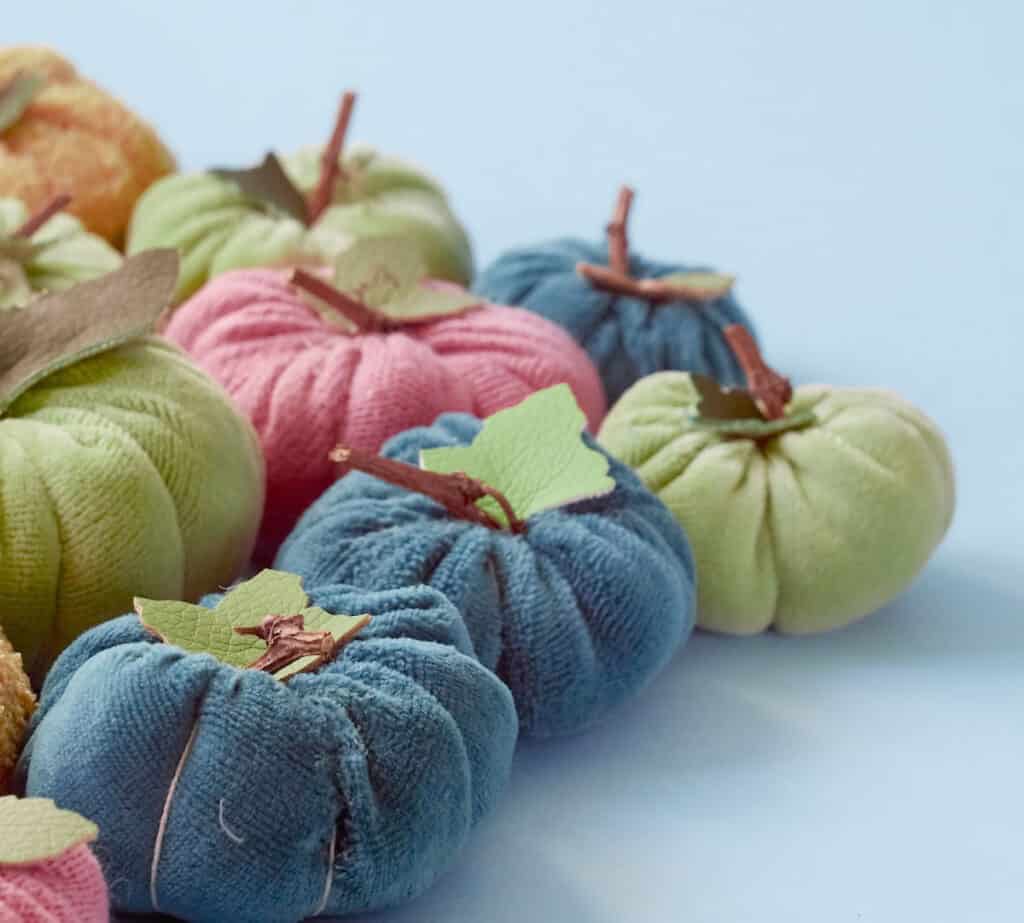
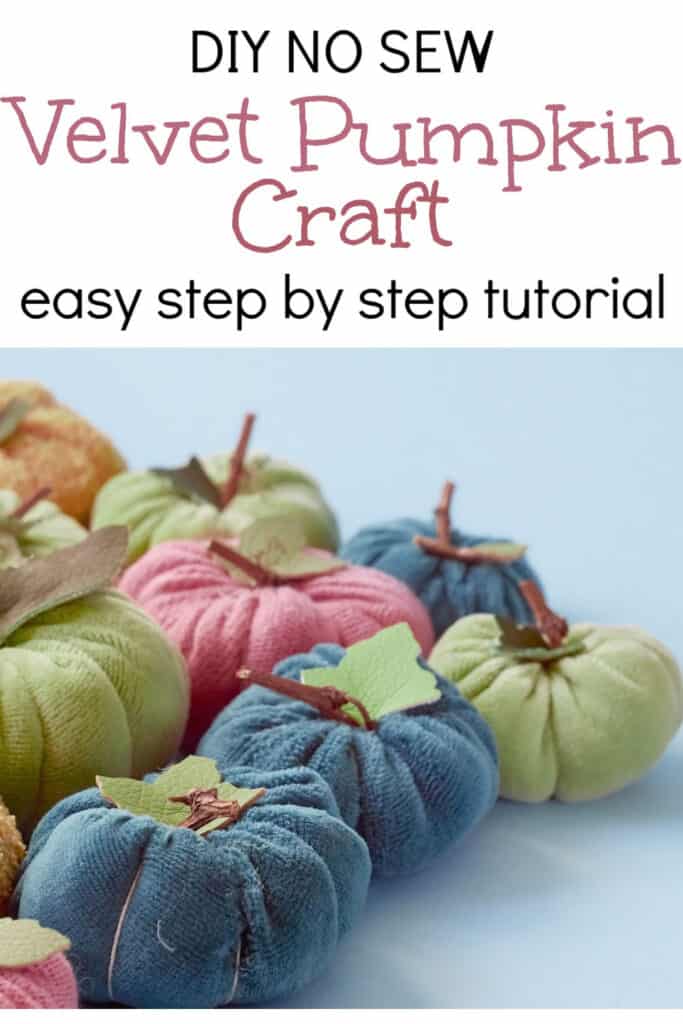
Or, get yourself a couple of different colors of velvet fabric along with a few foam pumpkins, and make a small collection of lots of velvet pumpkins for yourself!
These gorgeous DIY velvet pumpkins would also make a great gift idea to give to a teach or as a hostess gift at a Halloween get together or for Thanksgiving dinner this autumn!
Same goes for this fun DIY Painted Pumpkin Mason Jar Craft or this DIY Fall Mason Jar Lantern Craft Tutorial!
Other Articles you may be interested in:
50+ Handmade Gift Ideas
Outdoor Christmas Gnomes Tutorial
30+ Fall Yard Decoration Ideas
Our favorite homesteading and gardening tools in our Amazon Store!
Our Garden Harvest Tally Spreadsheet is now available!
Other Variations to Consider for These No Sew Pumpkins
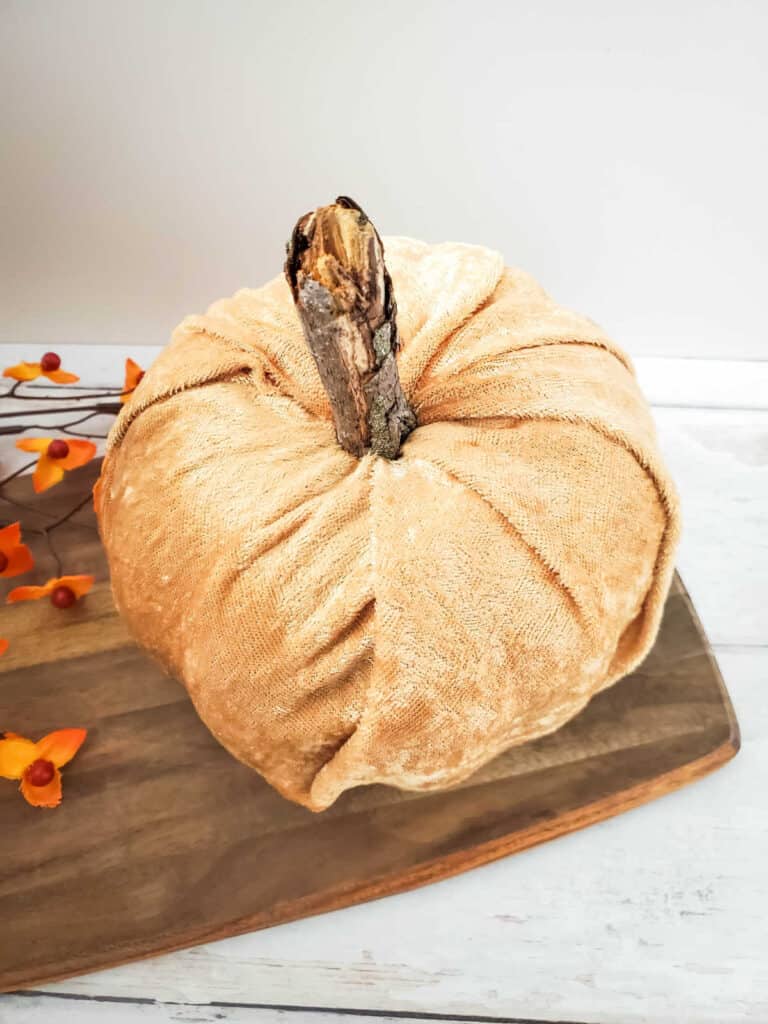
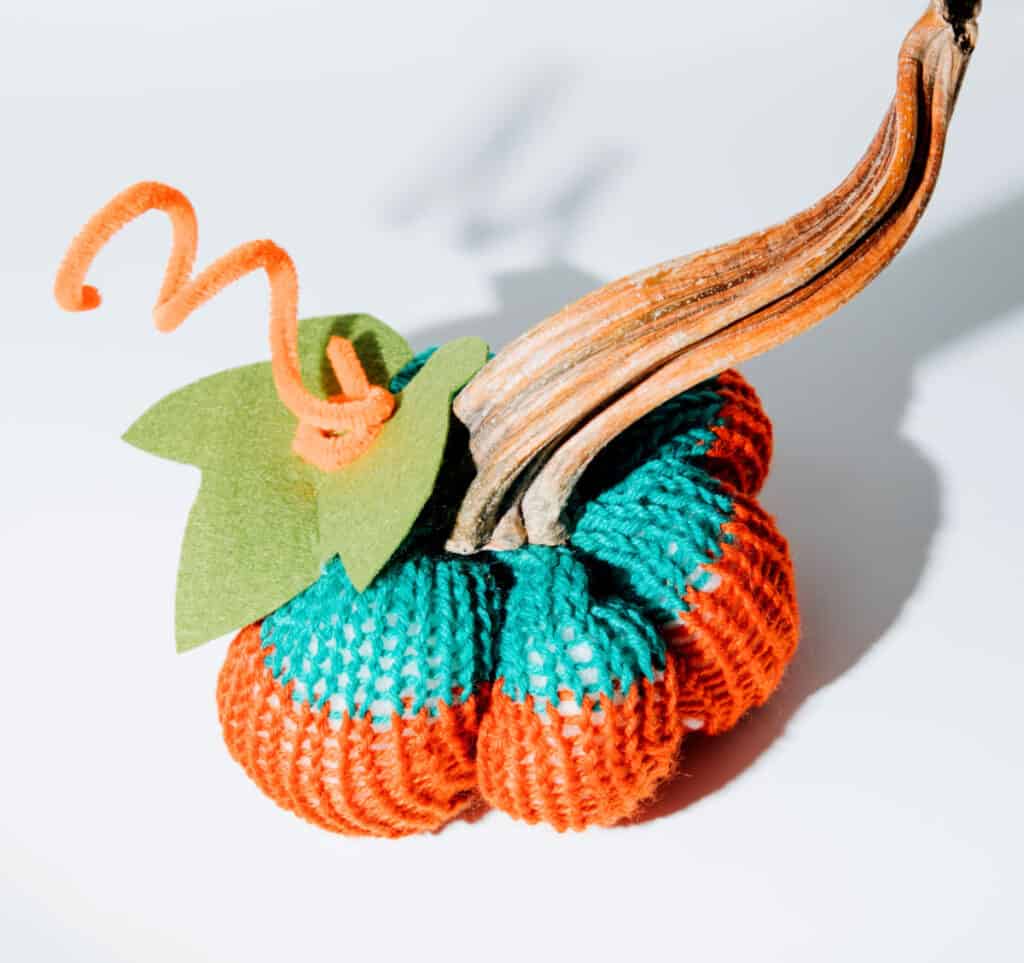
Now, I used a stick for the stem on this tutorial, but be creative! You could use real stems from pumpkins (save some this year to use next year!), cinnamon sticks, or even a shorter piece of driftwood! Or, you might even be able to find faux pumpkin stems at the craft store.
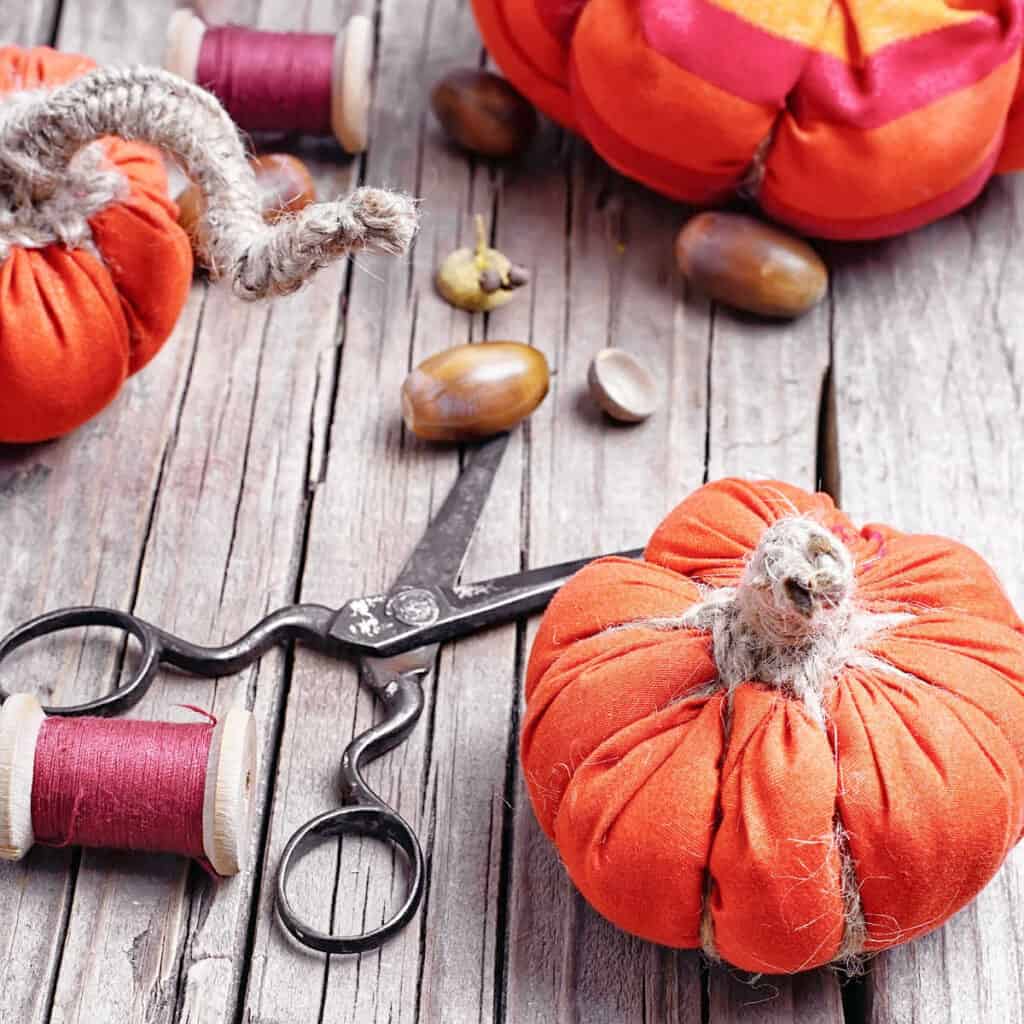
Another fun tweak is to tie on a piece of twine to represent the tendrils sometimes found on the pumpkin plant, or add some leaves! You could also use the twine to wrap the pumpkin with to create the segmented look that pumpkins have.
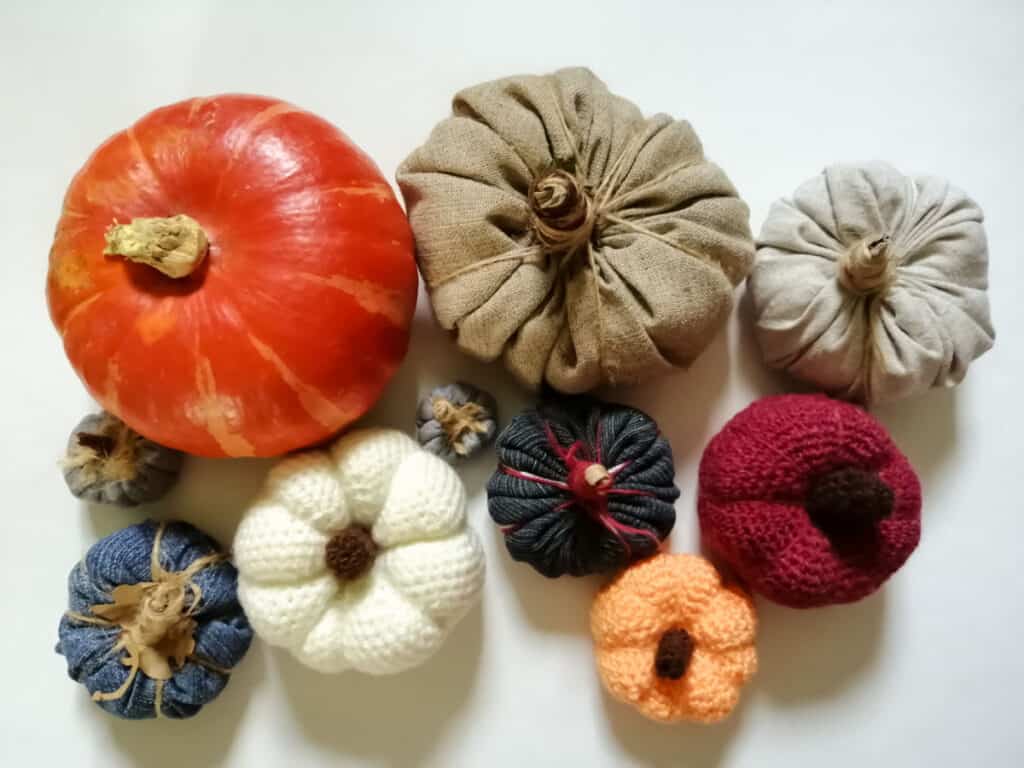
When sourcing the velvet for this project, I suggest checking out your local thrift store for velvet pieces that you can repurpose. You can also use fabric scraps instead of velvet, its a great way to use up all that scrap fabric!
Or use some old denim, burlap or muslin that you have lying around. You could even use an old quilt for a fun shabby look!
You could even use old sweaters to make sweater pumpkins! You just might want to spray paint your foam pumpkin to match the sweater if you can see through the weave of the sweater.
Try a variety of colors of velvet or fabric that might match your decor better! You could use white, tan, different shades of orange, green or blue, or do one in each color! You can use either regular velvet or a stretch velvet material for this project.
You might also want to try different sized pumpkins if you can find the foam pumpkin form in different sizes and various shapes. If you can't find a foam pumpkin, you can also make this using a recycled toilet paper roll to tuck the stem and fabric into, filling the pumpkin with polyester stuffing.
Or, some craft stores have a cardboard or paper mache pumpkin that you can use in a very similar way as shown in this tutorial. Just be sure to triple check that your fabric size is going to work with whatever you choose to use if not using the same foam pumpkin recommended in the tutorial below.
You could even stitch a jack o' lantern face onto the fabric with embroidery floss before applying the fabric onto the foam pumpkin! Or, sew on some buttons, attach some googly eyes, glue on some sequins, add glitter to the stem or a pretty bow, make it your own!
Most of all, have fun with it! Now read on for the awesome tutorial!
Supplies Needed for this Velvet Pumpkin Craft
Supplies:
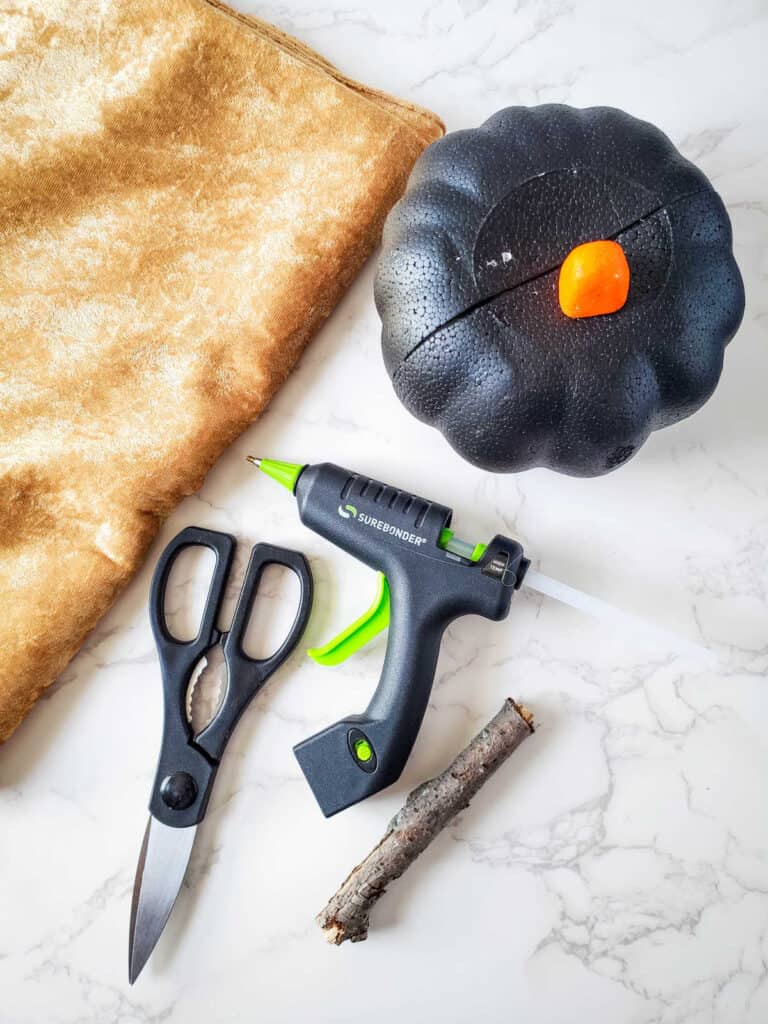
- 5.5 inch Foam Pumpkin
- 14x14 inch piece of velvet fabric
- Scissors
- Hot glue gun and glue stick
- Stick for stem (6-8 inches long, about 1 inch in diameter) or use real pumpkin stems, plastic pumpkin stems, or a cinnamon stick for each stem
How to Make a No Sew Velvet Pumpkin
Directions:
Step 1:
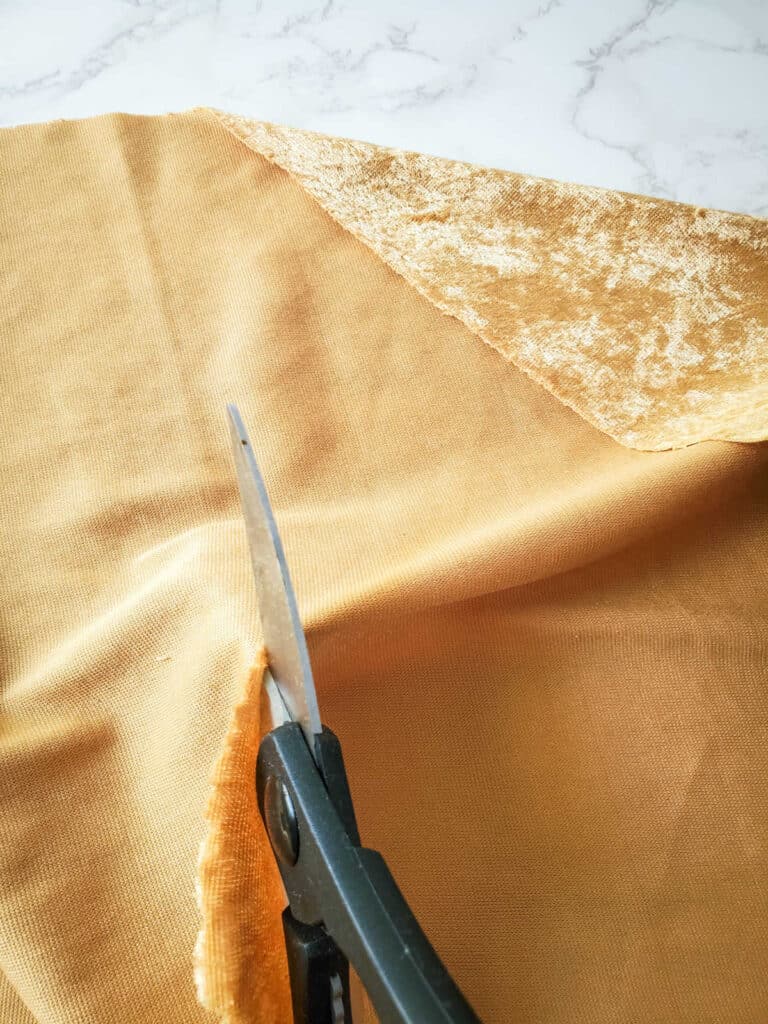
- Start by cutting your fabric to size if needed. If you are using a different size pumpkin, you may need to use a smaller or larger size piece of fabric.
Step 2:
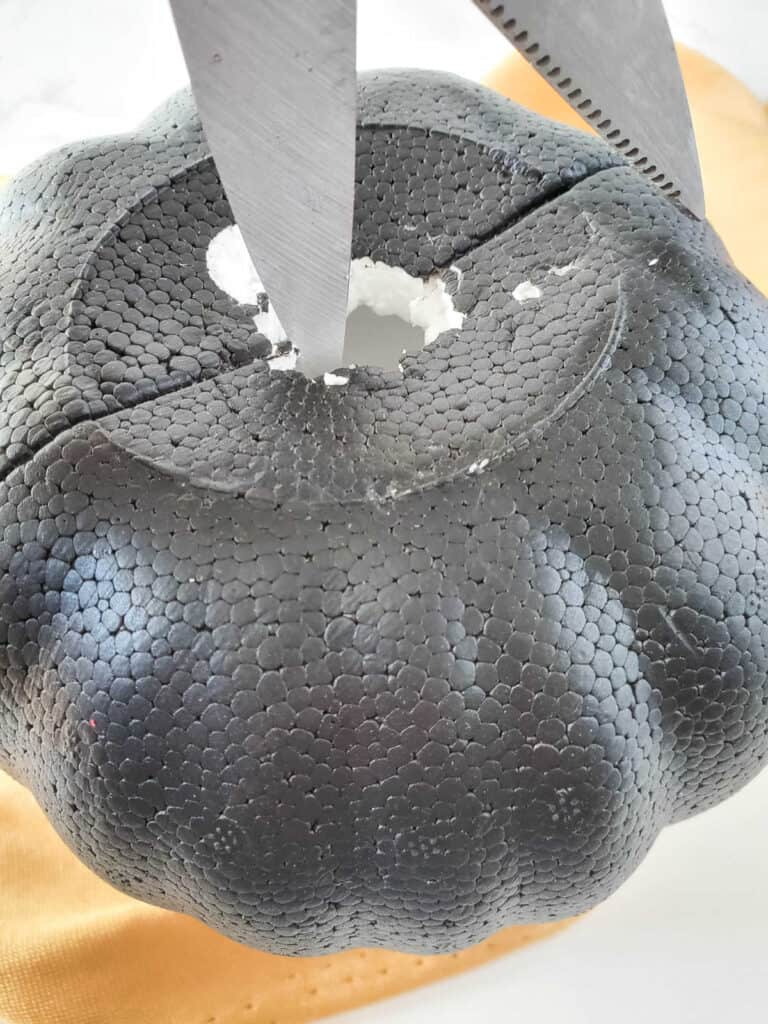
- The next step is to take the stem out of the pumpkin. Cut around the stem at the top of the pumpkin, using the scissors or an exacto knife. You’ll want just enough room to tuck the corners of the fabric inside, and then to push your stick through.
Step 3:
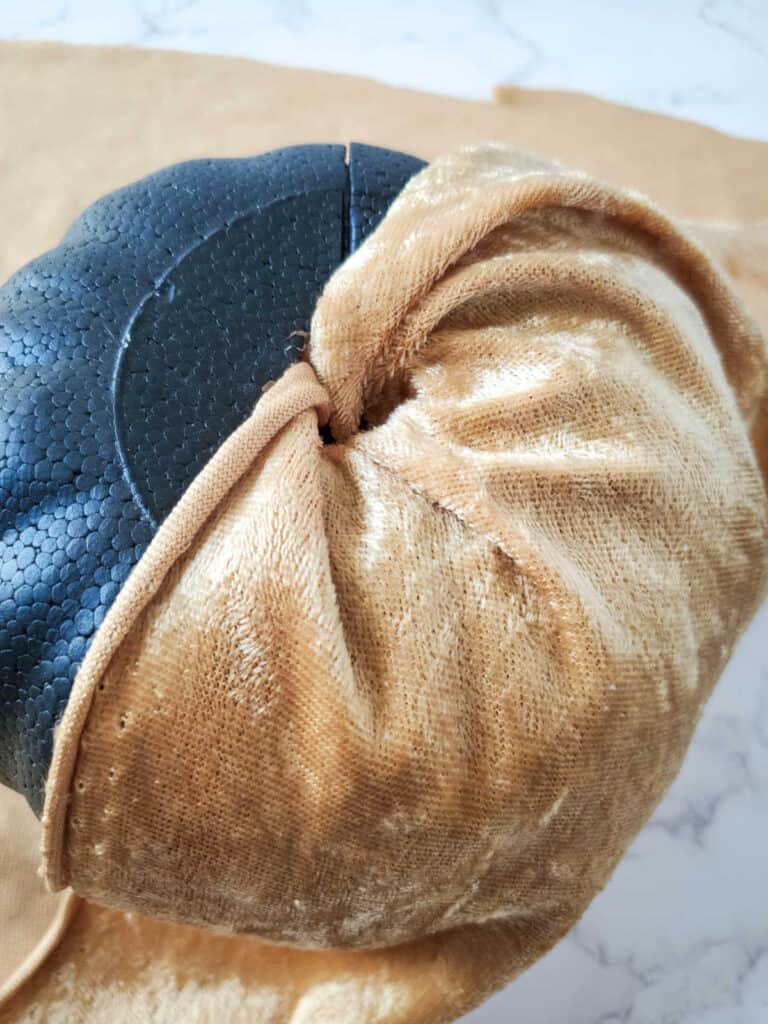
- Set your pumpkin in the center of the fabric square. Grab one corner and pull it up, then to the top middle of the pumpkin where you carved out the stem. Tuck it into the hole you made.
Step 4:
- Now grab a corner next to that, and do the same thing. Then repeat with the other two corners.
Step 5:
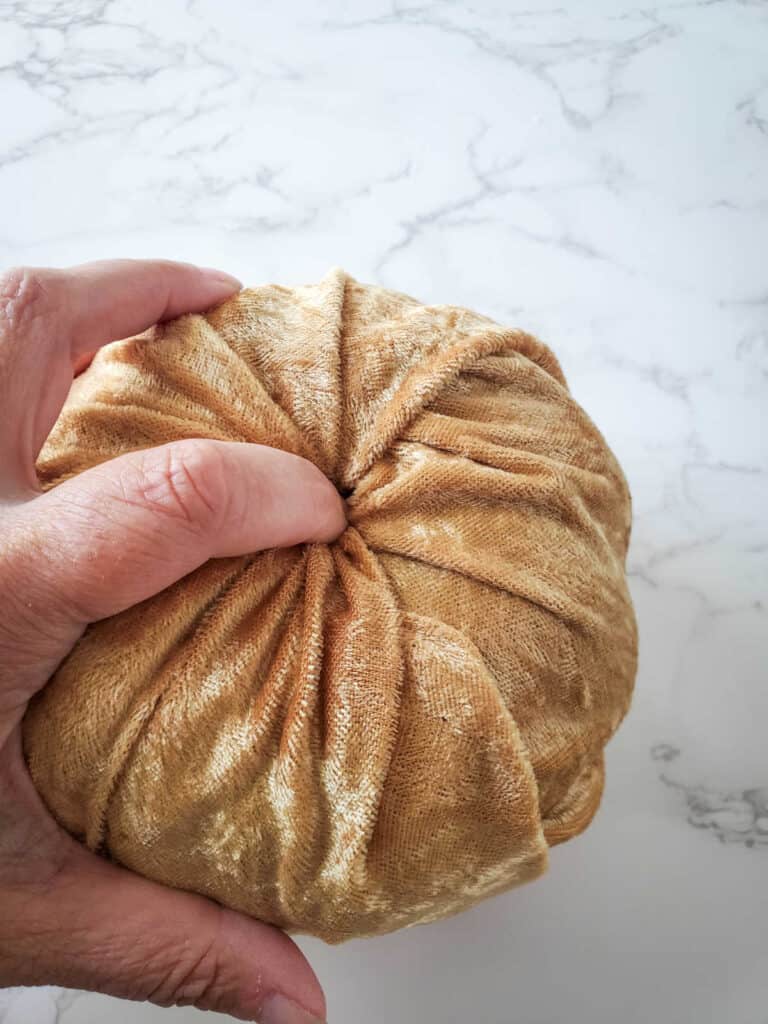
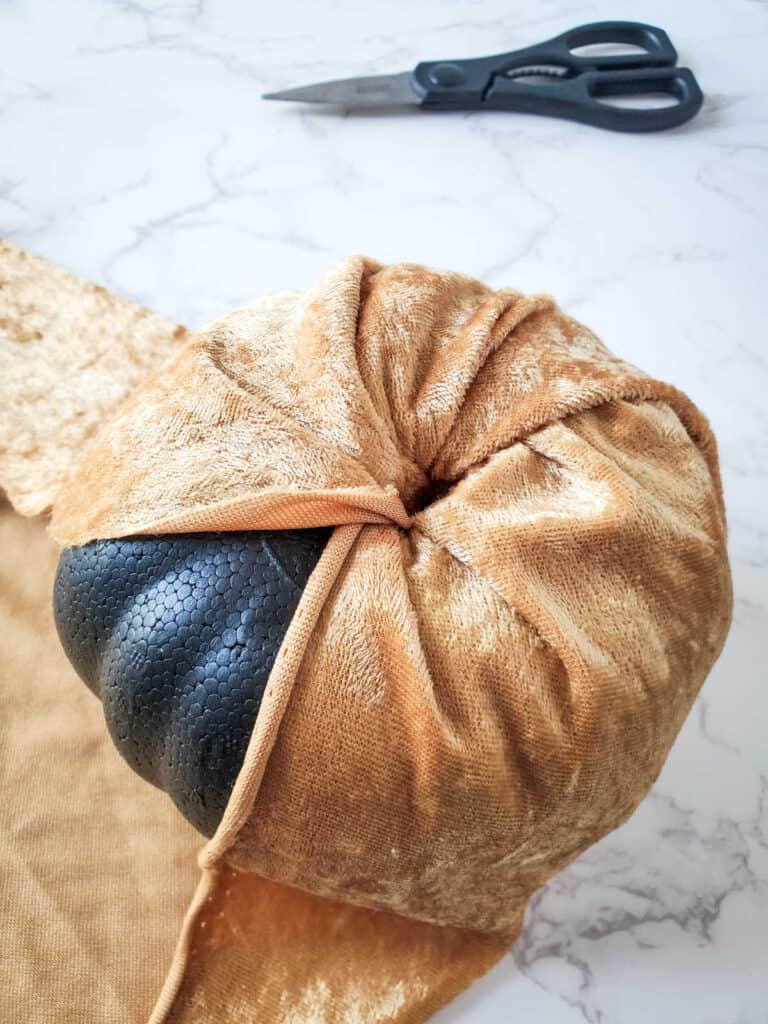
- Stick your finger in there to make sure all of the ends are tucked tightly, then put a very generous dollop of hot glue down in there.
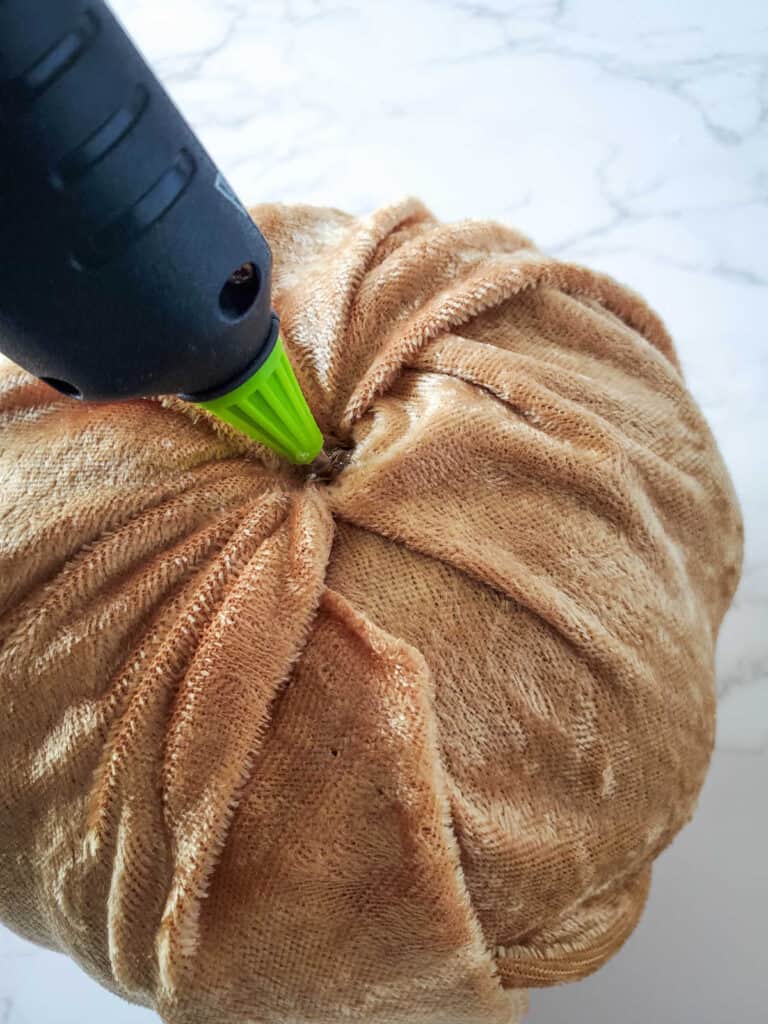
Step 6:
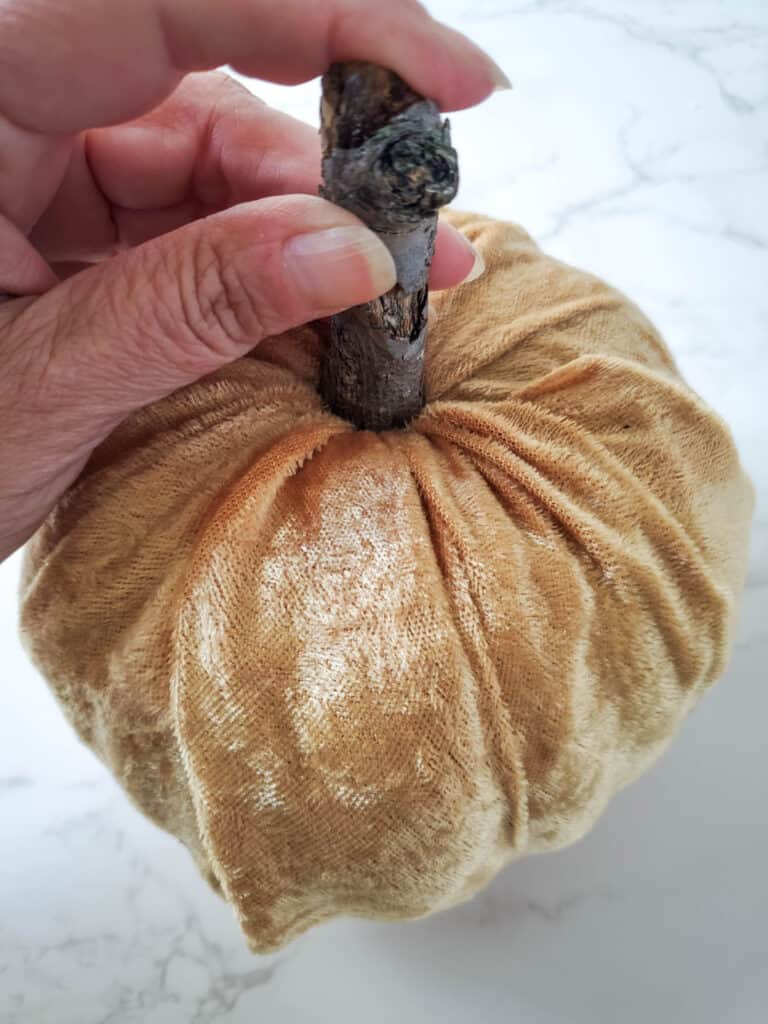
- Immediately push the stick through the hole, into the glue. Gently hold it there for about 30 seconds until it’s all secure.
I hope you enjoyed making these gorgeous velvet pumpkins! If you are a hands on person and enjoy making things yourself, you may want to check out all of my DIY Soaps, Scrubs & Bath Bombs tutorials or all of my DIY Craft Tutorials!
OTHER DIY CRAFT/TUTORIALS YOU MAY BE INTERESTED IN:
DIY Pumpkin Spice Sugar Scrub
Easy DIY Gnome Christmas Ornaments Tutorial
Easy DIY Wood Bead Snowman Ornament
Easy DIY Painted Bumble Bee Rocks Craft Tutorial
Easy DIY Painted Strawberry Rocks Craft Tutorial
DIY Easy No Sew Velvet Pumpkin Craft
Equipment
- 1 14" x 14" piece of velvet or other fabric
- 1 stick for stem or real pumpkin stem or cinnamon stick
Instructions
- Start by cutting your fabric if needed. If using a different pumpkin form than directed above, be sure your fabric size is correct for your pumpkin prior to cutting as you may need a larger or smaller piece of fabric!
- Take the stem out of the pumpkin. Cut around the stem at the top of the pumpkin, using the scissors. You’ll want just enough room to tuck the corners of the fabric inside, and then to push your stick through.
- Set your pumpkin in the center of the fabric square. Grab one corner and pull it up, then to the top middle of the pumpkin where you carved out the stem. Tuck it into the hole you made.
- Now grab the next corner and do the same thing. Then repeat with the other two corners.
- Stick your finger in there to make sure all of the ends are tucked tightly, then put a very generous dollop of hot glue down in there for the stem.
- Immediately push the stick (or whatever you chose to use for the stem) through the hole, into the glue. Gently hold it there for about 30 seconds until it’s all secure.
Want to Remember This?
Please pin "Easy DIY No Sew Velvet Pumpkin Craft Tutorial" on your favorite Craft, Fall or Halloween board on Pinterest, or share on your social media accounts such as your Facebook Page, to remember it for later!
Leave a Reply