As an Amazon Associate I earn from qualifying purchases.
You can read my full disclosure statement here.
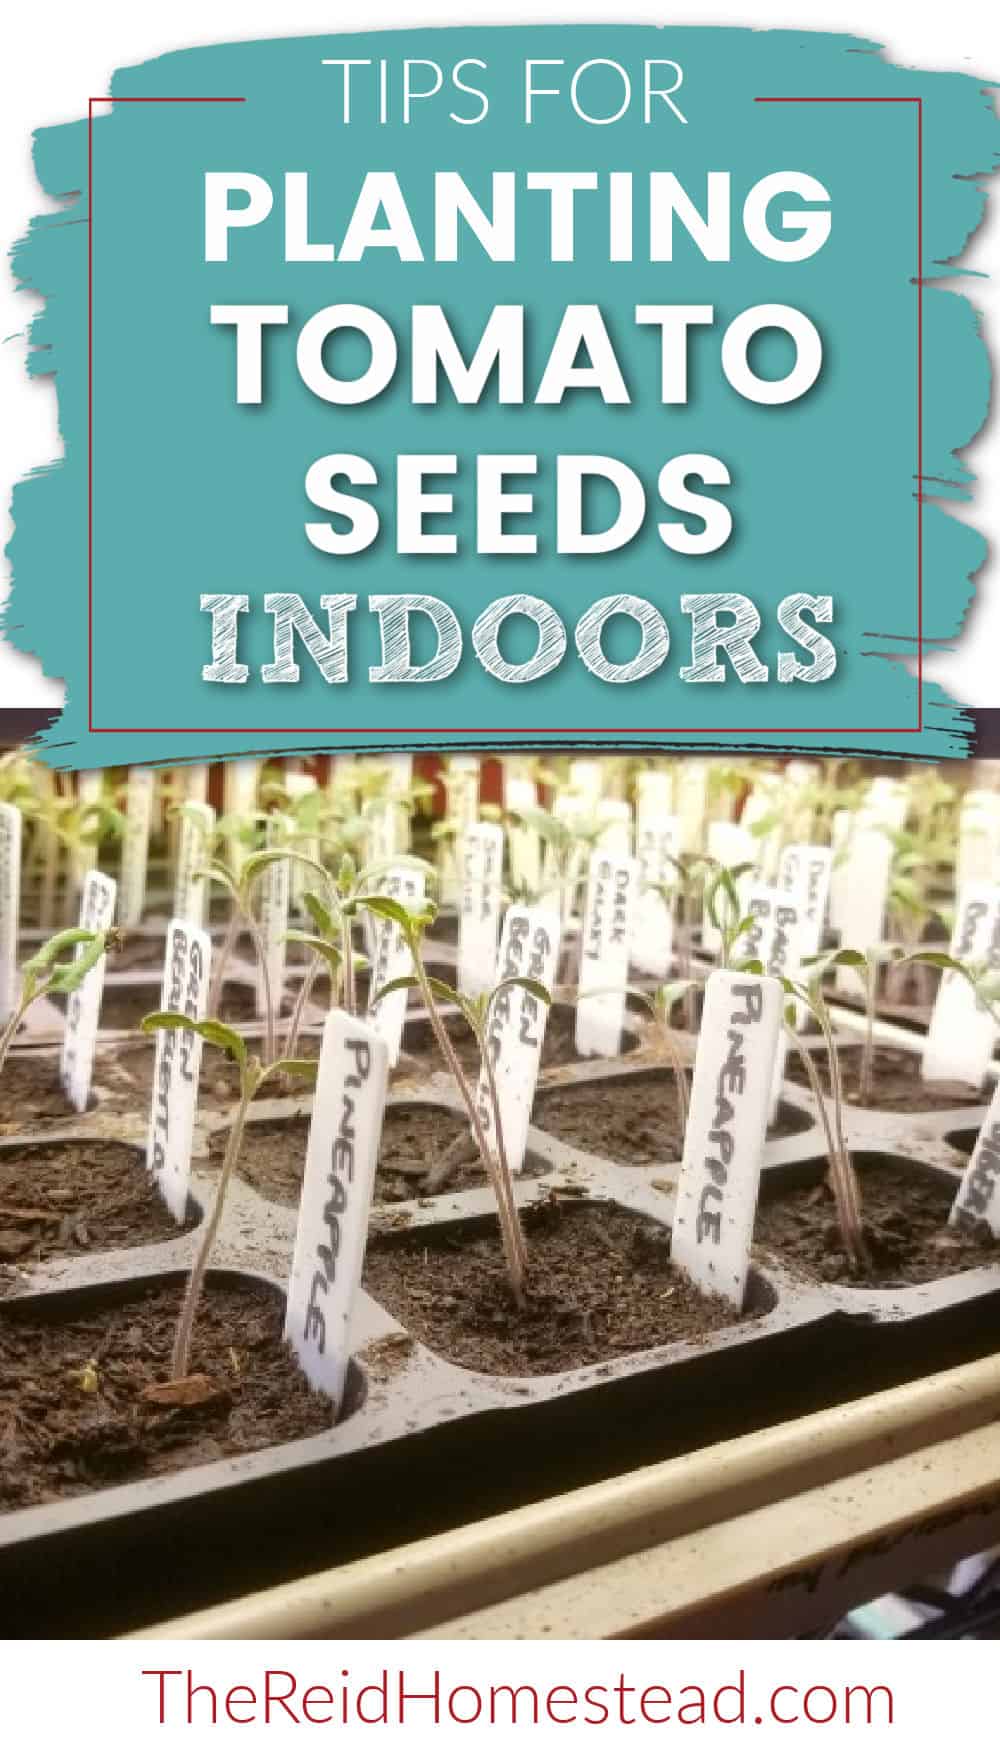
Planting tomato seed indoors is not as difficult as you might think. Read my simple tips to ensure your own success!
Learn why planting tomato seed indoors is a good idea and learn how it opens up a world of new varieties of tomatoes for you to try! If you want to learn how to plant tomatoes from seed, you are in the right place.
Choosing Tomatoes For Different Purposes
There are so many different tomato varieties that you won't find starts for at your local nursery. That's why starting your own tomato seeds is so cool. In fact, choosing which varieties to grow, can almost become overwhelming when looking at all of the possibilities!
When you are deciding which tomatoes to grow, think about how you will use them. I like to make a lot of tomato sauce to can up and keep in the pantry. I also love to eat them fresh. And I love to try new varieties as well as stick with the old that have worked well for me or taste the best.
When choosing which ones to grow, I first break down the types of tomatoes I want to grow, cherry, paste and slicing/beefsteak tomatoes. I usually do a few tried and true varieties, and then add some new ones for each category. Breaking them down into these three categories makes it a wee bit less intimidating!
Seed Starting 101: Essential Seed Starting Equipment
How to Transplant Tomato Seedlings
Seed Starting Schedule for Garden Zone 8b
Our favorite Homesteading and Gardening tools in our Amazon Shop!
Our Garden Harvest Tally Spreadsheet is now available!
My Favorite Tomato Varieties:
My favorite cherry tomatoes:
- Sungold: This is my favorite, and I think that goes for many people. A small orange cherry that is super sweet. Like candy!
- Yellow Pear: This is another favorite that I grow every year, not only for the color (I like lots of different colors, I would never plant all red tomatoes!), but it is also super sweet and it is fun to have a different shape as well.
- Blush: I grew this for the first time last year, and it was a quick favorite. The fruits are oblong in shape, almost like a mini paste tomato and they are a bit larger than most cherries. They are yellow, and as they ripen they get red and orange streaks down them. They have a tougher skin, so they are more resistant to splitting. A very pretty little tomato, perfect for snacking!
- Midnight Pear: I've always been in love with that cute pear shape, and these are an awesome new color not to be missed! From High Mowing Seeds
- Blue Gold Berry: These are a tiny little productive yellow cherry with black/purple shoulders, so very unique coloring. They also are crack resistant. Available from Wild Boar Farms - Blue Gold Berries.
- Barry's Crazy Cherry: My friend Paula from Gapey's Grub raved about these last year and I am so excited to try them this year. They are yellow with a pointed "beak" at the end, and are known to have some of the largest cherry tomato clusters with 40 to 60 fruit per truss! Availabe from Wild Boar Farms - Barry's Crazy Cherry.
My Favorite Paste/Roma tomatoes:
- Striped Roman (aka Speckled Roman): This is my absolute favorite. These get HUGE. And they are a pretty red with yellow/orange stripes. Great for fresh eating or for canning. Produces late into the season as well, this was one of the last varieties I was picking along with Orange Peach last fall.
- Amish Paste: These also get huge and are great for canning.
- San Marzano: The classic paste tomato with excellent flavor, great for canning as well.
- Black Icicle: This is the new variety that I am excited to try this year. It has a deep purplish brown color that is almost black, which I am excited to see in a paste tomato. It is rich in taste with earthy undertone and originates from the Ukraine. Available from Baker Creek Seeds
- Purple Russian: This was a freebie in my Baker Creek Seed order, and from what I have read, it sounds very similar to the Black Icicle variety noted above, so it will be fun to compare the two at harvest time.
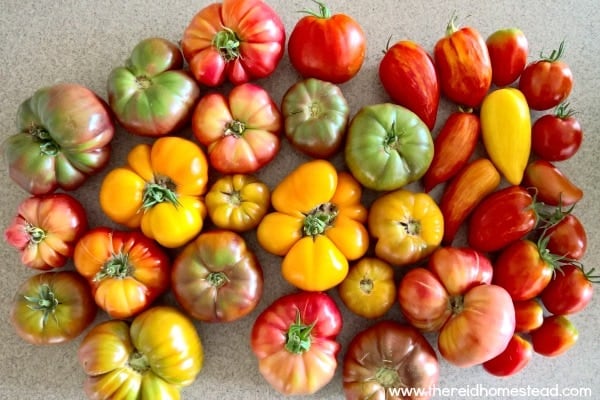
The rewards of planting your own tomato seed, cheaper plants and more variety!
My Favorite Slicing/Beefsteak tomatoes:
OK, here is where I have trouble reining things in. Every year I tell myself that I have to plant fewer, but it just doesn't happen. I currently have 10 old standbys on my list, and really narrowed it down to only 4 new ones to try this year.
I haven't counted how many I will be growing all in all this year yet, but last year it was 30 varieties....eeek! Hopefully I will keep it to that, but if I have seed still from every variety I grew last year, I guess it will be 34 varieties this year?!?
Past favorites that I have grown before and will grow again this year:
- Ananas Noire (aka: Black Pineapple): This is a very large tomato that is mottled with green, yellow and purple mixed. They can weigh up to 1.5 lbs. The flavor is awesome. High yield. It is one of my very favorites.
- Pineapple: These beauties get up to 1 lb each and are red and yellow streaked. Great flavor also.
- Brandywine and Yellow Brandywine: These are more commonly known favorites, a variety no garden should be without. Large beefsteaks come in at around 1 lb each but not a great producer.
- Cherokee Purple: Another common favorite, brownish purple skin with green shoulders. A nice sized flatter beefsteak at 12-16 oz each, not a heavy producer.
- Black Krim: And yet another common favorite, dark red purplish fruit, originates from Russia. Great sweet flavor, a favorite with chefs.
- Mortgage Lifter: Large 1 lb fruits are pink are sweet and such a pretty color!
- Tangerine: These are one of my favorite medium size orange fruits. Creamy texture and sweet.
- Kellogg's Breakfast: I grew this variety for the first time last year and was very happy with them. Very large fruits that can get as large as 2 lbs! And they are a very pretty peachy orange color.
- Mushroom Basket: Love the fluted shape of these and they were very productive for me. Developed in Russia so did well in our cool short growing season.
Favorite Wild Boar Farms tomato varieties:
- Black Beauty: I grew this for the first time last year also. A novelty tomato and the darkest tomato out there, almost solid black! Great flavor and it stores well.
- Blue Beauty: I chose this one for the color. Red on the bottom and bluish/purple on the upper half. It grows up to 8 oz and is sunburn and crack resistant.
- Red Beauty: This gorgeous variety has beautiful striped blue shoulders but is mostly red, and completes the "Beauty Trio", try all 3 for great color! Good storage tomato.
- Wine Jug: Cabernet in color, crack resistant, and unique plump pear shape to them.
- Pork Chop: Unique in that it is a true yellow tomato, not orange based. Claimed to be the best tasting yellow tomato there is.
When to Plant Tomato Seeds Indoors
Planting tomato seeds indoors, will vary depending on your gardening zone. Most seed packets will tell you to plant tomato seed 6-8 weeks before the last frost. Here where I live in gardening zone 8b, the last frost, is April 15th.
But it is usually still too cold for the plants to go outside until around May 15th. This can factor in to when you plant your seed, especially if you do not have a lot of space indoors for your plant starts, or somewhere warm, like a greenhouse, for them to wait out those cold nights.
Folks around here will start as early as February. I tend to wait until the middle of March because I grow so many. About a third to half of my starts get sold and I cannot afford to up pot them into a pot larger than 4".
If I start much earlier than the middle of March, the plants get too long and leggy for people to safely transport home in that little 4" pot as most don't want to take them home until around May 1st. So consider your frost date, and also consider when your night time temperatures get consistently above 50 degrees. These two dates can help you figure out the best time to start your seeds.
Planting tomato seeds late, will usually still allow you to harvest some tomatoes, but the plant may not produce all that it is capable of before the cold sets in. So better late than never is still ok in my opinion, but allow for 5 months of growing time or more. Less than that, and you might not have enough time for the plant to mature enough to bear fruit.
How Much Does It Cost To Grow Tomatoes?
If you are on a tight budget, you might be wondering how much it costs to grow tomatoes. This depends on several things, are you growing them from seed? Are you buying transplants? Are you planting them in the ground or in containers?
Lets assume you are just planting a small quantity of 12 tomato plants for your family.
Costs for planting tomatoes by seed:
As you look at the costs associated with starting your tomato plants by seed below, remember that all of the things purchased in the list below can be reused again next year and following years, with the exception of your seed starting medium and potting soil mix. Save all the rest for reuse year after year and that brings the costs way way down when you consider that most of this is a one time investment.
- Tomato Seeds: If planting them by seed, you need to factor in the tomato seeds themselves which lets say average $3 per seed packet, and you would only need one for your 12 plants. Consider trading seed with others, or consider buying a couple varieties, and saving the seed to use in future years as tomato seed lasts quite a while.
- Planting set up: Then you will need to have some type of growing medium to plant the seeds in, and a way to keep the seeds moist until they germinate, so lets use this small seed starting kit as a base point that comes with these items at around $10.
- Heat source: For germination of the seeds, they will need some heat, as tomato seeds prefer a warmer temperature in order to germinate. For cheap, you could set them on top of the refrigerator until they sprout. Or you could buy a heat mat at around $18.
- Lighting: Minimally you could place this set up in the windowsill for light, but this does not make for the healthiest seedlings as they often get long and leggy reaching for the light that they don't have enough of. So ideally you need a small grow light to provide adequate light and the smallest one that I found that could cover these 12 seedlings, was around $15.
- Up Potting: Typically you will need to transplant your seedlings at least once, sometimes twice, before it gets warm enough to plant them outside. Many people prefer to plant them in Solo cups, as they are deeper than your standard 4" pot. (See my article on How to Transplant Tomato Seedlings) for more info. A bag of Solo cups runs around $5 and you will have enough in that bag for starting another 12 tomato plants for the next few years.
- Potting Mix: At the time that you up pot your seedlings, you will need to fill the containers with something. I like to use a potting mix formulated for container plants specifically. This usually has some nutrients in it that the plants at this point need, so seed starting mix is not the best material to use. A small bag of potting mix can run around $12.
So all said, to start 12 tomato plants by seed, the total cost for that first year investment into supplies needed comes to approximately $63.
BUT, consider starting more, and selling them, to recoup your costs! See my article on How to Make Money Selling Vegetable Starts for more info!
Costs for planting purchased tomato transplants:
Assuming the plants cost in the range of $3-5 each and you needed to buy 12 of them, we will average it out and say about $50 for these plants.
Costs for planting tomatoes in containers:
Containers: Tomatoes need big containers, and the price of these can add up fast if buying new. Instead, consider asking at your local nursery or big box stores like Lowes, if they have containers available for free for you to recycle.
Or try your local gardening or homesteading groups on Facebook and see if anyone has any they need to get rid of. Or see if you have a local Freecycle group or Buy Nothing group. This is how I have collected my containers. 5 gallon is the absolute smallest I would use, the bigger the better.
Potting Mix for Containers: My favorite way to acquire potting mix is at Costco. You can get a pretty big bag for around $10 a bag. I buy a bunch of them and mix with my old soil from the previous year to repurpose it. After a year of soil being watered the nutrients have all washed out. By adding in a 50/50 mix, you can repurpose your old potting soil and provide some fresh nutrients. I am going to hazard a guess that 2 of these bags are needed if you can do as I do an repurpose some old soil to bulk it up, but if starting fresh, you will probably need 4 bags for 12 containers. So that comes to $20-40 for potting soil.
Other Costs for planting tomato in either a garden bed or in containers:
Plant Food: If you are planting your 12 tomato plants out into a garden bed, you may want to get them some fertilizer and plant each in a hole with a handful of compost. I would not order compost online, check your local supermarket out front, or your nursery, and usually you can get a bag for around $5. For a bag of each of these, the total may come to around $15.
If you are planting your tomatoes in containers, you will still need the fertilizer, and you will need to plan to use a little more of it as I feel the nutrients do get washed away quicker out of containers than they do out of the ground, so factor in around $10 for the fertilizer.
Tomato Supports: If you are planting indeterminate tomato plants, you will need some type of support to help hold the plants up. You can buy a simple tomato cage, but I don't find that they work very well. You can see how I support my tomato plants in my DIY Tomato Support System where I also share the costs there. You can find a way to support them inexpensively if you can repurpose some wood and some string or baling twine to use to tie them up with. So lets just say $30 for a couple of 2x4's if you need to buy them, but you can probably do it much cheaper.
And that is about it for costs to plant tomatoes. I hope this helps to see that it doesn't really cost much, especially if you reuse the same equipment year after year.
Planting Tomato Seeds Indoors Tutorial
When planting tomatoes in trays indoors, I use heat mats, along with six 6 cell seed starting packs in a growing tray with no drainage holes with a plastic dome cover lid. This allows me to start 36 plants in one tray.
I use potting soil that I buy at Costco, the organic Miracle Grow Moisture Control Potting Soil and it comes in a 55 quart bag for less than $10 a bag. I put the soil in a 14 quart Rubbermaid Bin and add a bit of water to it, and stir it around well. You want the soil damp, but not drippy or soupy.
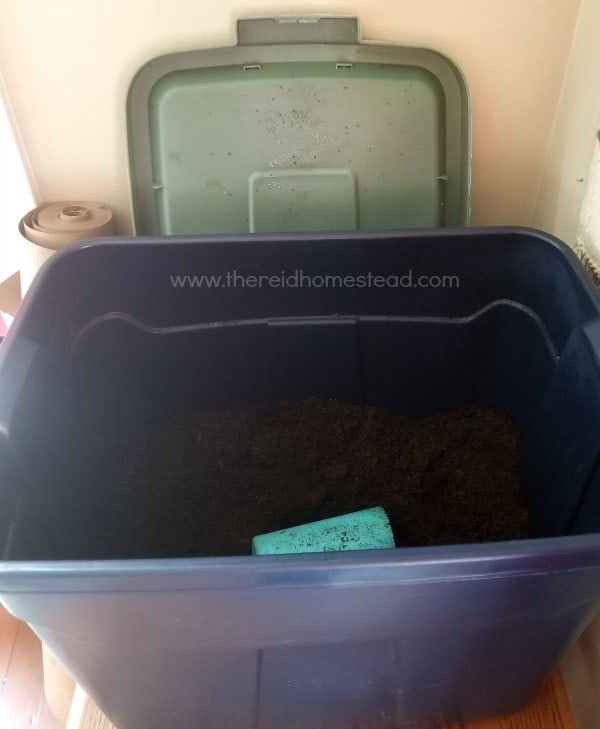
I can fit one bag of potting soil in this bin. Makes for much neater seed planting inside than dealing with a messy bag.
Fill all the cells with soil and tamp it down good in each cell with your fingers. I indent the soil about a ¼" with the fat end of a chopstick, or the eraser end of a pencil, lay down the seed inside the indent, than cover lightly with soil and press down again.
It is very important that the seed be in contact with the soil completely around. I place 2 seeds in each cell if the seed is fresh and I feel confident in it. If it is older seed, or from a swap and I don't know how old it is, I tend to use 3-4 seeds in each cell.
Than I use a spray bottle and lightly spray the seed until I know that the seed and all surrounding soil is completely damp. If the seed floats up, just poke it back down under the soil. Than place a plastic dome lid on top of the tray (or you can use plastic wrap), place tray on heating mat and your seed is planted.
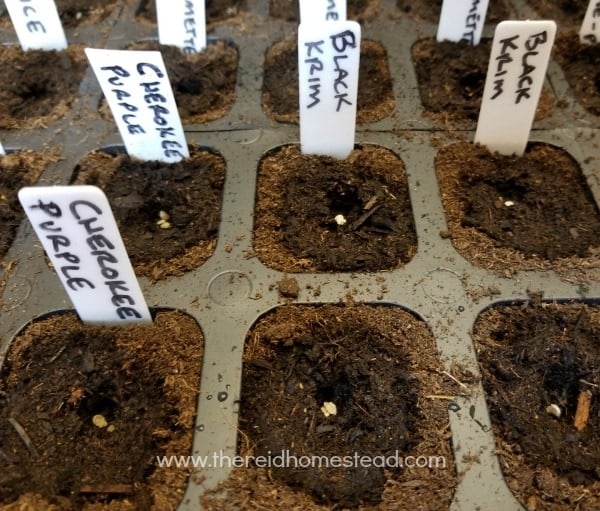
Planting the tomato seed, 2-4 seeds per cell.
How to Plant Tomato Seed Outdoors
If you live in a warm climate, you will not need to start your seeds indoors. Planting tomato seeds directly in ground, or in large pots where they can grow for the season is perfectly fine.
Make sure the temperatures remain between 70 and 80 degrees in order for the tomato seed to germinate. Keep the seeds and growing medium damp enough for the seeds to germinate as warm temperatures will dry them out quickly. Also watch for pests that may eat the seedlings before they become large enough to really thrive.
Planting Tomato Seeds in Cups
If you are not limited on space, or are only planting a few tomatoes by seed, it is fine to start the seed directly in Solo Cups. You will see down below, that I like to up pot mine into Solo cups at a later date. I prefer these cups because they allow for a deeper planting hole to transplant the seedling into, than standard 3 ½" or 4" plant pots.
If you are directly planting seed into the cups, I suggest you cover them with plastic wrap to keep in the moisture until the seeds germinate. Once the seed germinates, you will want to thin them out and leave only one plant in each cup.
Germination Tips for Tomato Seed
The next few days, you want to watch the tray. Make sure the soil doesn't dry out. If it does, take off the lid and spray again with water and then put the lid back on. Once the majority of the seed in the tray has germinated, take of the lid and keep it off. It is only used to keep humidity in while germination takes place.
Some people like to germinate tomato seeds in a paper towel, and then transfer the seed to the seed trays. To do this, lay the seed on a very damp paper towel and loosely fold the paper towel and place it in a ziplock bag. Be sure to label each bag with the variety.
Once the seed sprouts, gently open the bag, and using a small tool such as a steak knife, remove each seed very gently from the paper towel and poke it into the soil in your seed tray. Don't wait too long to do this, or the root of the seedling will grow into the paper towel and be difficult to remove.
How to Care for Tomato Starts
After germination and removing the plastic dome lid, place the tray under grow lights and keep it on a heat mat. When using basic fluorescent bulbs, you want the lights to be very close to the leaves, only about an 1" above them. LED lights are a whole different things that I don't have experience using, but I have heard they can burn tender young seedlings, so you may want to research more if using them.
As the plant grows, you will need to move the light up, so it is best if you can hang the light from a chain using "S" hooks, because they grow quickly, and you will be moving the light up often. If the light is too high, or you don't use a light and place your seedlings on a window sill, the plants will get long and leggy, which does not make for a healthy plant.
It is also a good idea to keep an oscillating fan on the starts, to prevent fungus from growing in soil that is too damp, and it helps make stronger stems and roots. If you don't have an oscillating fan, move the fan frequently so that it blows from a different angle.
At this point, it is also best to water from the bottom. Use a watering can that has a long spout, lift one seed pack up a little bit, and fill the tray about ½ way with water.
I also like to add fish fertilizer to the water for my tomato seedlings. I dilute it about half what the directions say. It is stinky though! So if you are smelling something foul in the house, it may be your seed starts! Just a warning!
How to Thin Tomato Seedlings
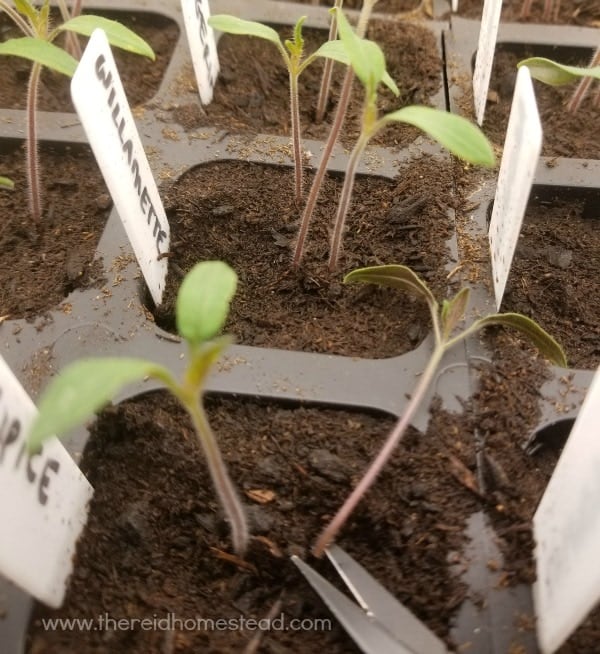
Thinning the tomato seedlings down to one plant per cell.
When the second set of leaves starts to grow, is when I take out some tiny scissors, and thin out the starts. I select the strongest looking start in each cell to keep, and then nip any others in that cell down at the soil level.
The strongest seedling is NOT always the tallest. You want a thick healthy looking stem more than anything. You can elect to try to salvage the extra's, and repot them all, but I find that that are so fragile at this age, I am not willing to take the risk of losing them at this point.
Tomatoes are so easily rooted, I prefer to wait until I begin pruning out the suckers, and root those in water, if I need more of a certain variety. See more about How to Get Free Tomato Plants from Cuttings.
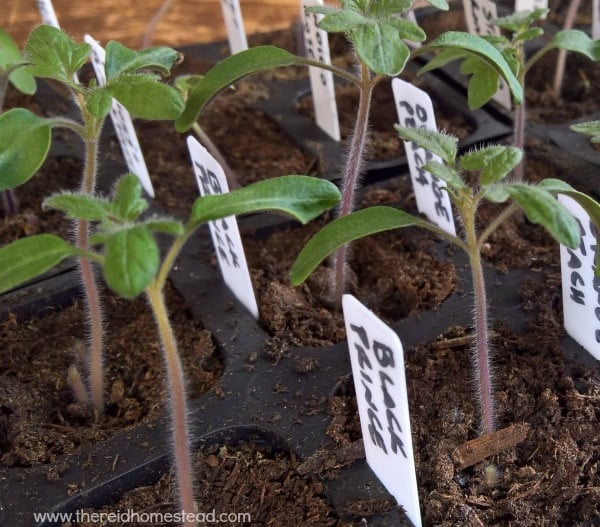
New tomato seedlings that have been thinned down to one each per cell.
When to Up Pot Tomato Seedlings and How
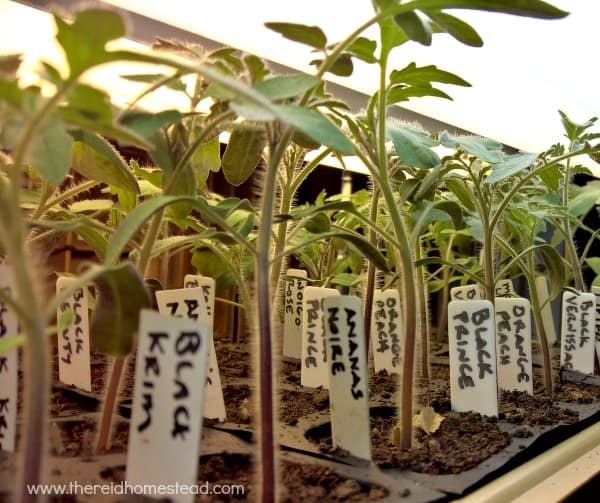
Healthy tomato seedlings that have outgrown my seed starting shelf and need to be up potted.
Very quickly your starts will need to be up potted to a minimum of a 4" pot, or I also like to use Solo Cups that I have cut a couple drainage holes into. I prefer the Solo cups because they are a little deeper.
When transplanting, pick off the bottom leaves of the tomato plant and bury it as deep as you can in the pot. It will send off new roots along the stem that is buried, making for a stronger plant.
If you have the space, you can up pot to a larger pot, but if you have a lot like I do, I just don't have the space to move them all into larger pots until it is closer to the time they will move outside.
They will still need to be babied at this point. Keep them in a warm space, and ideally, still under grow lights.
But often times they are too tall to go under your seed starting set up. So you might need to revamp the light set up at this point. Or move them out into the greenhouse if you have one. Do not put them outside until temperatures are above 50 degrees.
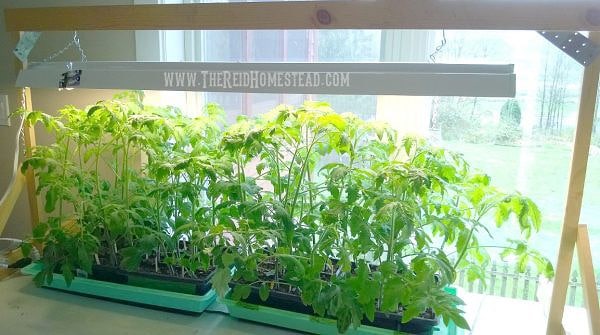
Some healthy tomato starts that have outgrown their lighting set up and are ready to be planted in their permanent location.
Steps to Harden Off Your Tomato Starts
As with all starts, it is very important to harden them off slowly before moving them outdoors full time. Hardening off means, slowly acclimating them to the conditions outdoors. If you just move them outside one day, they will go into shock, and may not recover.
See my article on How to Harden Off Your Seedlings for more info on this. It is a critical step!
Wait until daytime temps are above 50 degrees. The first few days, keep them in a sheltered location. It should not be too windy. It should not be out where they might receive a down pour if it rains.
Do not put them where they might receive direct sun yet. Only put them out for two hours or so the first day. Increase it slowly by an hour or two each day.
After they have slowly become accustomed to being outdoors over a week or so, you can slowly move them into direct sunlight, in a similar fashion as above.
A couple hours the first day, increasing by an hour or two over the next few days. Unless it is really really hot. If it is, wait until the temp goes down or it is more overcast to begin this process.
If it is still below 50 degrees at night, you will have to bring them in at night.
How to Transplant Tomato Plants
Please see my article on How to Transplant Tomato Seedlings for a step by step guide on how to do it properly.
My Other Articles on Growing Tomatoes:
See my page on Growing Tomatoes to see all my articles on growing tomatoes in one place!
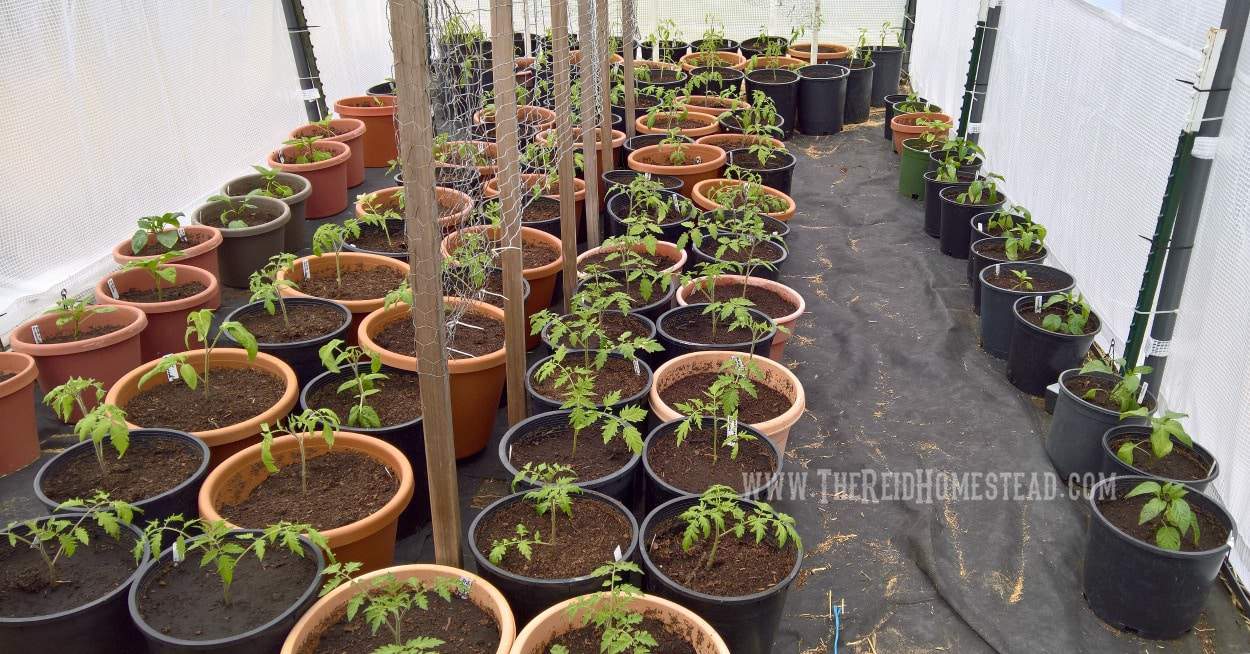
These are my tomatoes and peppers from last year. We moved them out to the unheated greenhouse in early April. In mid May, half of the tomatoes moved outside.
Want to Remember This?
Please save this "Seed Starting 101: Planting Tomato Seed" article to your favorite Gardening Board on Pinterest!


Rachel
How often to you water them once you start watering from below in the trays?
Tamara
Hi Rachel, I wait for them to dry out, and then add only enough water for them to be damp at the top, but not sitting in water. Usually every 2-3 days they need watering. Hope that helps!
Daniella
Hey Tamara! Is there a reason why you dont plant directly into the solo cups instead of having to up pot?
Thanks! Daniella
Tamara
Hi Daniella,
Space! I start a ton of seedlings, and I don't have the space to plant them all in solo cups. If I were only doing a few things for myself, you could totally start them in solo cups alone. You would just need to make sure the heating pads warmed the soil adequately enough for warm season crops like peppers and tomatoes, AND you need to cover them somehow (not sure if they will fit under the domes designed for plant flats) to keep the moisture in as much as possible until the seeds germinate. Hope that helps!
Daniella
That makes a lot of sense. Once they have been potted up, do you move them to a green house or outside to get their sunlight? Otherwise I'm wondering how you would have enough space under the growlights, but maybe once they seedlings are big enough to the transplanted they dont need as much direct light?
Tamara
Yes I do move them out to an unheated greenhouse shortly after potting them up as they will no longer fit on my seed starting rack. I do keep a close eye on the weather and watch for cold temps, and may even cover them inside the greenhouse if we get a really cold spell. Have you also read my article on How to Transplant Tomato Seedlings as I do go over more details there. Hope this helps!
Mindy
Thank you for all the wonderful tips! Quick question, is it necessary to use the heating mat or can they grow without it? If nessasary is there anything cheaper that may would work instead?
Tamara
Hi Mindy, tomato seed likes the soil temp to be between 65 and 85 degree in order to germinate. I find that at the colder end of that spectrum, it takes longer for the seed to germinate. On the warmer end, they can germinate very quickly. If you have another warm spot in your house like on top of the refrigerator, you could place them up there until they germinate and then move them to a more convenient location. Hope that helps!