As an Amazon Associate I earn from qualifying purchases.
You can read my full disclosure statement here.
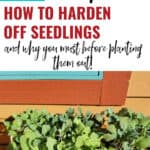

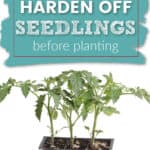

This post explains how to harden off your seedlings and why it is very important to do so before planting them in the garden!
Have you grown your own vegetable starts by seed? Or flowers? Have you spent months taking care of them? Are you excited to plant them out in the garden?
DID YOU HARDEN THEM OFF FIRST?!?!?
Please read on to find out more about hardening off seedlings, a step that many new gardeners are not aware of, and learn how to harden off your seedlings properly.
What Does Hardening Off Seedlings Even Mean?

Onion seedlings hardening off before going into the garden.
Simply put, hardening off seedlings is the act of slowly allowing your baby plants, to grow accustomed to living outdoors. Here they have grown up so well indoors, being pampered by you for months!
They have had just the right amount of heat and light. Just the right amount of water, the right soil, everything is so perfect!
Why Seedlings Need to be Hardened Before Transplanting
And now you want to plant them outside in your garden where there is wind, fluctuating temperatures, harsh UV rays from the sun! If the baby seedlings go from one extreme to the other, they will not fair well.
They need time. They need a slow introduction. They need to acclimate. This is what hardening off is and why they need go through this process before being planted out. Hardening off prepares the seedling for transplanting in the best way possible.

Some beautiful Chinese cabbage seedlings, that are ready to be hardened off.
Seed Starting 101: Essential Seed Starting Equipment
Seed Starting Schedule for Garden Zone 8b
Seed Starting 101: Winter Sowing
How to Build a Straw Bale Cold Frame
Our favorite gardening and homesteading equipment in our Amazon Shop!
Our Garden Harvest Tally Spreadsheet is now available!
When Do I Harden Off My Seedlings?
You should begin to harden off your seedlings 2 weeks before you want to plant them in the garden. One week before at a minimum. Hardening seedlings off takes time and cannot be rushed!
So consider when you want to plant them and work backwards 2 weeks and then begin the process of hardening them off.
What to do Before Hardening Off Your Seedlings Outdoors:
OK, before you even begin hardening off your plants outside, there are a couple of things you can do inside to help them begin their adjustment to moving outside.
One thing I like to do is place a oscillating fan on my seedlings once they have germinated and I remove the dome lids off of the plant flats. Using a fan simulates wind in the real world, and helps build stronger stems.
Did you use a heat mat to germinate the seeds? If so, remove the heat mats a week or so before you plan to begin hardening them off outside. It is not needed after the seeds germinate.
Do not remove the grow lights that the plants are under, they need the lights, or they will get long and leggy which makes for a weaker plant. However, having the lights on a timer, and allowing the lights to go off at night, simulates the real world for the plants. I like to leave my lights on for 16 hours and off for 8 hours at night.
Lastly, don't let your seedlings get root bound. This stresses the plant out. Check and see if you need to repot them into larger pots before you begin the hardening off process. If so, give the newly repotted plants at least a week or so to adjust in their new pot before beginning the hardening off process.
Outside, start working on getting your slugs and snails under control where you plan to harden off your plants, and where you plan to plant them! If you don't, all that hard work can be gone overnight if your slug and snail population is out of control, which it usually is if you live in the PNW! Check out these Natural Slug and Snail Control Methods.
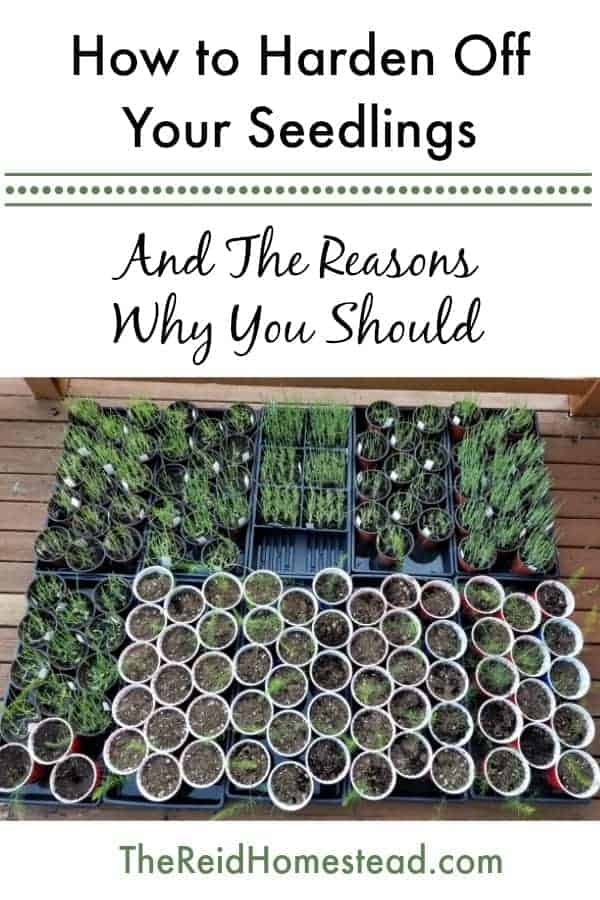
How to Harden Off Your Seedlings:

Assorted seedlings hardening off, waiting to be planted in the garden.
Hardening off plants ideally usually takes a week to 10 days or so, depending on your weather. However, ANY hardening off you can do for the plants, is better than none. So just do your best! I will list my ideal method below, and just do your best to work in any amount that you can do.
Ideally, the first day, bring your plants outside, into a sheltered, shady area for a couple of hours, say 2-3 hours. Do NOT put them in full sun. Do not bring them out for their first day when it is 100 degrees. Or if it is SUPER duper windy. Or hailing. Or you are having a massive downpour and they are not protected from it.
Making sure you weather is mild, is a good idea before you begin the hardening off process. I like to place them on my back deck, under the eaves, in a shady spot for the first few days. The second day, leave them outside in that sheltered spot a little longer, 3-5 hrs. The third day, a bit longer, 4-6 hours, etc.

Some brassica seedlings being introduced to the morning sun.
After 3 days of doing this in a sheltered area, pull them into a sunny spot, for an hour or two. Make sure they have been watered well before taking this step. Ideally, morning sun would be best, as it is a bit more gentle than blazing hot afternoon sun.
So day 4 would look like this: 6-8 hours outside, 2 hours in the sun and 6 hours in the sheltered shady area.
The next day, add on another 1 or 2 of sun, returning them to the sheltered area for the rest of their outside time. Keep doing this slowly, until you have reached a point where they are outside, in the sun for the full day.
Remember to keep watering them well as they get more exposure to the sun. When they have managed to survive well for a few days outside in the full sun, they have now been hardened off.
What Happens If You Don't Harden Off Your Seedlings?
Nothing good my friends. Nothing good. First, they will experience shock. This may cause wilting, withering, death. Seriously.
They may get sunburned. If they are not slowly accustomed to those harsh UV rays, your leaves may get a whitish/yellowish tinge that is sunburned.
Being planted outside in the real world, your little baby seedlings will experience shock. That is a given. Not hardening them off properly, will give them a lot more shock.
Too much shock, and they will either die, or will be weak and under productive throughout their life cycle. This is why learning how to harden off your seedlings is crucial.

More brassica's hardening off on my deck.
When to Plant Your Seedlings in the Garden
Before planting your seedlings outside into your garden permanently, it is a good idea to check the weather again. Ideally, a couple of overcast, mild days is what you should look for.
You want the clouds to soften the suns rays a little bit and you want the temperature mild, not super hot and not super cold. You don't want hard rain, or hail. Soft rain, light showers, drizzle, is ok.
If you are planting out warm season starts like tomatoes, peppers, squash, melons, cucumbers, beans, basil, etc, be sure to check the night time forecast as well for the next 10-14 days out. Warm season crops do not like it to be below 50 degrees at night. Another thing that can cause shock in the plants.
So ask around if you are a newbie gardener, to see when a safe date for this in your area is. Ask garden store workers, other avid gardeners, check Facebook for local gardening or homesteading groups, and ask there.
Here in Western WA, the safe date is Mother's Day or May 15th or so.
Our Garden Harvest Tally Spreadsheet is now available! Track how much food you can grow this year!
Tips for Planting Your Seedlings
Be sure to add some compost into the planting hole, so that you new seedlings have some good nutrition on hand as they get settled. See my article Simple Easy DIY Composting for tips on how to make your own.
I also like to add some crushed eggshells to my tomatoes, peppers, and squashes to help prevent blossom end rot by adding a little calcium boost. See my article How to Use Eggshells in the Garden.
Also be sure to give your newly planted seedlings a good deep watering. Then mulch around them to keep that water from evaporating and to keep the weeds down.
Not only do weeds look nasty, they will steal nutrients and water from your baby seedlings, so be sure to stay on top of them. Mulch is a key factor in the fight against weeds, see my article The Secret to Easy Gardening, Use Mulch for NO WEEDING!
Lastly, Mother's Day is going to be here before you know it! Do you need gift ideas for your gardening or homesteading mom? Check out my Mother's Day Gift Guide for Homesteading Moms!
And now that you have started your own seedlings, I bet your seed stash is a bit of a mess right now! Check out how I organize my seeds in this article: How to Keep Your Seed Stash Organized
That is all my friends! And now that you know how to harden off your plants, Happy Planting! May this be your best, most productive vegetable gardening season ever!
Other Articles You May Be Interested In:
Make Money Selling Plant Starts from Home
How to Grow Lavender with Winter Sowing
How to Prevent Tomatoes from Splitting and Cracking
Want to Remember This?
Please save this by pinning my "How to Harden Off Your Seedlings" article to your favorite gardening board on Pinterest!
Jen
Hello! I was wondering if there is any way to keep seedings from getting “leggy”, tomato and sunflower seedlings, without using a grow light? We are just starting to get things together- new house, semi-new to gardening. I currently have my seedlings in a sunroom that gets a ton of light, and we also have a small greenhouse. I just read that without a grow light that you can move close to tomato seedlings they will get leggy and not do very well. Is there any way to compensate? Would being in the greenhouse help? We just don’t have the space or money to invest in grow lights or fans at the moment. We do however have about 20 baby sunflowers and tomatoes that I am now worried are to tall! Any help is totally appreciated.
Tamara
Hi Jen, I have always started my tomatoes under grow lights, so I don't know of another way that they won't get leggy. You could try in a greenhouse if it was warm enough and bright enough, that is probably your 2nd best option. However, I just use a cheap shop light with flourescent bulbs, and it maybe cost $20 or so, so it doesn't have to be a big outlay of cash to get set up. Check out my Seed Starting Equipment article to see exactly what I use! https://thereidhomestead.com/seed-starting-101-equipment/