• Skip to primary navigation
  • Skip to main content
  • Skip to primary sidebar
  • Skip to footer
The Reid Homestead
  • Garden
    • Growing Vegetables
      • Growing Tomatoes
      • Seed Starting
      • Saving Seed
      • Garden Pests, Diseases & Problems
      • Garden Harvest Tally
    • Growing Fruit
    • Growing Herbs
    • Gardening Tools & Equipment
    • Permaculture
    • Flowers
  • Food Preservation
    • Freezing
    • Canning
    • Cold Storage
    • Fermentation
    • Dehydrating
  • Homesteading
    • Animals
    • Making Money on the Homestead
    • Homestead DIY Projects
      • Crafts
      • Soaps, Scrubs & Bath Bombs
    • Blog Hops
      • Farm Fresh Tuesdays
    • Homestead Gift Ideas
    • Homestead Planning & Organization
      • Monthly Homestead To Do Lists
    • 5 Things Friday
  • Recipes
    • Appetizers
    • Breakfast
    • Desserts
    • Main Dish Recipes
    • Natural Remedies
    • Plant Based - Vegan - Vegetarian Recipes
    • Salads and Sides
    • Smoothies
  • Resources
    • Freebie Resource Library
    • Blogging Resources
  • Shop with Us!
    • Shop our Printables!
    • Shop Our Homestead Favorites
  • Subscribe
menu icon
go to homepage
  • Garden
    • Growing Vegetables
      • Growing Tomatoes
    • Growing Fruit
    • Growing Herbs
    • Garden Pests, Diseases & Problems
    • Gardening Tools & Equipment
    • Seed Starting
    • Saving Seed
    • Garden Harvest Tally
    • Flowers
    • Permaculture
  • Homestead
    • Animals
    • Monthly Homestead To Do Lists
    • Making Money on the Homestead
    • Homestead DIY Projects
      • Crafts
      • Soaps, Scrubs & Bath Bombs
    • Blog Hops
  • Food
    • Food Preservation
      • Canning
      • Cold Storage
      • Dehydrating
      • Freezing
      • Fermentation
    • Recipes
      • Appetizers
      • Breakfast
      • Christmas
      • Desserts
      • Drinks
      • Main Dish Recipes
      • Natural Remedies
      • Plant Based - Vegan - Vegetarian Recipes
      • Salads and Sides
      • Smoothies
      • Thanksgiving
  • Resources
    • Blogging Resources
    • Freebie Resource Library
  • Shop
    • Shop our Printables!
    • Shop Our Homestead Favorites
    • Facebook
    • Instagram
    • Pinterest
    • Twitter
  • search icon
    Homepage link
    • Garden
      • Growing Vegetables
        • Growing Tomatoes
      • Growing Fruit
      • Growing Herbs
      • Garden Pests, Diseases & Problems
      • Gardening Tools & Equipment
      • Seed Starting
      • Saving Seed
      • Garden Harvest Tally
      • Flowers
      • Permaculture
    • Homestead
      • Animals
      • Monthly Homestead To Do Lists
      • Making Money on the Homestead
      • Homestead DIY Projects
        • Crafts
        • Soaps, Scrubs & Bath Bombs
      • Blog Hops
    • Food
      • Food Preservation
        • Canning
        • Cold Storage
        • Dehydrating
        • Freezing
        • Fermentation
      • Recipes
        • Appetizers
        • Breakfast
        • Christmas
        • Desserts
        • Drinks
        • Main Dish Recipes
        • Natural Remedies
        • Plant Based - Vegan - Vegetarian Recipes
        • Salads and Sides
        • Smoothies
        • Thanksgiving
    • Resources
      • Blogging Resources
      • Freebie Resource Library
    • Shop
      • Shop our Printables!
      • Shop Our Homestead Favorites
    • Facebook
    • Instagram
    • Pinterest
    • Twitter
  • ×
    Home » Garden » Seed Starting

    How to Disinfect Seedling Supplies and Plant Pots

    January 27, 2020 by Tamara Leave a Comment

    As an Amazon Associate I earn from qualifying purchases.
    You can read my full disclosure statement here.

    plant flats filled with seed starting 6-packs, 4" pots and solo cups, text overlay STOP! Before you start your seeds, disinfect your seed starting supplies!

    Before you begin planting your seed, it is very important to disinfect seedling supplies and plant pots to prevent viruses and/or bacterial infection in your tender seedlings.

    When the holidays are over, I get that itch to begin gardening again. Browsing through seed catalogs on those slow winter days also stirs those gardening desires. After I place my seed orders, I set aside time to disinfect my seed starting supplies and later before transplanting, I will also disinfect all my planting pots.

    Related Articles You May Be Interested In:
    Seed Starting 101: Essential Seed Starting Equipment
    Seed Starting Schedule for Garden Zone 8b
    How to Make Money Selling Seedlings

    Scroll down to see more related articles on starting seeds or seedling care, at the bottom of this post!

    Our favorite Homesteading & Gardening things in our Amazon Store!
    Our Garden Harvest Tally Spreadsheet is now available!

    Why You Should Wash and Disinfect Seedling Supplies and Plant Pots

    planting tray full of dirty seedling pots

    It is super important to wash and sterilize your seed starting pots and supplies, so that your young tender seedlings don't pick up any viruses or pathogens from them. If they do, that will weaken or kill your seedlings. After all the hard work that goes into starting your seeds, you don't want all your efforts to go to waist because you used dirty supplies.

    Of course, buying new seed starting pots each year, would be the easiest way to avoid this step, but this is not an option when money is tight. Don't forget to also wash and disinfect any planting trays or tools that you use for seed starting as well.

    Why You Must Wash the Pots Prior to Disinfecting

    Before you can disinfect all your planting trays and seedling pots and 6 packs, you must first remove any and all dirt or potting soil residue from them. This is important, because any dirt or potting soil that remains on them, may weaken the strength of the bleach solution that you need to disinfect them. So don't miss this crucial step!

    seedling 6 packs soaking in a soapy solution

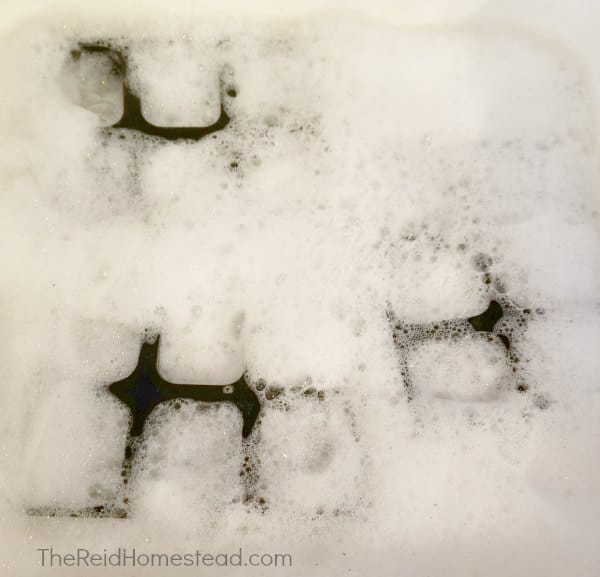
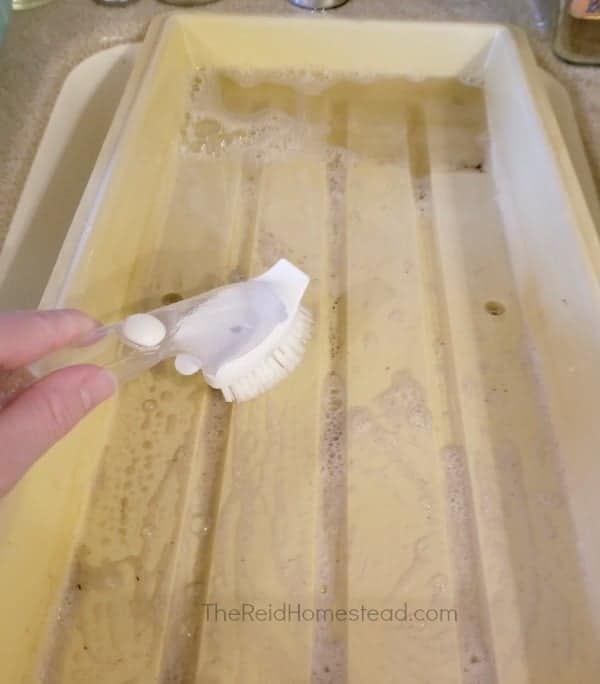
    First create a warm soapy solution and soak them for a bit. Then use a scrub brush to scrub off any debris that is on them. Then rinse well and let dry.

    a dirty plant tray being scrubbed clean with a scrub brush

    seedling pots that have been washed, now air drying on the counter


    Using Bleach to Disinfect Your Garden Pots

    To disinfect, you will want to add some bleach to water, in a container that you can soak the pots in. Don't skimp on the bleach, buy a new bottle that is full strength, don't use an older bottle that has been hanging around for a long time and may have lost some of it's strength.

    Ideally the bleach should be 8.25%, and the proportions should be 2 TBSN's of bleach to each gallon of water. The solution should be deep enough to submerge the pots completely.

    Step by Step Instructions to Disinfect Your Seedling Supplies:

    Using Bleach to Disinfect:

    1. Scrub the pots clean, inside and out with warm soapy water. Soak in warm soapy water if needed. Remove all dirt and/or soil remnants from each pot.
    2. Rinse the pots completely from any soap scum.
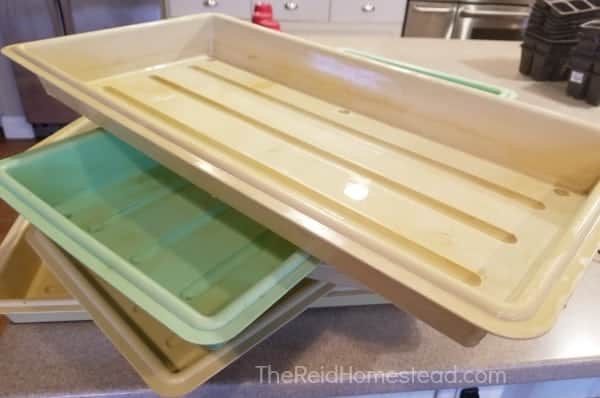
    3. Let pots dry completely.
    4. Create bleach solution of 2 TBSN's of 8.25% bleach to each gallon of water, in a container large enough for the pots to be submerged in.
    5. Using latex gloves, submerge the pots in bleach solutions and let soak for 30 minutes.
    6. After the pots have soaked for 30 minutes, rinse them well to remove any lingering bleach and let them air dry.

    Using Vinegar to Disinfect:

    Another option if you don't want to use bleach, is to spray your supplies down fully with an undiluted vinegar such as a distilled white vinegar. This should be done after washing them well with soap and water. Ideally let the vinegar stay on the items for a good 10-15 minutes and then rinse them well. 

    recently disinfected planting trays, air drying on the counter

    After Disinfecting the Pots, it is Seed Planting Time!

    Now that your seedling pots and trays and any other supplies are disinfected, it is time to begin planting your seed, or transplanting your tender seedlings into them.

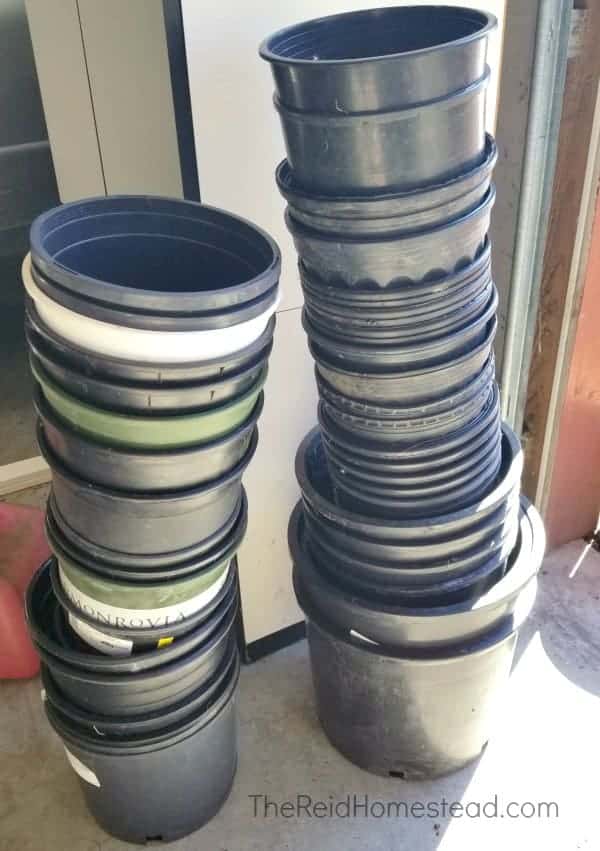
    Washing and Disinfecting Your Larger Plant Pots

    After you have started all of your seedlings, many of them will need to be up potted into larger pots. These larger pots should also be cleaned and disinfected in the same manor as mentioned above.

    2 tall stacks of large planting pots

    I live in a cooler climate here in the Pacific Northwest. Because it is a cooler, shorter growing season here, I choose to grow all of my tomatoes and peppers in pots instead of in the ground. This keeps the roots of the plants warmer which both of these plants appreciate.

    So before I do my final transplant into the containers they will be growing in for the summer season, I wash and disinfect those large pots too. It is a huge job, as I grow a LOT of tomatoes and peppers, but it is super important!

    large planting pots displayed on my front lawn

    I would suggest you do the same for any large pots or containers that you may be planting in as well.

    Step by Step Instructions to Disinfect Your Plant Pots:

    1. Instead of scrubbing the pots clean by hand, I use the hose with a jet spray for most of my pots. If they are really filthy, I will go ahead and scrub where needed.

      close up view of inside a dirty large planting pot

      A close up of a dirty planting pot that I grew tomatoes in last year.

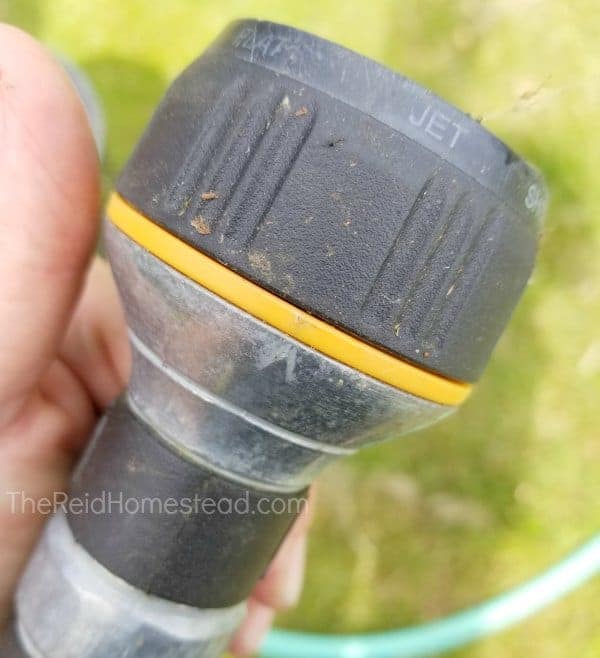
    2. I use my favorite hose sprayer by Melnor, as shown in the photo. Spray both the interior and the exterior of each pot and rinse well.close up of a Melnor Hose sprayerclose up of my favorite Melnor hose sprayer set on the Jet Spray settingspraying the inside of a large plant pot with the jet spray setting enabled on the hosespraying the outside of a large plant pot clean with the jet setting on the hose sparyer
    3. Then I set up a station for where I will submerse each pot into the bleach solution. I use a large bin that my largest pots will fit into. I set it on top of something so I don't have to bend over so far while submersing each pot.my bleaching station set up in the garage, a large bin placed on top of another bin surrounded by plant pots
    4. Create bleach solution of 2 TBSN's of 8.25% bleach to each gallon of water, in a container large enough for the pots to be submerged in. To be honest, I usually fill the bin with about 6-8" of water, and then I just pour a couple of good glugs of bleach into the water.
    5. While wearing latex gloves, submerge each pot into the bleach solution, bottom first. Then turn the pot sideways and spin it in the solution a couple of times so that it has rotated fully a couple of times in the bleach solution. I don't usually leave these in the solution to soak.dipping pots into the bleach solution
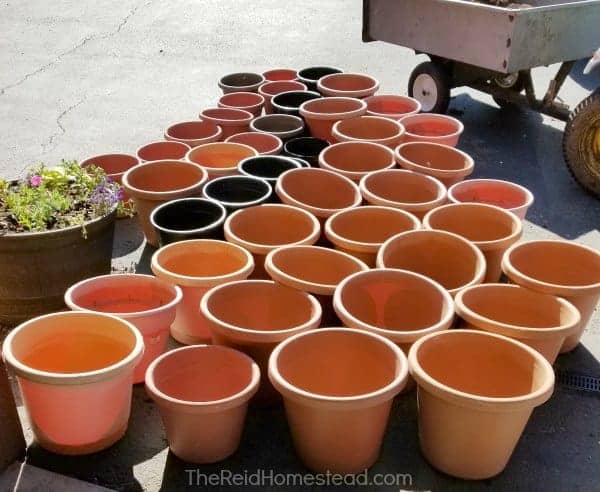
    6. After the pots have been thru the bleaching station, I let them air dry outside in the sun on the driveway.planting pots that have been disinfected, air drying on the driveway

    Other Articles on Seed Starting and Seedling Care

    Seed Starting 101: Essential Seed Starting Equipment

    How to Plant Onion Seed Indoors in Winter

    How to Plant Seeds Outdoors In Winter Using the Winter Sowing Method

    How to Plant Pepper Seed

    How to Plant Tomato Seed

    How to Plant Onion Seedlings

    How to Plant Pea Seeds

    How to Transplant Tomato Seedlings

    Want to Remember This?

    Please Pin this article "How to Disinfect Seedling Supplies and Plant Pots" to your favorite Gardening Board on Pinterest!

    plant trays full of seedling pots and large gardening pots with text overlay How to Disinfect Seedling Supplies and Plant Pots


    « Grow More Food with Fall and Winter Crops
    Time Management on the Homestead »

    Sharing is caring!

    369 shares
    • Facebook
    • X
    • Email
    • Flipboard

    Reader Interactions

    Leave a Reply Cancel reply

    Your email address will not be published. Required fields are marked *

    Recipe Rating


    This site uses Akismet to reduce spam. Learn how your comment data is processed.

    Primary Sidebar

    About Me

    Welcome! At The Reid Homestead, we have been growing, harvesting and preserving food for over 20 years. We love teaching and sharing our methods to help others grow, harvest and preserve their own home grown food! We also will share some of our favorite recipes and an occasional craft tutorial here and there! Read more about me!

    Enjoying my content?

    If you learned something here, and would like to help support this blog, please consider buying me a coffee via the Ko-fi link below, or sending us a tip! Thank you so much!!! 🙂

    Or, Send me a tip!

    Recent Posts:

    • Easy DIY Yarrow Salve Recipe
    • Easter M&M Oreo Bark Recipe
    • DIY Honey Almond Sugar Scrub Bars
    • Peppermint White Chocolate Mocha Recipe
    • Christmas Tree Pull Apart Bread Recipe
    • Hot Cocoa Cake Mix Cookies with Candy Cane

    Footer

    Legal Stuff:

    • Disclosure
    • Privacy Policy
    • Terms and Conditions

    Other Tidbits

    • About Me
    • Contact Me
    • Tip Jar - Buy me a coffee!
    • View my Web Stories!

    You're welcome and encouraged to link to TheReidHomestead.com or use a single image with a brief description to link back to any post with a do follow link. Republishing posts in their entirety is prohibited. Feel free to pin on Pinterest! Thank You!

    Copyright © 2025 The Reid Homestead on the Foodie Pro Theme

    369 shares