As an Amazon Associate I earn from qualifying purchases.
You can read my full disclosure statement here.
Spring Gardening Begins with Peas
(Updated February 2020) Soon it will be the first day of spring.....have you got your peas planted yet? Planting peas is usually my first act of getting the garden going for the year. It is the first thing that gets planted outside in the garden in the new year, along with fava beans. Also known as broad beans.
Fava beans are simple, just stick them in the ground, down about an 1" or 2", and you are good to go. Peas are a little more tricky, so in this article I will share my tips for planting peas successfully.
The Secret to Easy Gardening, No Weeding with Mulch!
Seed Starting 101: Essential Seed Starting Equipment
Seed Starting Schedule for Garden Zone 8b
Our favorite homesteading and gardening tools in our Amazon Store!
Our Garden Harvest Tally Spreadsheet is now available!
Fresh Peas From the Garden Taste the Best!
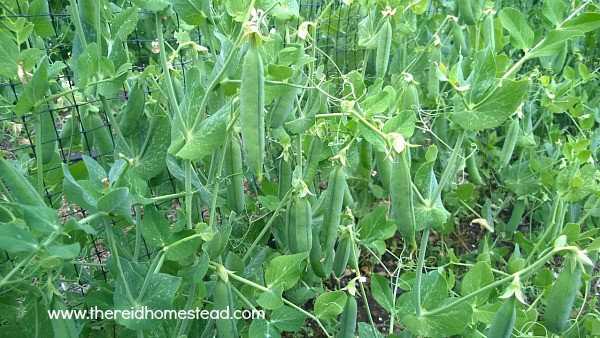
My pea crop from a previous year
If you or your family are not a fan of peas, have you ever tried them fresh from the garden? Eating raw peas fresh from the garden is like eating candy.
They are so sweet and crisp and yummy! Nothing like store bought canned peas which in my opinion are just gross.
Freezing peas from the garden are almost as good as fresh. See my article on freezing beans, I use the exact same method for freezing peas. After shelling them of course!
Than blanch and follow the same exact procedure. Although you can preserve peas by canning them, I find them unappealing preserved that way. So give them another try and grow them yourself and you will see.
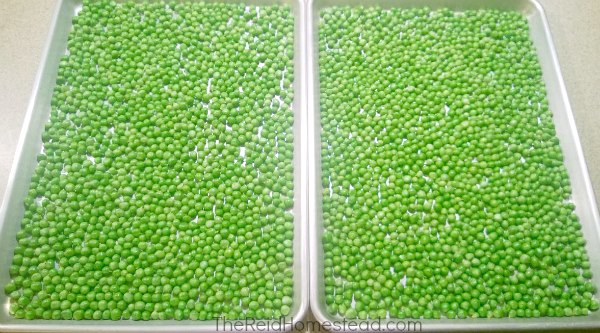
blanched freshly harvested peas ready for the freezer
Types of Peas
There are three different types of peas: shelling peas, snap peas and snow peas.
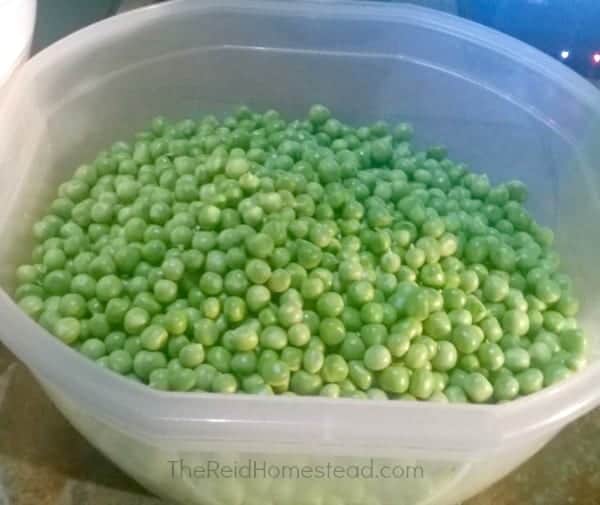
a bowl of freshly shelled peas from the garden
Shelling Peas: shelling peas are the ones you shell, and harvest the round green peas from inside the shell. I prefer the Green Arrow variety, because it produces a lot of peas per shell and they are super sweet and crisp. It takes a lot of time to shell each pea by hand, so I would rather get a lot of peas from a shell, than just a few.
Snap Peas: snap peas are the thick pea pod that you eat raw as a whole, pod and all. These make a great snack served with hummus or ranch dressing to dip with. My preferred variety is the Cascadia Sugar Snap.
Snow Peas: snow peas, which are the very flat variety that you will often see in stir fry's. This one you also eat the whole pod and all. I don't typically grow these, because I like the other two types better. I find that the snow peas get a bit slimy if frozen, so I will just use snap peas in place of snow peas.
When to Plant Peas
Here in the Pacific Northwest, I usually target President's Day, or mid February, as the day to look and see if the weather is cooperating enough to plant. This year it was way to wet that early, and I had to wait until the 2nd week of March. If you plant them, and get very wet cold weather, the seeds will rot.
That is what happened last year. I planted 2 separate batches last year, that both rotted. It wasn't until the end of March, that my 3rd batch took. So keep your eye on the weather to help you determine if there is a good window of opportunity.
Also look at the soil moisture level. If you can pick up a handful of soil from your garden and squeeze it, and lots of water comes out, it is probably still too wet. You want the soil damp, but not soggy.
Temperatures Needed for Peas to Germinate
Peas are a cold season crop, so they don't mind the cold, but they also won't germinate if it's freezing out. In order for them to germinate quickly, you want a good window of temps in the mid 50's or higher during the day.
They do not like the heat and don't do well in the heat of the summer. They do best in spring or fall. If it gets too hot, they wither up and die.
So not only do you want a dry window when you plant them, you want to look for a warm spell in late winter to get the first round planted as early as possible. Luckily I live in a moderate climate, and we often see short periods this warm or warmer, starting in February.
Tips for Quick Germination of Peas
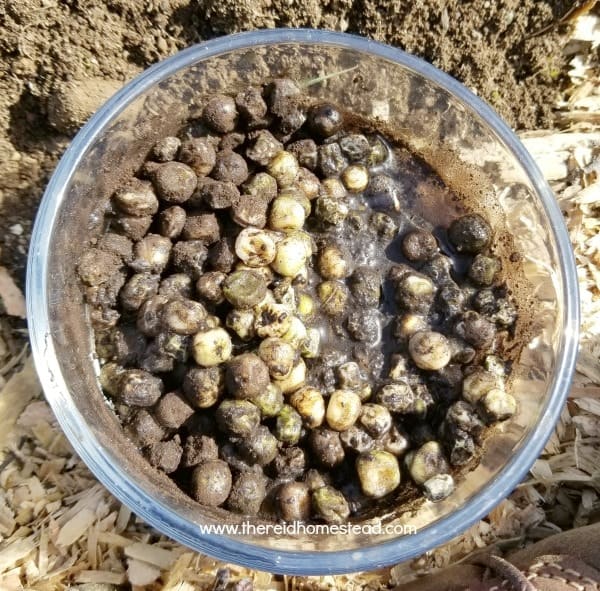
Pea seeds that were soaked, and then sprinkled with inoculant an ready to plant
Besides ideal weather, there are a couple of tricks to get your peas to germinate quickly. First, soak your peas before planting. Either overnight or even for a couple of hours. This really speeds up their germination time.
Inoculating Peas Before Planting
After soaking the peas, pour off the water and mix in some inoculant. Inoculant is a nitrogen fixing bacteria.
Adding inoculant helps the peas (or any legumes it is used with) to form more nitrogen fixing nodules, which helps them grow faster and stronger. It also allows them to put more nitrogen back into the soil, which peas and legumes are so well know for.
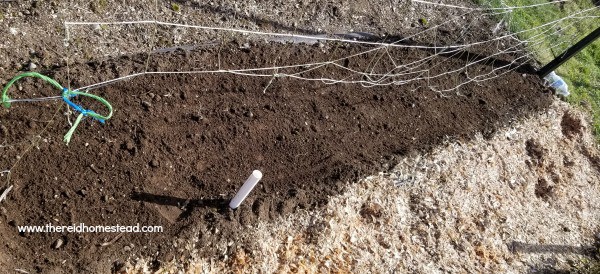
How to Plant Peas
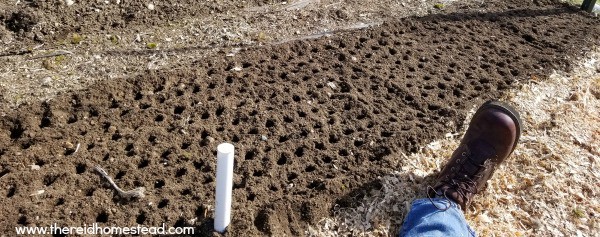
Planting peas in a raised wide row
After they have soaked and you have mixed in your inoculant, it is time to plant them. I tend to plant in wide raised rows. Wide raised rows allow the peas to choke out any weeds by shading them from sunlight, and it also allows for more plants per square foot, which yields a larger harvest in a smaller space.
When I am ready to plant them, I use a pencil or a chopstick, and poke a whole in the ground around 1-½" deep by twirling the pencil/chopstick into the soil, than drop in a pea. I space them about ever 2-3" across the entire wide row.
After all the peas are dropped in the holes, I just use my hand to smooth over dirt, covering the peas. Than water well.
Peas generally don't like a lot of fertilizer, so I don't bother with anything extra than mixing in good compost before planting. For a continual harvest, plant another batch every two weeks.
Don't Forget to Mulch!
Before you walk away from them, don't forget to mulch them! You can also use wood chips, or strain the wood chips by sifting them through a home made strainer. the strained wood chips are my preference.
To strain your wood chips, just make a square using 2x4's, about 3' x 3' in size, and staple hardware cloth over the square. Place on top of a wheelbarrow, and shovel on some arborist wood chips on top of your strainer square.
The smaller bits will fall through, the larger pieces will be strained out. Toss the larger pieces aside for use in another application, and mulch your peas with the smaller pieces you have strained out. These will compost in place and help build fantastic soil.
The mulch will not only compost in place, but will prevent weeds from germinating, and helps keep the soil from drying out, which means less watering. It's also a good idea to provide something for the peas to climb on. I prefer to use this woven netting strung between two T-posts.
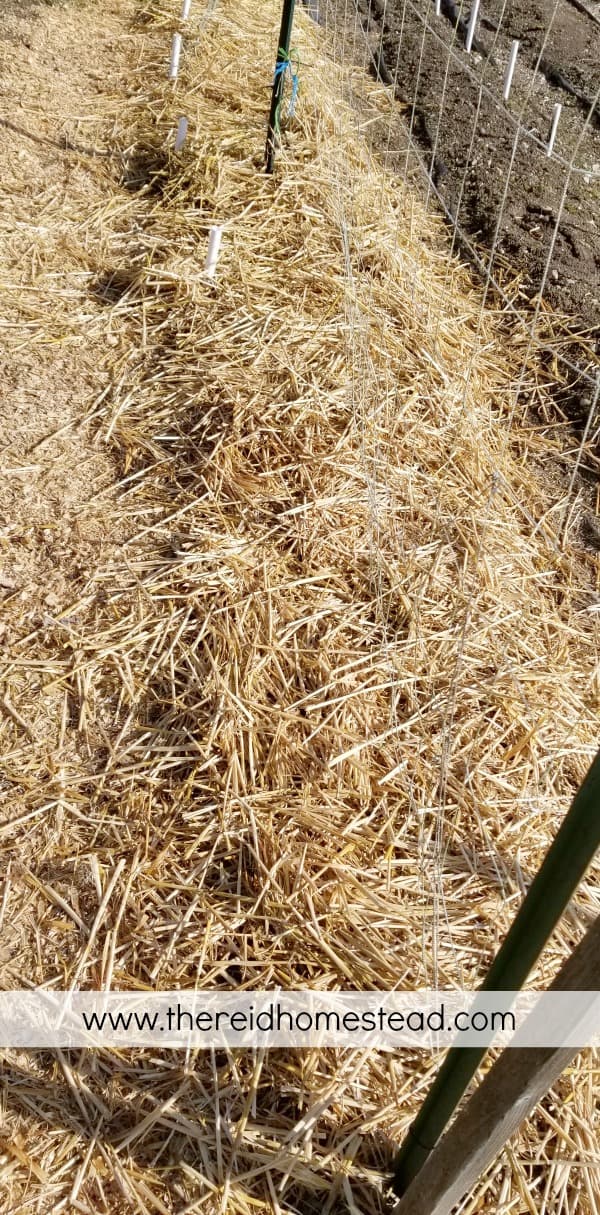
Photo shows my peas mulched in straw from a few years ago.
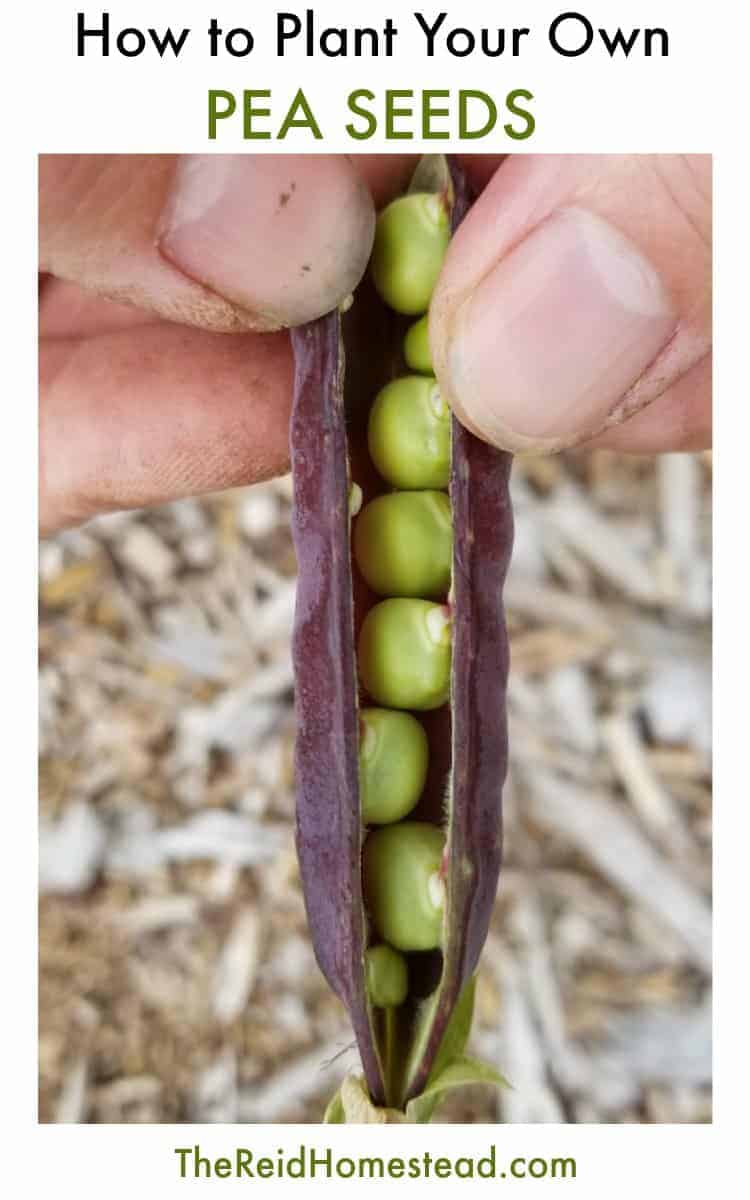
Purple King Tut Shelling Peas
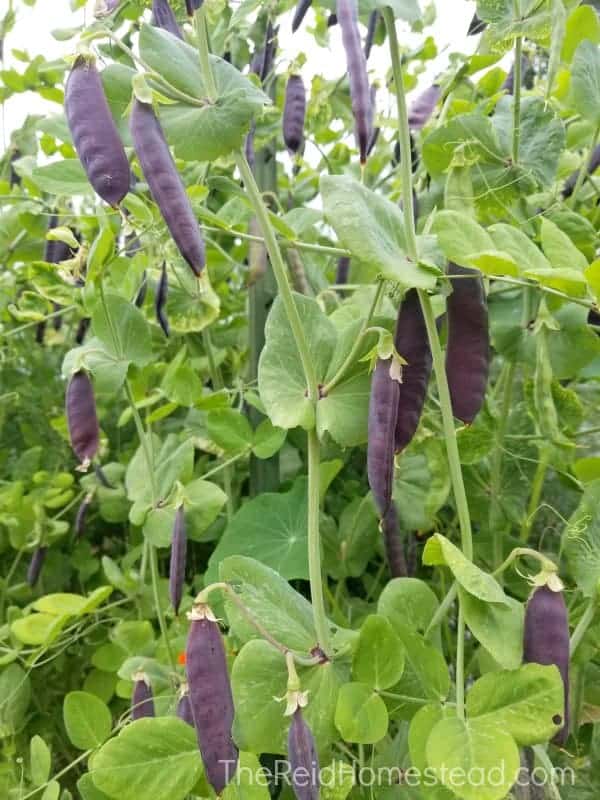
Some of the purple King Tut shelling peas growing in the garden last year.
Last year I grew this new purple variety of shelling peas, and it is a new favorite I felt the need to share. If you haven't grown them, you should! They are so gorgeous and taste great too! I found them at Baker Creek Seeds.
Want to remember this?
Save "Seed Starting 101: Planting Peas" to your favorite Gardening Pinterest Board to reference later!
Christine Norman
I love this blog! Such great ideas. I'll not a great planter and don't have a lot of free time but this seems so easy. Thanks for the tips. I'm going to try milk jugs and peas first.
Tamara
Hi Christine! Glad you stopped by! Let me know if you have any questions! I love to help new gardeners and am always happy to help! 🙂
Ann
I am very late on this post, but may I ask about the wood chips? Have you put down straight arborist wood chips? Or do I really have to strain them? And do you put them down as soon as you've planted the peas? Or wait til they come up, and then mulch around the seedlings? I'm tempted to just put a thin (maybe 1 inch?) of wood chips over my newly planted pea cover crop, but fear I may kill the lot. Any advice? Thanks so much!
Tamara
Hi Ann,
I would use the strained wood chips in the vegetable garden so that they break down faster and are not too heavy to allow the seedlings to break through. I would only use full wood chips in the walkways. 🙂
Kyla
About how many peas do you plant for each support? I’ve done 1-2 rows per side of the support trellis I use, but it looks like you have planted a lot more than that. Do you just train each layer of vines to grow up the trellis? Thank you!
Tamara
Hi Kyla,
Yes, I do several rows on either side of their support. And I give them a helping hand to train them up the trellis. You can plant peas about every 4", and I prefer to thickly sow them as it helps shade the roots of the plants and prevents weeds too!