As an Amazon Associate I earn from qualifying purchases.
You can read my full disclosure statement here.
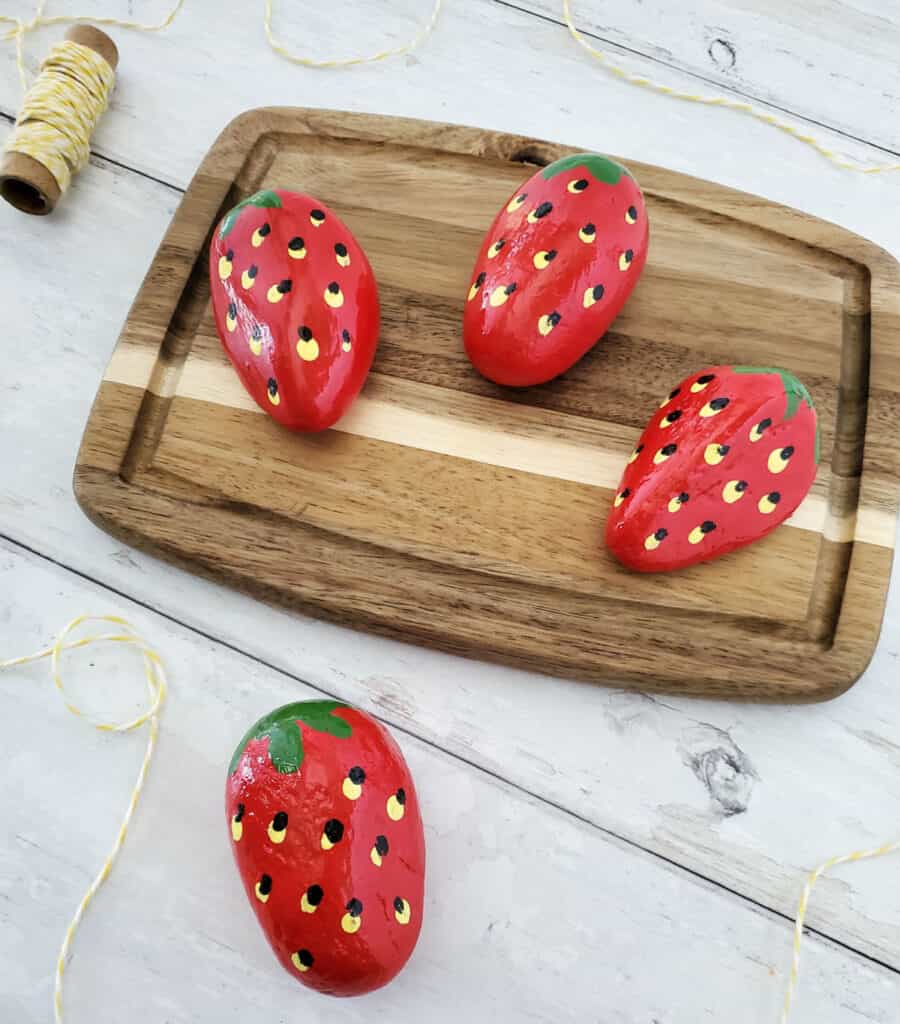
Have you struggled with birds eating your strawberries? This fun project is an easy to do painted rock craft, and it actually deters birds from eating your strawberries! These painted strawberry rocks are an easy craft project you can do with your kids, that actually serves a great purpose!
HOW TO USE STRAWBERRY PAINTED ROCKS TO DETER BIRDS:
Once you have made your painted strawberry rocks, you will want to place them in your strawberry bed among the strawberry plants. For best results, place them in your strawberry patch a few weeks before your fruit ripens. Sprinkle the painted strawberry rocks among the green leaves of the strawberry plants where they are plainly visible to the birds.
The birds will think these are actually ripe fruit, and will come to try and snack on what they think is ripe strawberries. But alas, the painted rocks are not the real strawberries the pesky birds think they are, and they will be sadly disappointed with this simple trick! What a great idea and fun way to trick them!
When your fresh fruit does actually ripen, the birds will be less interested in your strawberry crop after they have had several disappointing encounters with the painted rocks. You will be able to have a successful growing season and enjoy all of your own delicious berries!
This cute idea is a good project for those days when your kids are bored, but yet it also has a useful purpose!
Tips for Growing Big Healthy Strawberries
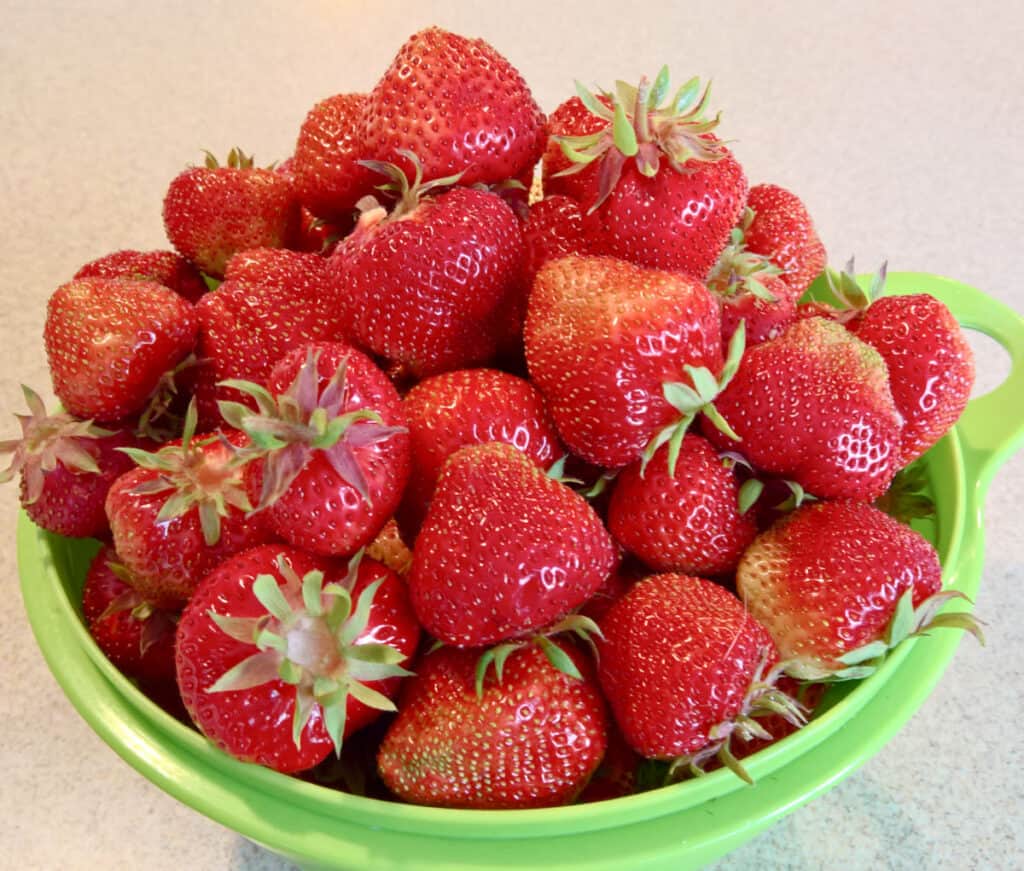
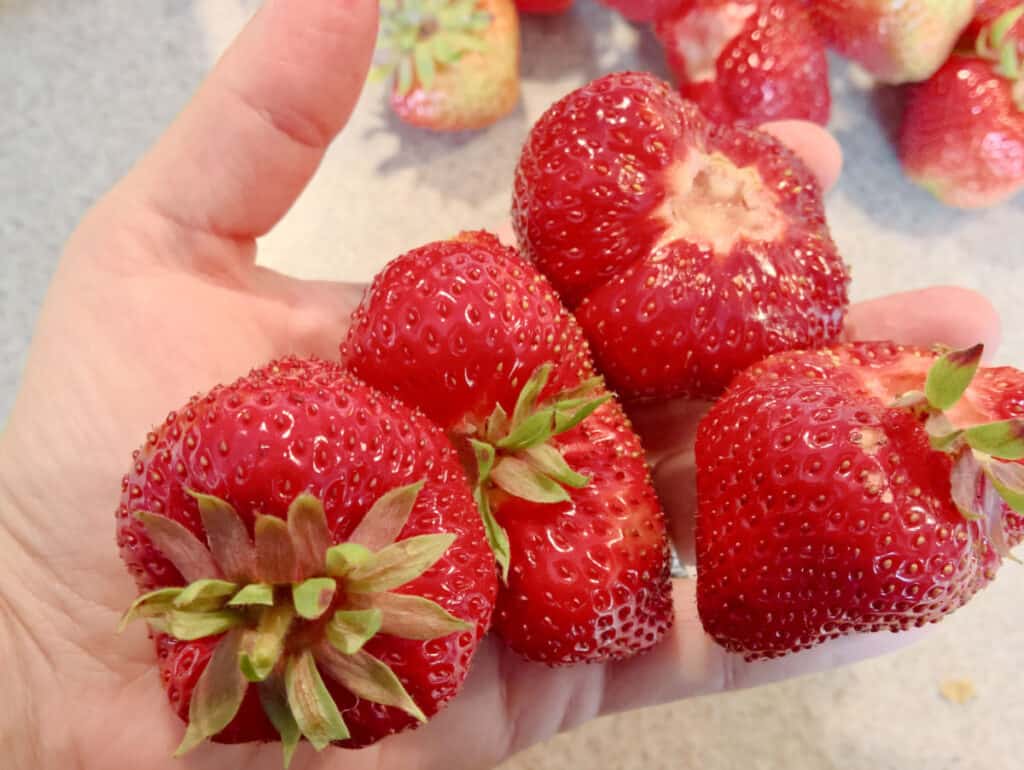
First consider what kind of strawberries you would like to grow, June bearing, ever bearing or alpine strawberries. Different varieties come in different sizes and some have a very short harvest season and some you can harvest for a much longer time. Or consider growing all 3 varieties!
Apline strawberries are often called wild strawberries and are much much smaller than what you will typically see in the grocery store or farmers market, but their flavor is wonderful. They grow in clumps and do not send out runners, and produce all summer long.
June bearing strawberries are what are usually commercially grown, so if you are looking to grow what you see in stores and farmers markets, this is what you want to grow. They are known for being highly productive, with beautiful plump fruit.
However, commercial growers will pinch off the flowers the first year to allow the plant to send all it's energy to forming a large healthy root system so that it will produce larger berries in the following years. These are generally harvested in late spring to early summer.
Ever bearing strawberries look very similar to June bearing varieties, but will produce from late spring/early summer until early fall.
Growing strawberries from bare root plants is the best way to go. You can order them online, and you will get a lot more bang for your buck by purchasing bare root plants. Amend your bed with compost and manure before planting.
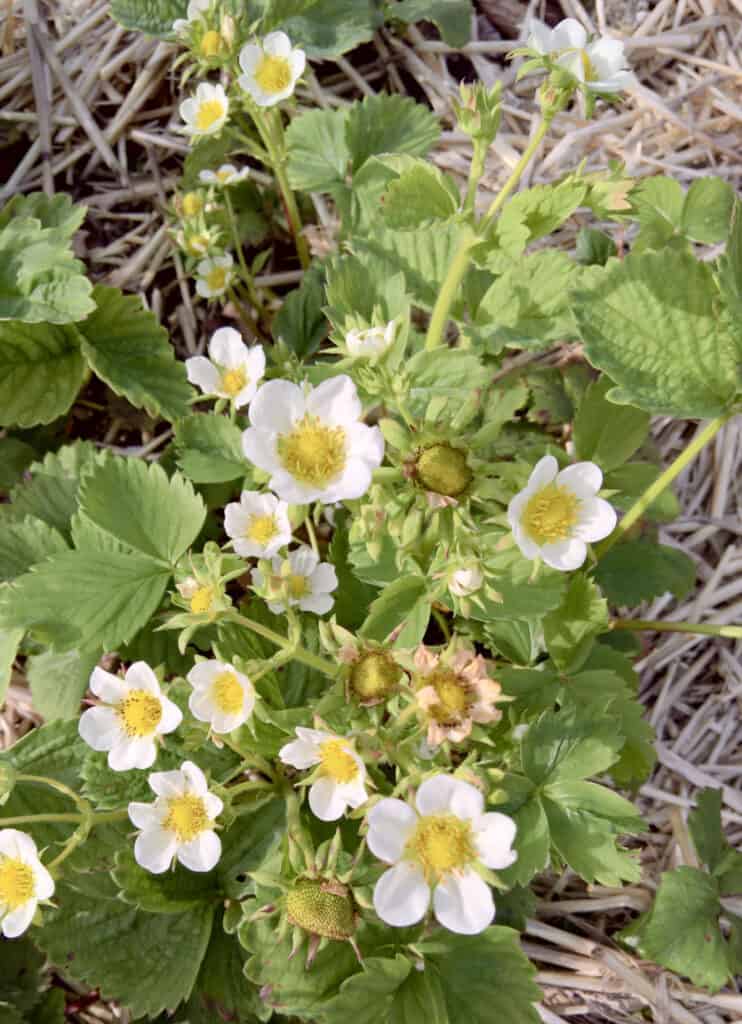
Plant the bareroot plants out in spring, after danger of frost, and you should get fruit off of those plants the first year. They do like a lot of nitrogen, so consider testing your soil and providing fertilizer if needed. Consider mulching your strawberry bed to eliminate competition from weeds on nutrients and water resources.
Try this fun and easy Patriotic White Chocolate Dipped Strawberries with Sprinkles recipe!
Problems Growing Strawberries
If slugs or snails are a problem for you in your strawberry bed, see 10+ Natural Slug and Snail Control Methods.
If weeds are a problem in your strawberry patch, see The Secret To Easy Gardening, Use MULCH for No Weeding.
Other Kid Activities You May Be Interested In:
Bumble Bee Painted Rock Tutorial
Easy Painted Pumpkin Mason Jars Craft
SUPPLIES NEEDED FOR THE PAINTED STRAWBERRY ROCKS:
First you will need to collect your materials and clear a space where you can work on this project and get a little bit messy. This tutorial is for 4 strawberry rocks. If you have a very large strawberry patch, you may want to make 12 rocks or more. Or make extra ones to give away to other gardening friends!
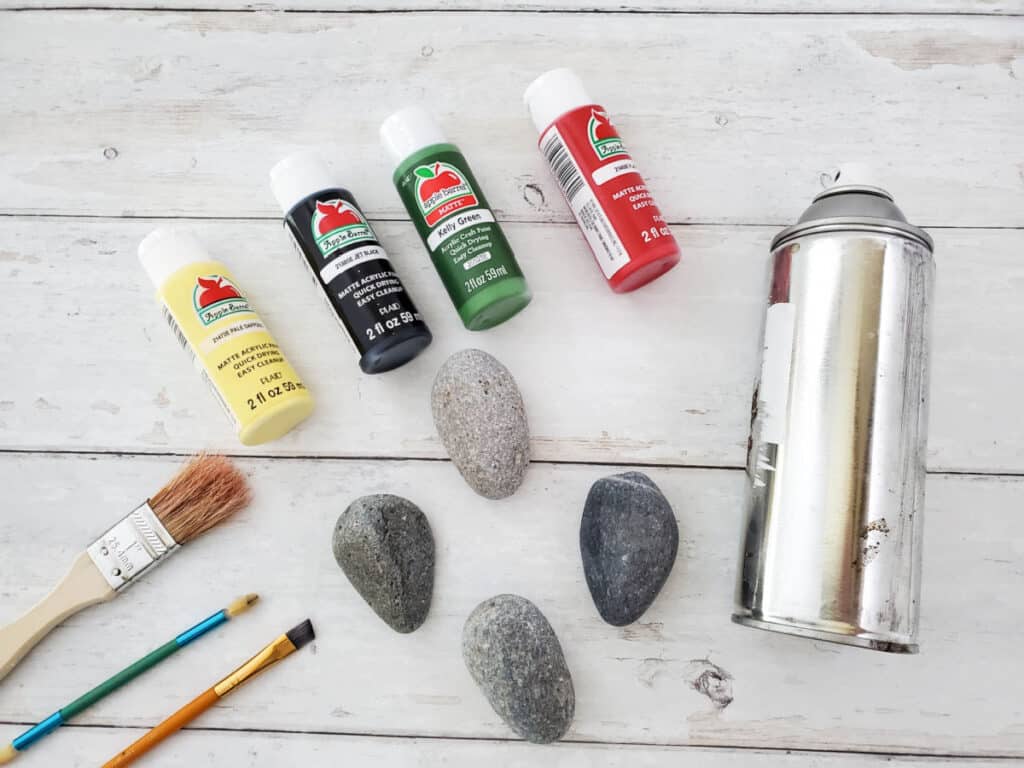
You will need the following craft supplies:
- River rocks - pick out small rocks that are wider on the top and narrower on the bottom, shaped like strawberries
- Craft or Acrylic Paint - red, green, yellow, and black
- Paint brushes:
- A paper plate to work on to minimize the mess and keep your craft surface clean
- Krylon Clear Acrylic Coating
Related Article You May Be Interested In:
DIY Peppermint Sugar Scrub
DIY Lavender Epsom Salts Bath Soak
50+ Handmade Gift Ideas
Our favorite Homesteading & Gardening things in our Amazon Store!
Our Garden Harvest Tally Spreadsheet is now available!
EASY PAINTED STRAWBERRY ROCKS CRAFT TUTORIAL:
Step 1:
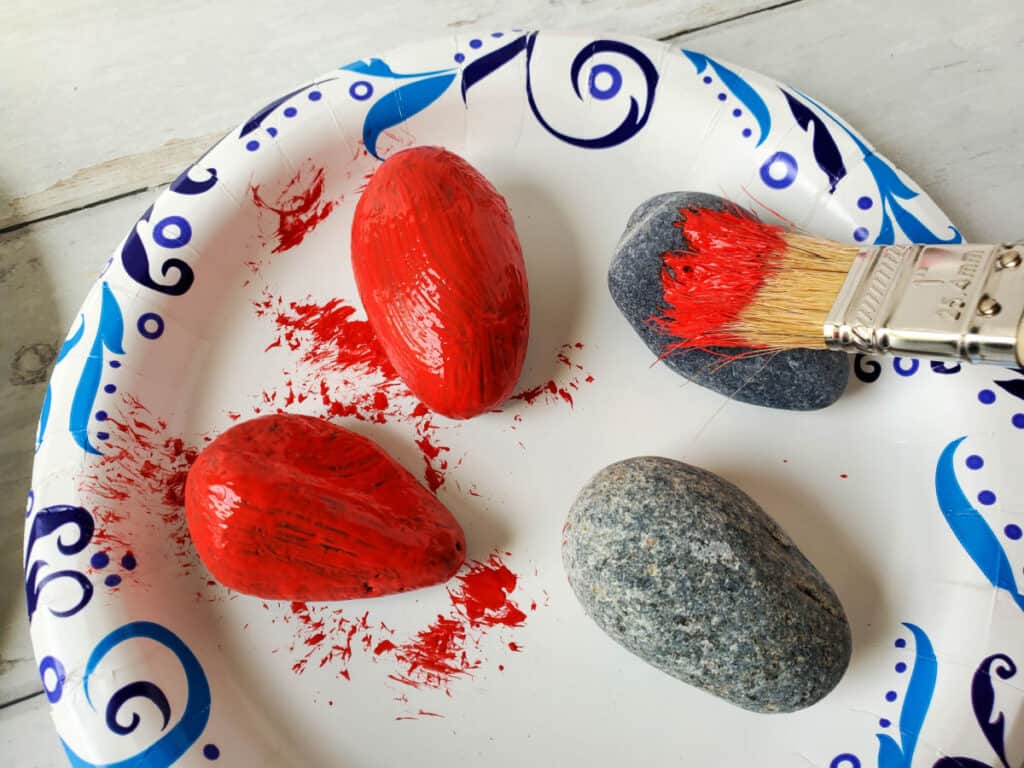
- Paint the entire rock with red paint, with 3 coats of paint using the 1" chip paint brush, allowing the paint to dry between each coat. You may use a hair dryer to speed up the drying process.
Step 2:
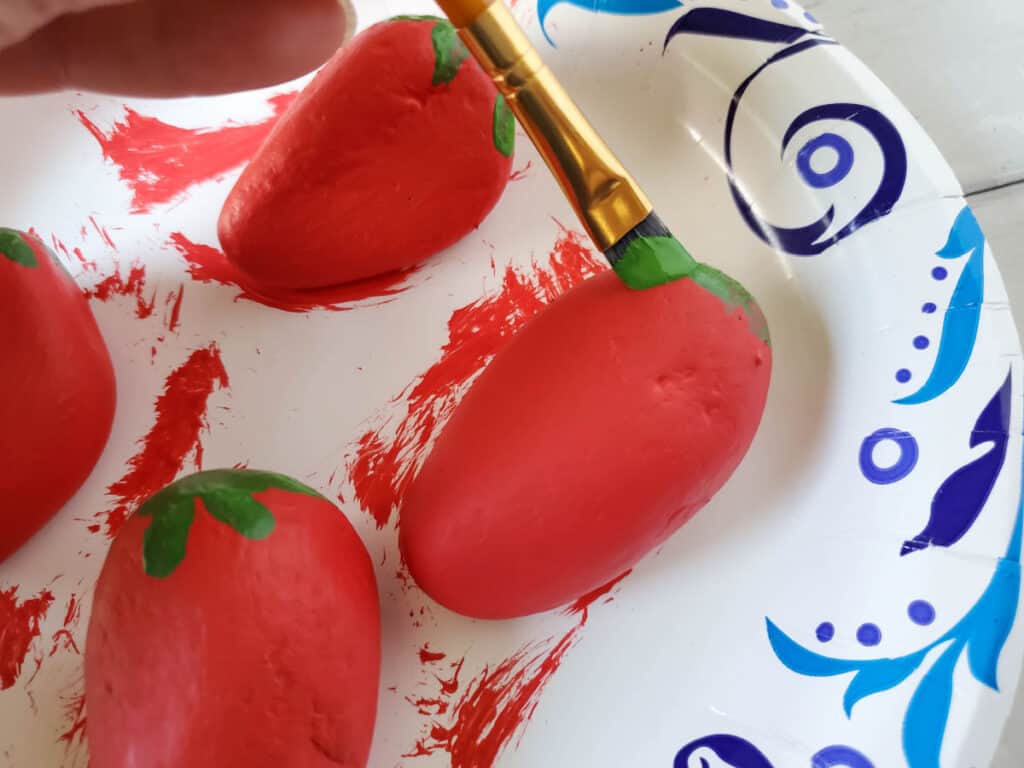
- Use the ¼” flat angled artist brush to paint the top of the rock, or wider part of the rock green, then paint the “leaves” of the berry and allow to dry.
Step 3:
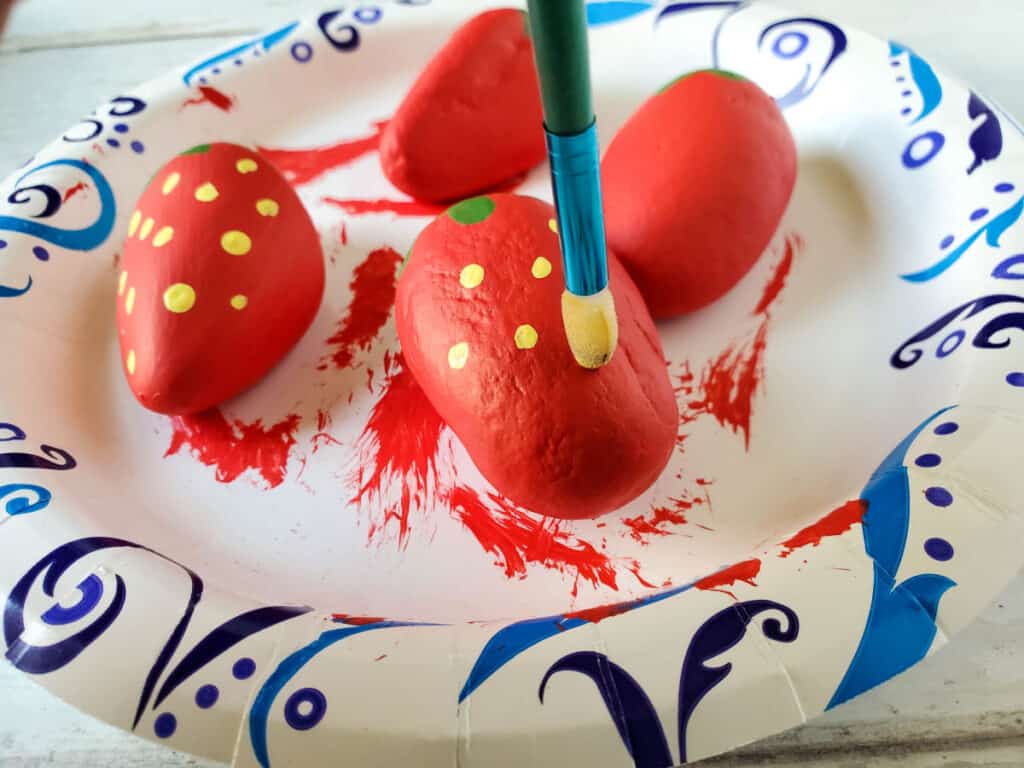
- Use the tiny foam applicator brush (or a q-tip) with yellow paint, to paint the yellow “seeds” of the berry, by just dabbing the brush on the rock and allow to dry.
Step 4:
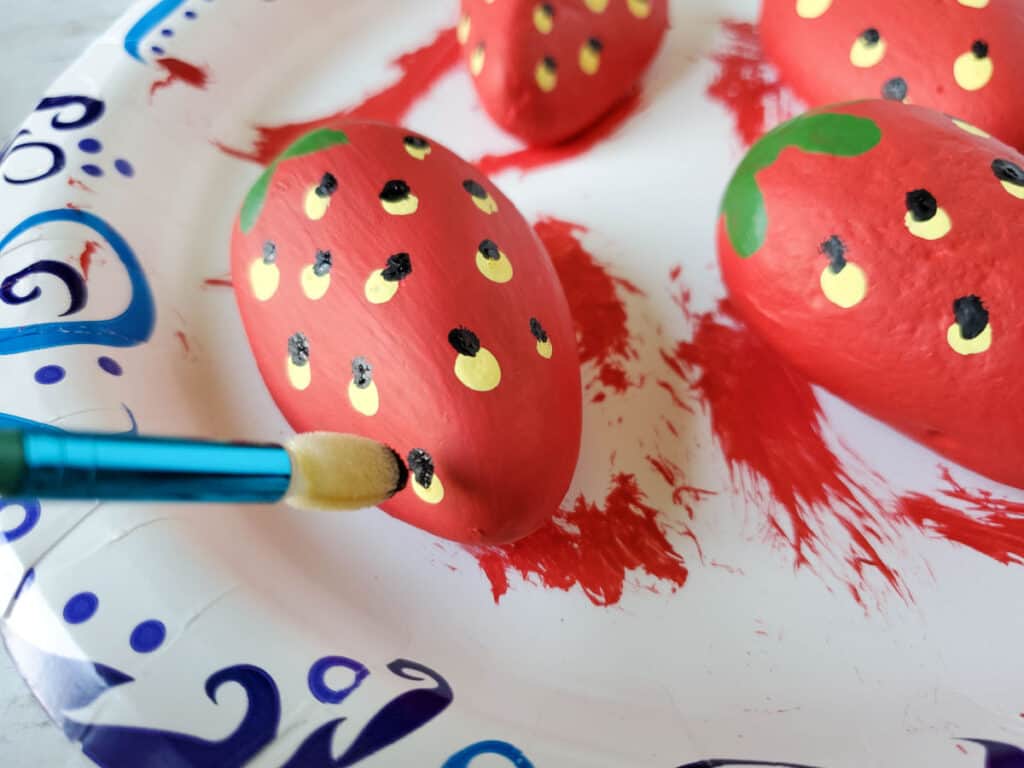
- Use the foam applicator brush (or Q-tip) again, to make a tiny dab of black paint above the yellow seed to create the tiny black dots.
Step 5:
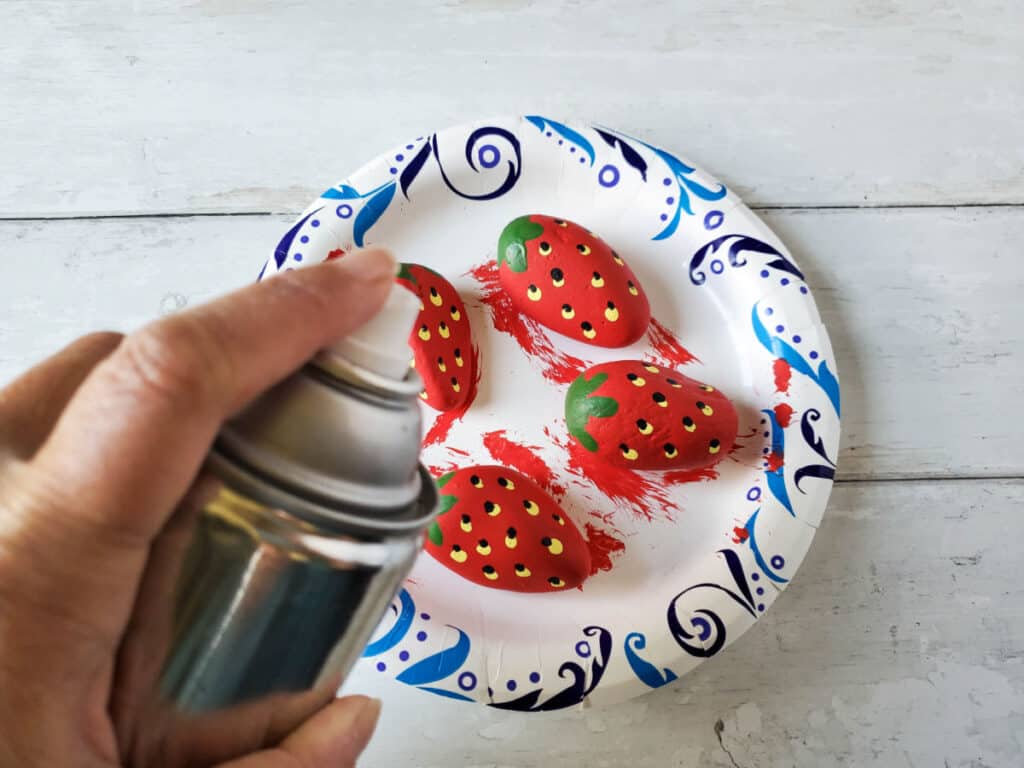
- Once the rock is completely dry, spray with Krylon Clear Acrylic Coating to seal the paint and protect it from the outdoor elements and let dry.
Easy Painted Strawberry Rocks Craft Tutorial
Materials
- 4 rocks rocks should be strawberry shaped, wider at one end
- 1 bottle red craft paint
- 1 bottle green craft paint
- 1 bottle yellow craft paint
- 1 bottle black craft paint
- 1 paintbrush 1" chip brush
- 1 paintbrush ¼" flat angled artist paintbrush
- 1 paintbrush tiny foam applicator brush (or a Q-tip)
- 1 can Krylon Clear Coating
Instructions
- Paint the rocks red with 3 coats of red paint using the 1 inch chip paint brush, allowing the paint to dry between each coat. You may use a hair dryer to speed up the drying time.
- Use the ¼" flat angled artist brush to paint the top wider part of the rock green, then paint the “leaves” of the berry.
- Use the tiny foam applicator brush (or Q-tip) to paint the yellow “seeds” of the berry, by just dabbing the brush on the rock.
- Make a tiny dab of black paint above the yellow seed.
- Spray the rocks with the Krylon Clear Coating, and allow a couple of hours to completely dry.
IDEAS FOR USING UP YOUR STRAWBERRY HARVEST:
Now you are done and you get to place your Strawberry Rocks out in your strawberry patch! I hope you had as much fun making these as we did, if you did, consider checking out my Painted Bumble Bee Rocks Tutorial!! I hope that you get even more strawberries to enjoy from your garden too!
If you have more berries than you know what to do with, see my article on The Easiest Way to Preserve Berries, Freeze Them! Or see How to Use Your Berry Harvest for some great ideas and recipes to use them up!
Other DIY Tutorials You May Be Interested In:
DIY Compost Bin + Easy Composting
Want to Remember This?
Please pin "Easy DIY Painted Strawberry Rocks Craft Tutorial" on your favorite Craft or Gardening board on Pinterest, or share on your social media accounts such as your Facebook Page, to remember it for later!



Leave a Reply