As an Amazon Associate I earn from qualifying purchases.
You can read my full disclosure statement here.
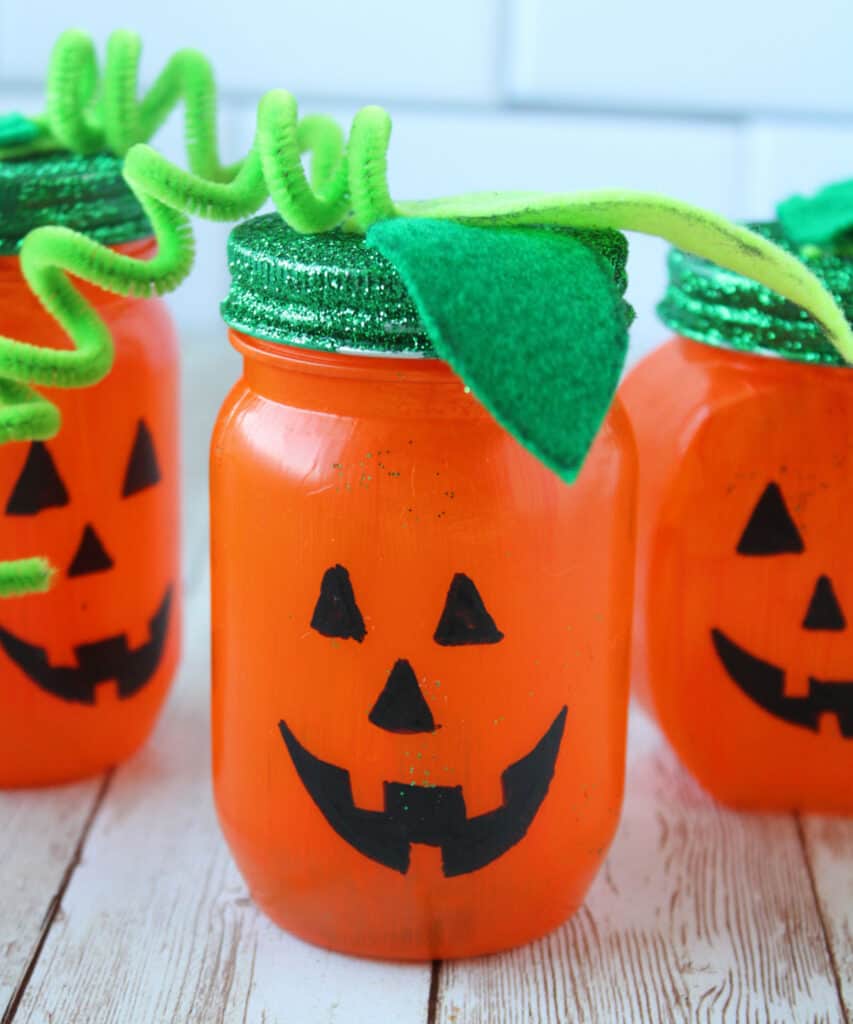
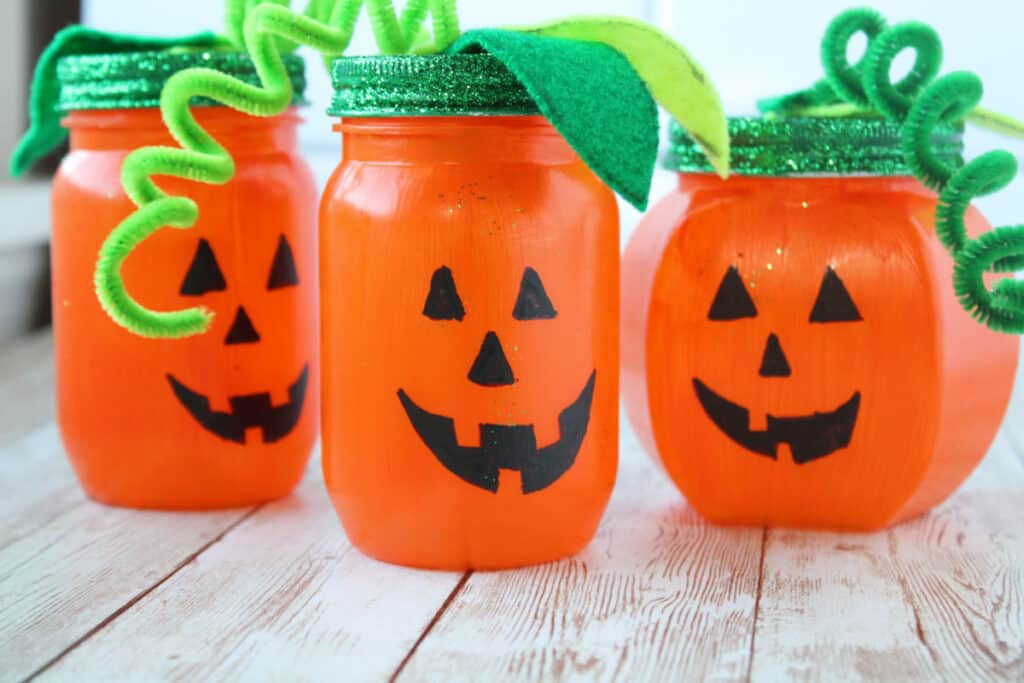
Fall season is here and Halloween will be here before we know it! This easy painted pumpkin mason jar craft project is perfect to do with kids! It as an easy pumpkin craft to add to your Halloween decorations!
So I thought this Halloween mason jar craft would be perfect for our fall decor and Halloween! They would be great for a Halloween party with little tea lights in them to turn them into Halloween lanterns that you could put outside on Halloween night.
These would be a great way to thank your hostess as a gift if you are attending a Halloween Party fill them up with some Halloween treats or a candle!
This easy mason jar project was a no brainer for me, as we always have loads of mason jars here on our homestead. We use mason jars for everything from canning up the garden bounty to storing leftovers in or for propagating plants in and more.
If you don't have any on hand, check out your local thrift stores and look for jars that are pumpkin shape! You never know what you will find!
These DIY Halloween mason jars are sure to be a hit, so you might want to plan on making more than 3 so you can give some away! See below for a step-by-step tutorial to make these adorable pumpkin jars and get into the Halloween spirit!
Also check out these cute DIY Easy No Sew Velvet Pumpkins or this DIY Fall Mason Jar Lantern Craft Tutorial for your Thanksgiving table or to add to your fall decor!
Related Articles You May Be Interested In:
Halloween Chocolate Eyeball Monster Pretzels
Halloween Mummy Oreo Cookie Balls
7 Reasons Why You Should Grow Blue Jarrahdale Pumpkins
How to Roast & Freeze Pumpkin and Winter Squash
30+ Fall Yard Decoration Ideas
Our favorite Homesteading & Gardening things in our Amazon Store!
Our Garden Harvest Tally Spreadsheet is now available!
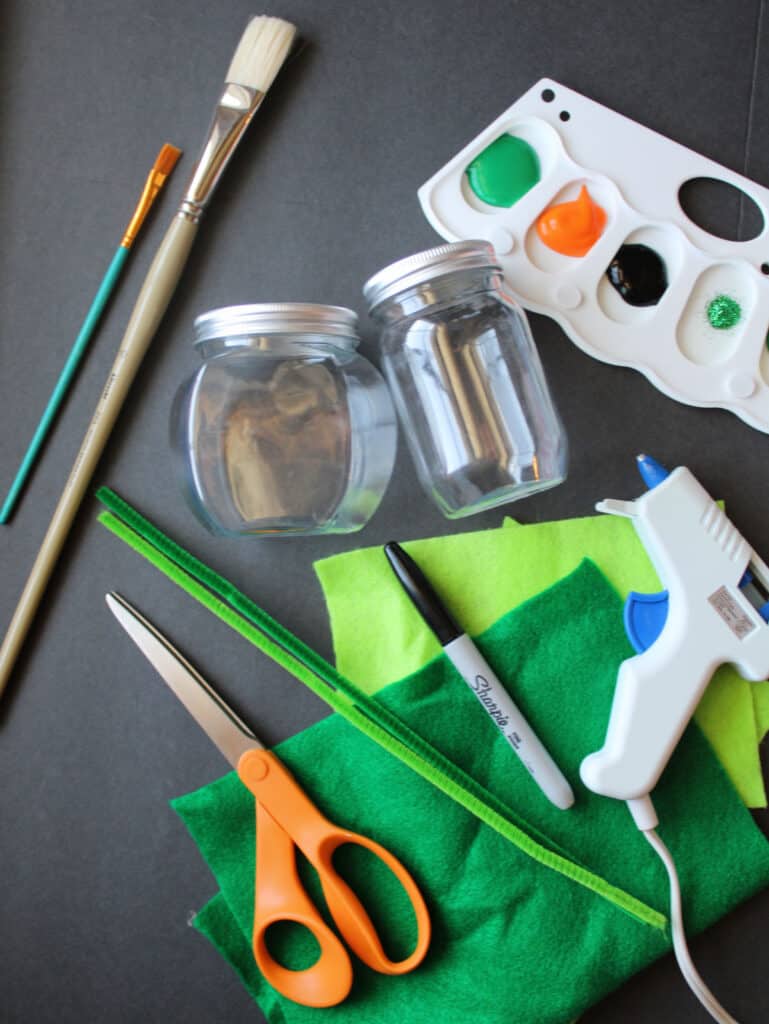
Supplies Needed for Painted Pumpkin Mason Jars:
First you will need to collect your materials and clear a space where you can work on this project and get a little bit messy. This tutorial is for 3 painted mason jar pumpkins.
Supplies needed:
- 3 Mason Jars or glass jars
- Craft paint or acrylic paint: Orange, Green and Black
- Green sparkly glitter
- 2 Paint brushes: one larger, one smaller
- Permanent marker
- Hot Glue gun and glue sticks
- Scissors
- Green felt (2 shades)
- Green Pipe Cleaners (2 shades)
OPTIONAL:
Tea lights, fairy lights or different shades of orange paint for more variation or white paint to make white pumpkin jars with!
EASY PAINTED PUMPKIN MASON JAR CRAFT TUTORIAL:
Step 1:
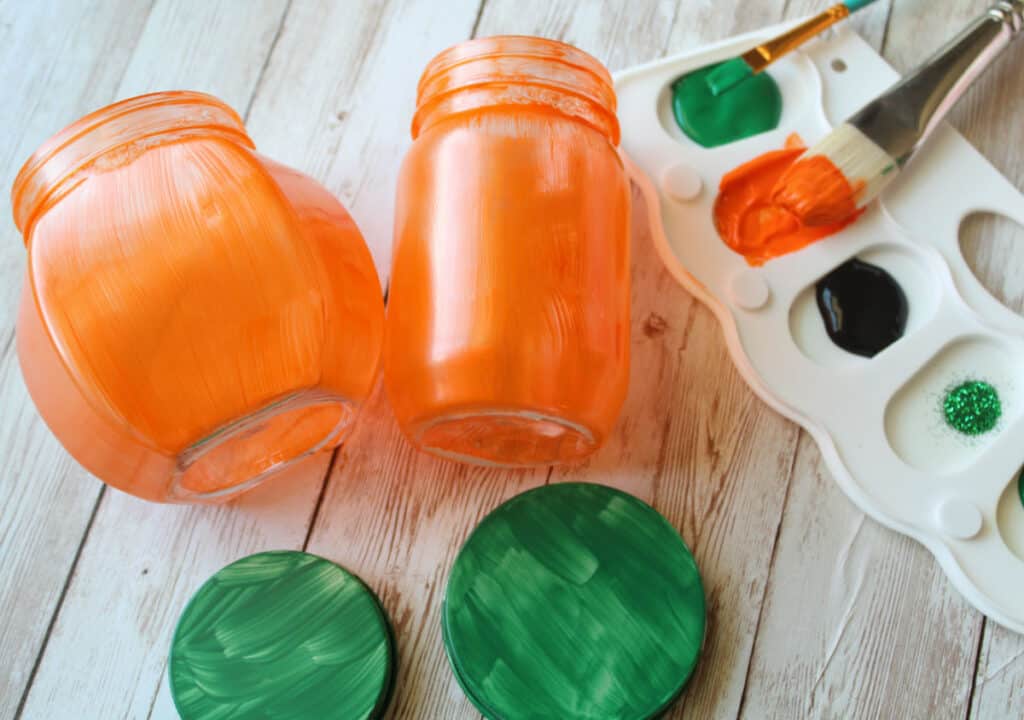
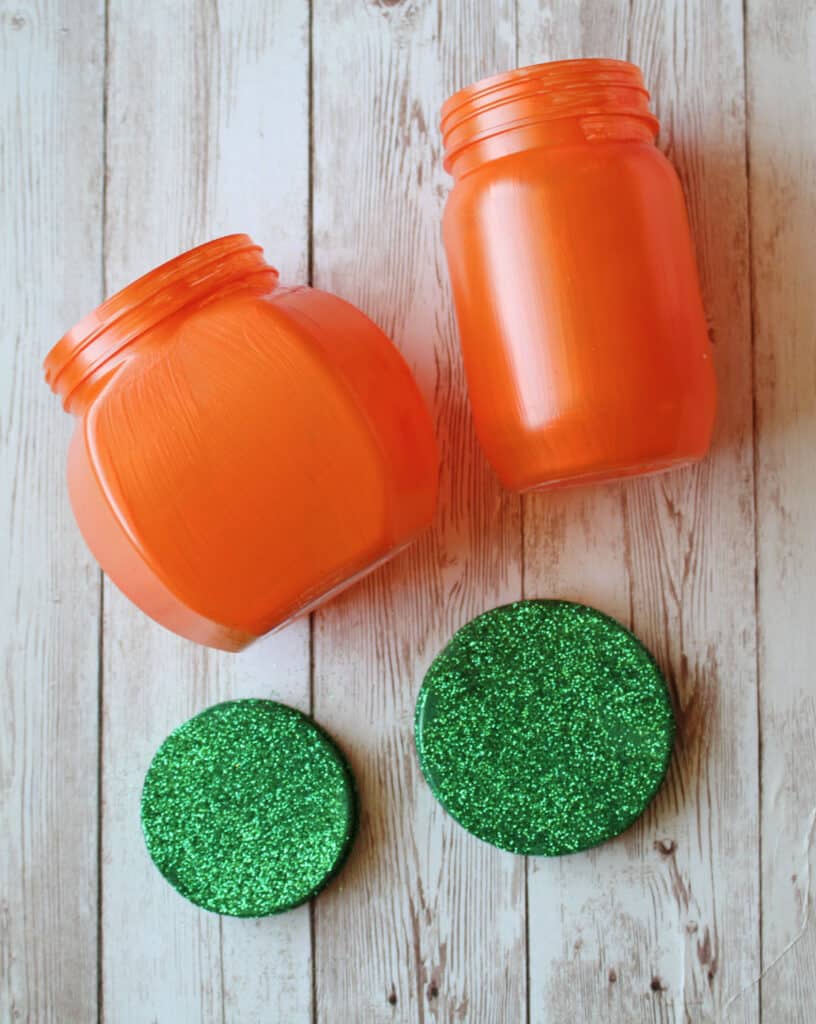
- First thing to do is paint the outside of the jar with the orange paint and the lids with green paint using the larger paint brush. Do at least 2 coats to fully cover all the surface, drying between coats.
Step 2:
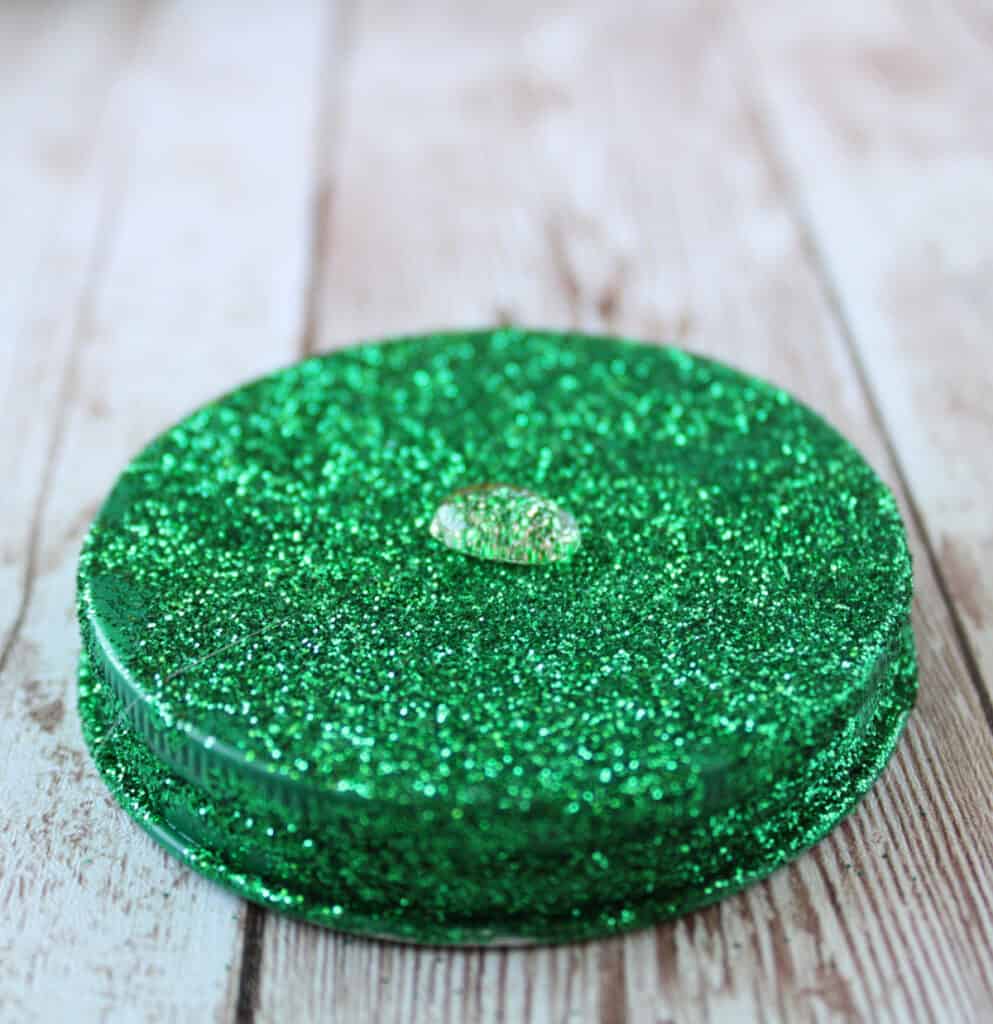
- With the second layer of green craft paint, cover the mason jar lids with the green sparkly glitter and let dry and set aside.
Step 3:
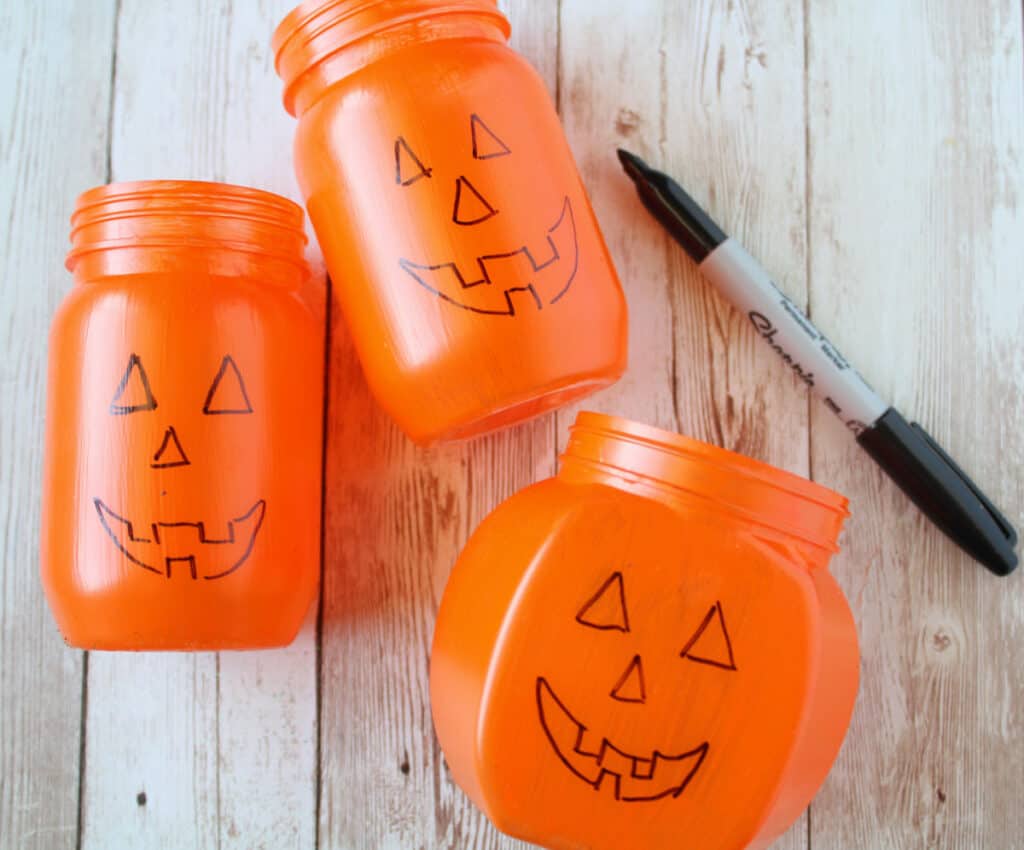
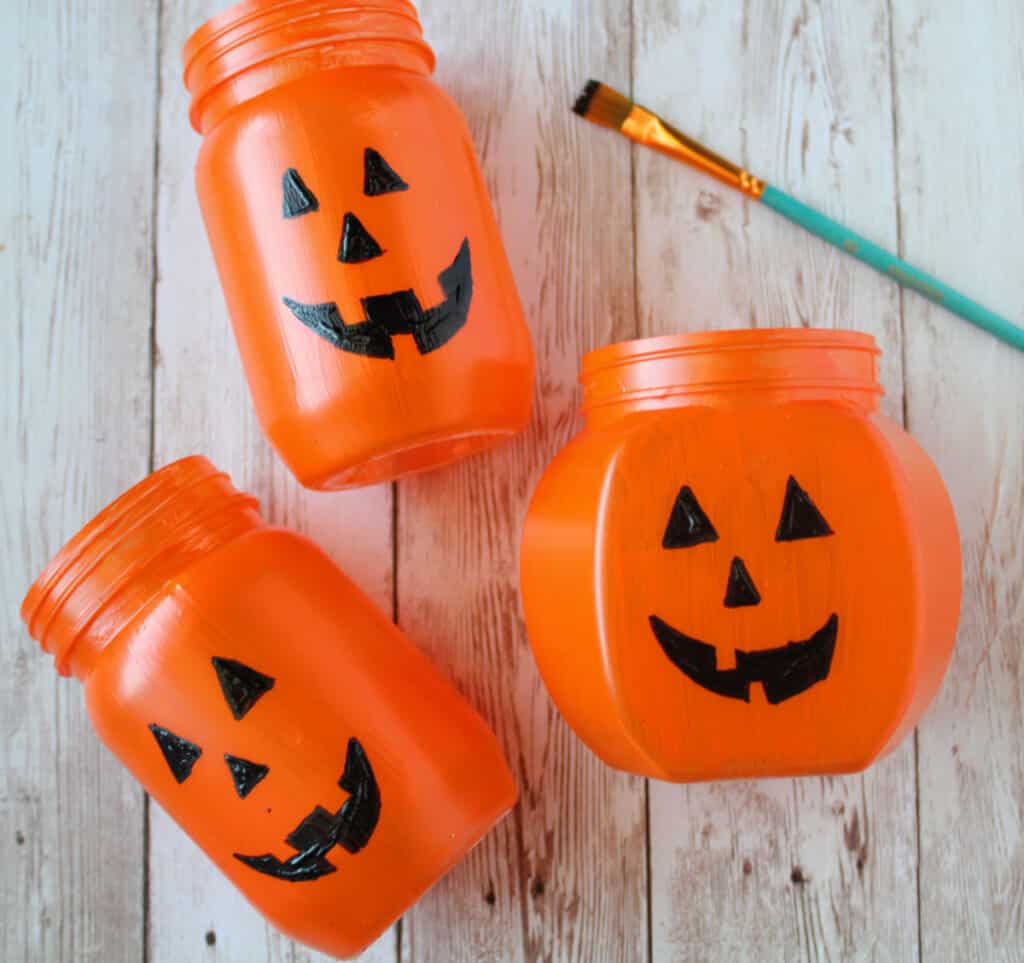
- Once the jars are dry, use the permanent marker to draw jack o lantern faces and then fill in with the black paint with the smaller paint brush.
Step 4:
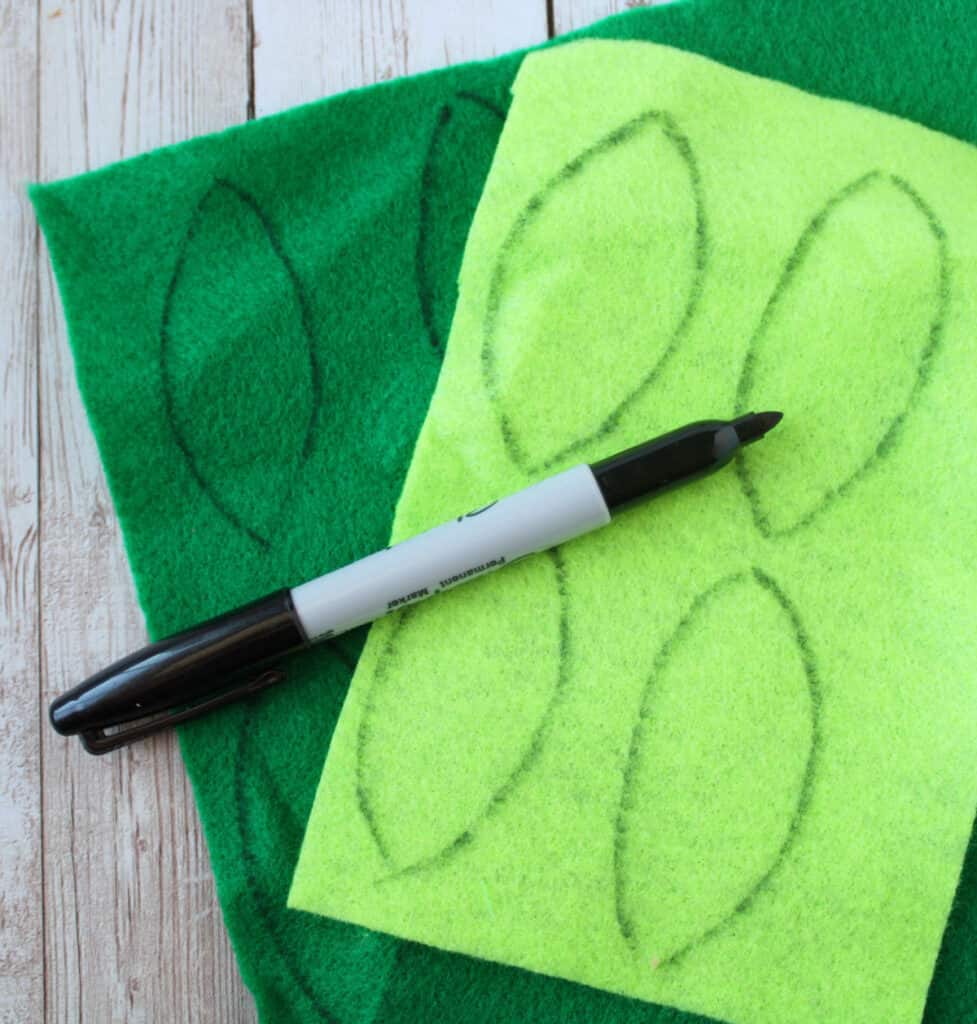
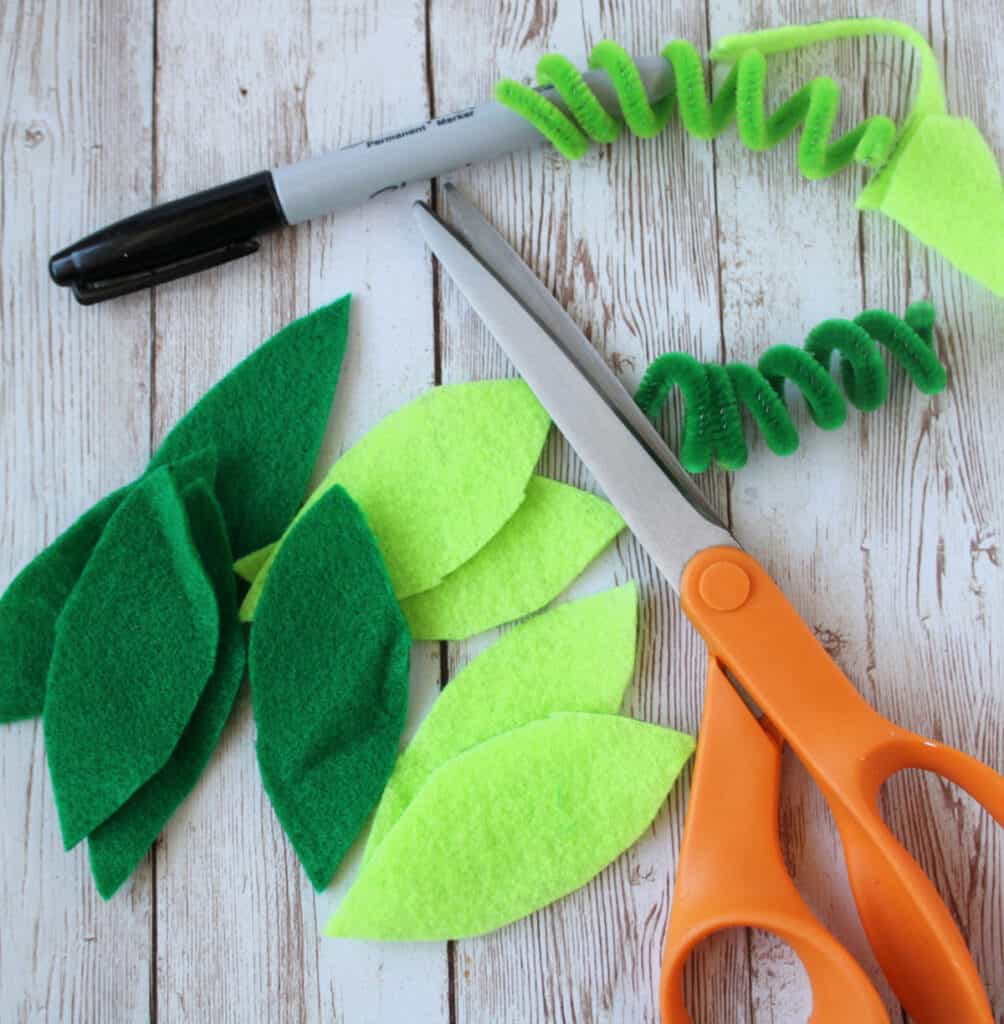
- Using the permanent marker, draw leaf shapes on the felt and using the scissors cut the leaf shapes out.
Step 5:
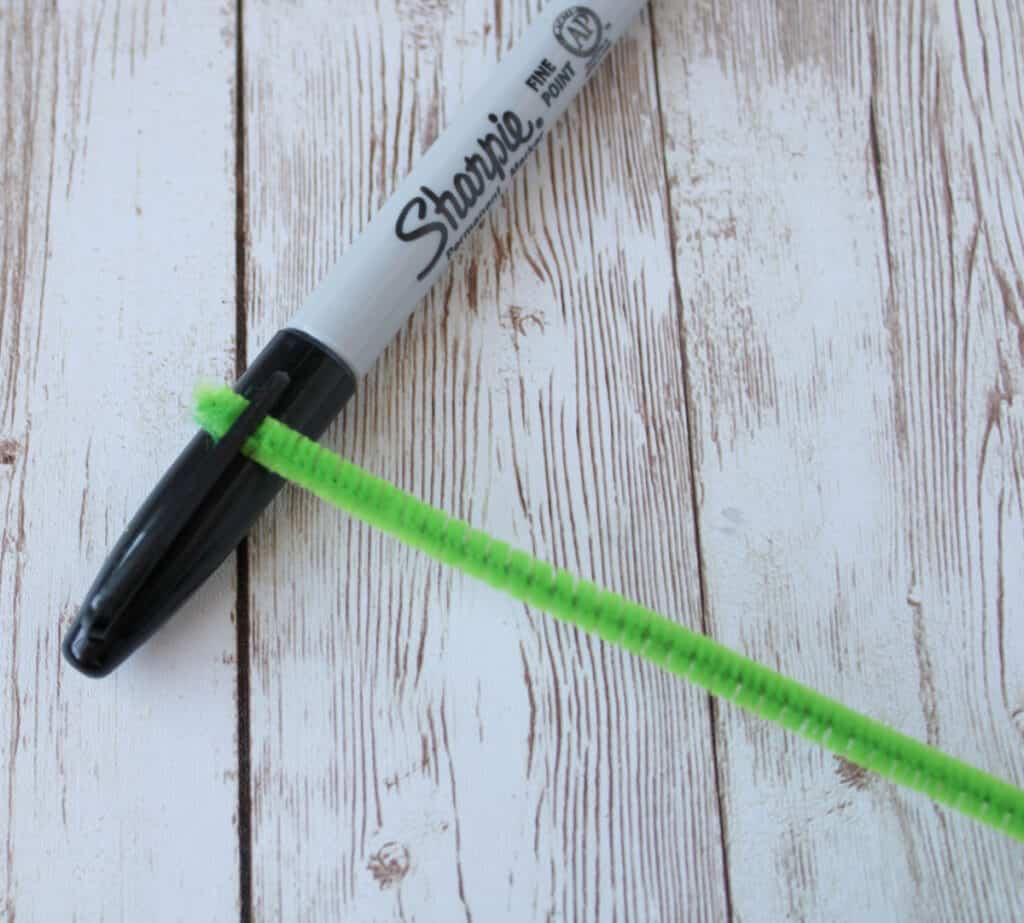
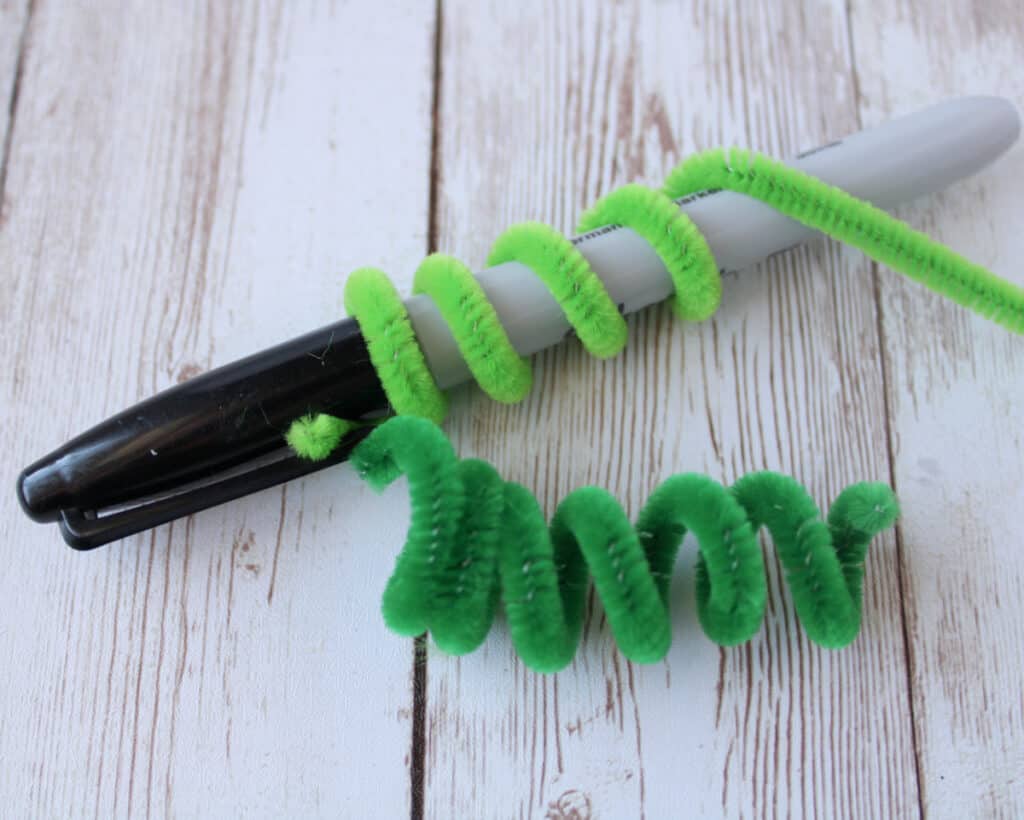
- To create the curly cues, wrap the pipe cleaner around the permanent marker.
Step 6:
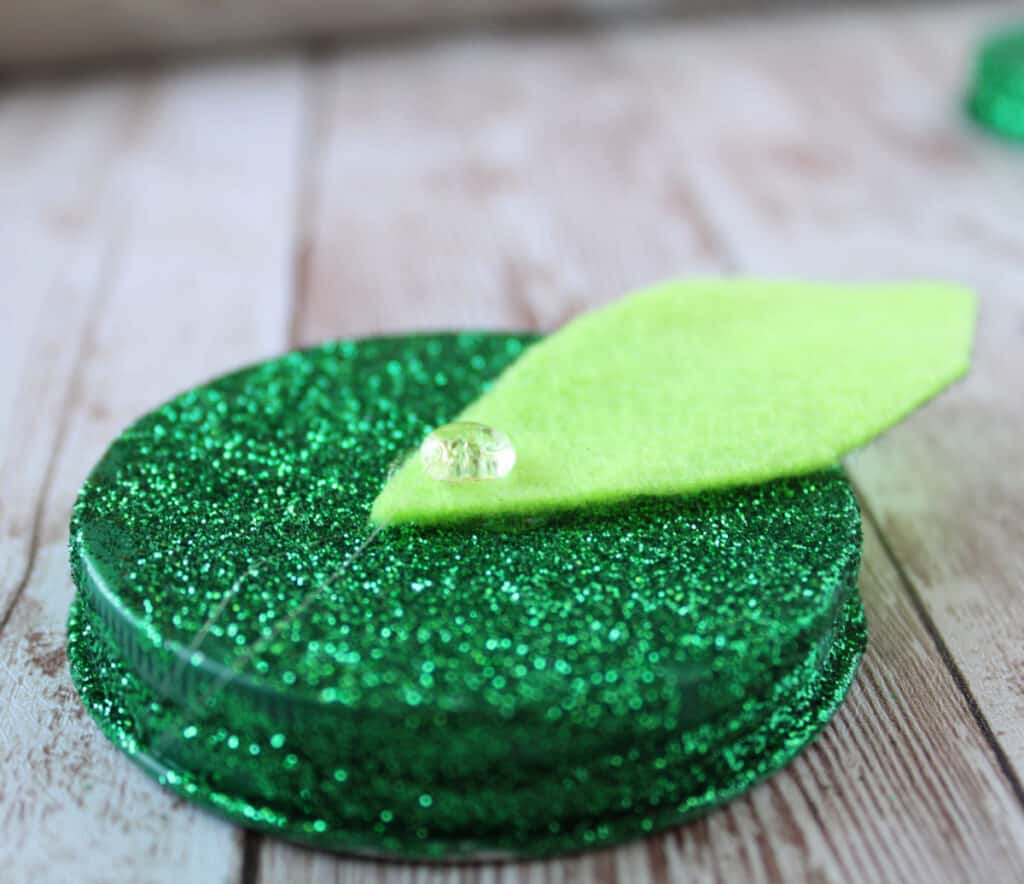
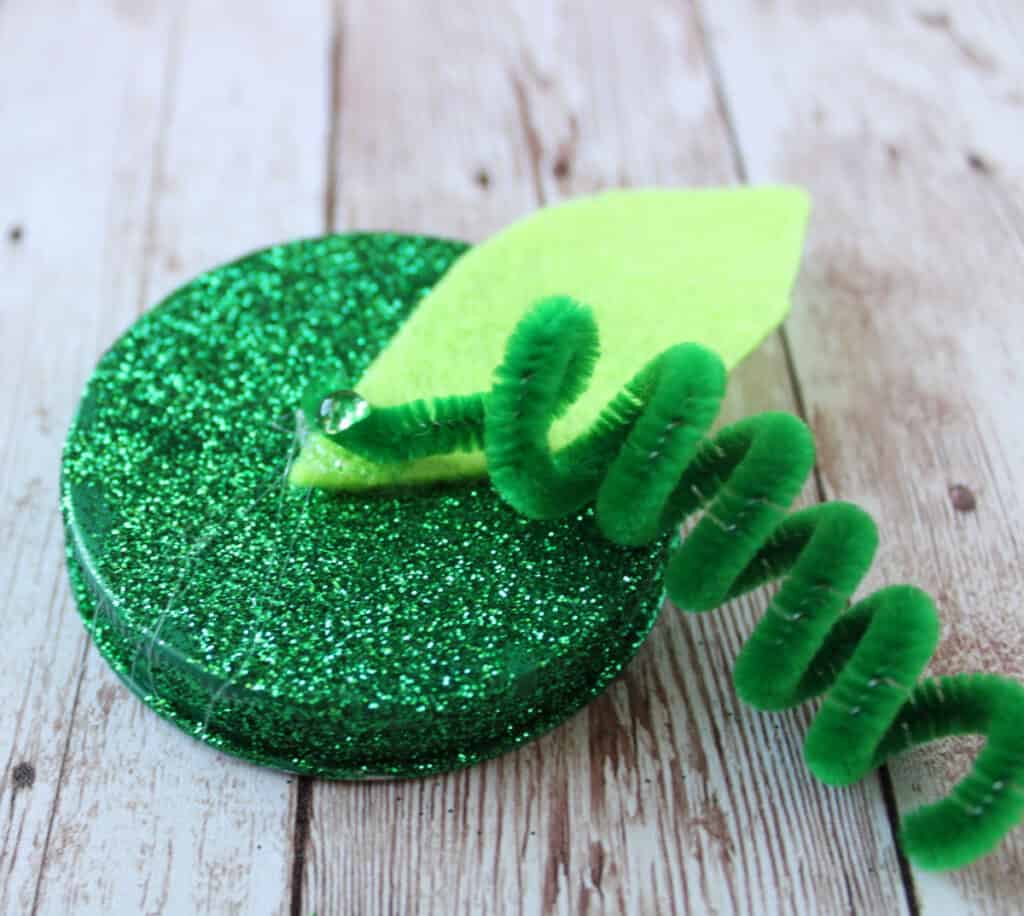
- Using the hot glue gun and a good amount of glue, glue the felt and curly cues onto the top of the center of the lid. Start with one felt leaves, then the curly cue and then a second leaf.
Step 7:
- Repeat the process until you have as many jars as needed.
NOTES:
For extra decoration fill the jars with a tealight or fairy lights or candy!
Other Variations of Painted Pumpkin Mason Jars:
- Use a different color orange on each jar just for some variation.
- Paint surface of the mason jar white instead of orange for a ghostly looking jack o' lantern jar!
- Paint a jar in stripes to make your own Candy Corn mason jar instead!
- Paint them white with a ghostly face instead of a jack o' lantern face.
- Paint the jars into monsters instead and use googly eyes!
- Instead of putting leaves on the top, put in a soap dispenser pump and place in your bathroom!
- You could decoupage the jars with tissue paper instead of painting them.
Other DIY Tutorials You May Be Interested In:
I hope you enjoyed making these DIY Pumpkin Jars! If you enjoy these types of DIY Project and/or DIY Tutorials, please see these other DIY projects I have!
DIY Lavender & Epsom Salts Bath Soak
Painted Pumpkin Mason Jar Craft
Materials
- 1 bottle orange craft paint
- 1 bottle green craft paint
- 1 bottle black craft paint
- 1 container green sparkly glitter
- 1 paint brush larger in size ½"-1"
- 1 paint brush smaller in size ⅛"-¼"
- 1 permanent marker black in color
- 1 hot glue gun with glue sticks
- 2 pieces of felt in two different shades of green
- 2 pipe cleaners in two different shades of green
- 1 pair of scissors
- 3 jars glass jars or mason jars
- 1 strand fairy lights optional
Instructions
- Start by painting the outside of your jars with the orange paint and the lids with green paint. Do at least 2 coats to fully cover all the surface, drying between coats.
- With the second coat of green paint, cover the lid with the green sparkles and let dry and set aside.
- Once the jars are dry, use the permanent marker to draw jack o lantern faces and then fill in with the black paint.
- Using the permanent marker, draw leaf shapes on the felt and using the scissors cut the leaf shapes out.
- To create the curly cues, wrap the pipe cleaner around the permanent marker.
- Using the hot glue gun, glue the felt and curly cues onto the top of the center of the lid. Start with one of the felt leaves, then the curly cue and then a second leaf.
- Repeat the process until you have as many jars as needed.
Want to Remember This?
Please pin "Easy Painted Pumpkin Mason Jar Craft" on your favorite Craft or Halloween board on Pinterest, or share on your social media accounts such as your Facebook Page, to remember it for later!



Leave a Reply